Image sharing
How to Pixelate or Cover Parts of an Image
Learn how to pixelate or cover parts of an image, edit multiple areas and check the saved PNG. Choose the right method for screenshots and photos.
Choose pixelation, a solid cover or a crop
Pixelation turns fine details into larger blocks of colour. You can use it to create a mosaic effect in a design or tutorial. The blocks still contain information from the original picture.
A solid cover replaces the selected area with one opaque colour. Use it when the purpose is to remove visible information from the copy you share. Cropping is another option if you can leave the unwanted part out of the picture altogether.
| Situation | Method | What to check |
|---|---|---|
| A decorative mosaic effect | Pixelation | The blocks suit the image at its intended display size. |
| A name, email address, account number or registration plate | Solid cover | The entire detail is inside the cover, including the first and last characters. |
| A face that must not be shown | Solid cover or a crop | The remaining scene does not identify the person through other details. |
| An unwanted detail near the edge | Crop, if the rest of the picture still works | The same detail does not also appear elsewhere, such as in a reflection. |
If you only need the centre of a screenshot, crop the image before editing it. A smaller frame makes the useful content easier to see and leaves fewer unrelated details to review.
Pixelation is not reliable redaction
Redaction means removing information from the version you share. A pixelated word may look unreadable, yet its block patterns can still reveal clues. Bishop Fox's research on pixelated text demonstrates recovery under particular conditions. This does not mean every pixelated image can be restored, but it is a reason to avoid pixelation for confidential text. Choose a solid cover and verify the saved copy instead.
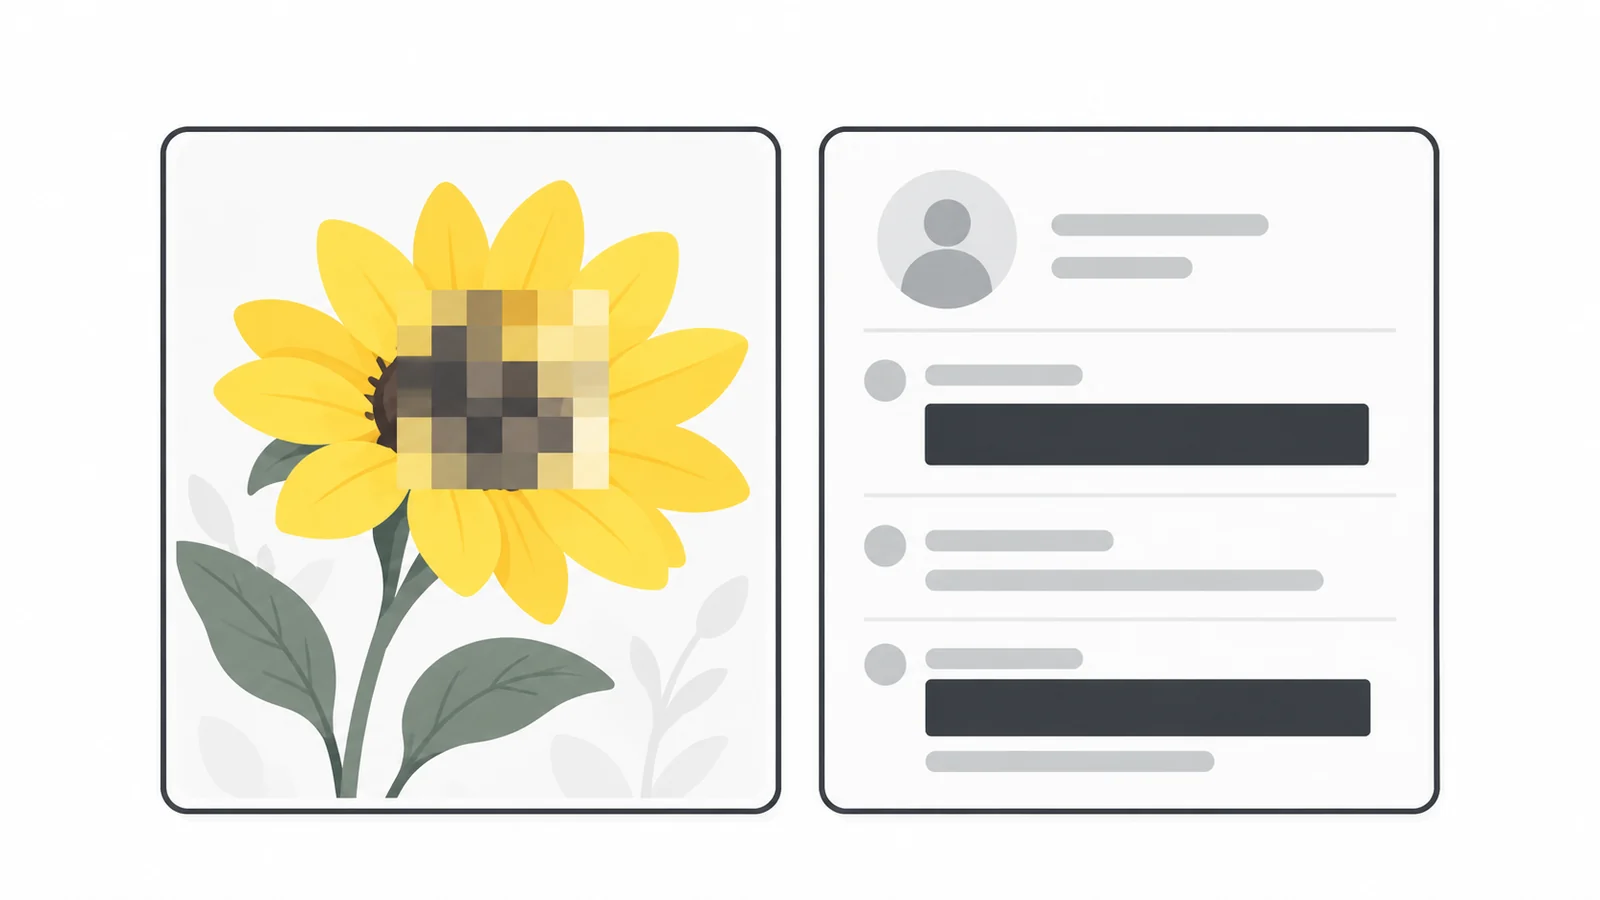
Review the whole image before selecting areas
Decide what the reader needs to understand and which details should be left out. In a support screenshot, the useful content might be an error message and the settings that caused it. The account name, email address and browser tabs may add nothing to the explanation.
Look beyond the most obvious item. A photograph can show a name on a badge, a shipping label, a house number or the same subject in a mirror. A screenshot may repeat an email address in a sidebar, notification and account menu. Each visible copy needs attention.
Covering a face alone does not necessarily conceal someone's identity. Clothing, surroundings and the accompanying caption may still make the person recognisable. If the remaining context reveals information you intended to withhold, crop more tightly, use a different picture or leave the image out.
Keep the original separately while you work. That lets you adjust an area without repeatedly editing a previously exported image. Give the sharing copy a filename that clearly distinguishes it from the source.
Select the whole detail, including its edges
When covering information, make the selection slightly larger than the detail you want to hide. A box that ends exactly on a letter can leave part of the character visible. Include the full text or registration plate and a little space around it, then zoom in and check the edges.
The aim is complete coverage without hiding the information that explains the image. Keep an error message visible if it is the reason for sharing a screenshot, but cover the account details next to it. Separate rectangles often work better than one large rectangle that obscures both.
Each area is rectangular. Pixelation or a solid cover affects everything inside that rectangle, including any background around the subject; the tool does not automatically follow the outline of a face or object.
A solid cover does not have to be black. Black makes the edit obvious; white may fit a screenshot with a pale background. Pixilo's colour picker gives you other opaque colours too. The rectangle's position and size determine what gets covered.
Adjust the pixel block size
If you want a mosaic effect, adjust the block size after positioning the region. Smaller blocks retain more detail; larger blocks produce a coarser pattern. There is no single setting that suits every image, because the subject's size within the picture matters.
The block size refers to the original image's pixels. If a subject spans 160 pixels, a 16-pixel block size gives roughly ten blocks across it. If the same subject spans 640 pixels in a larger photograph, that setting gives roughly forty blocks and can leave it more recognisable. Use larger blocks for a similarly coarse effect on the larger subject; simply expanding the selection rectangle is not enough.
The display size matters too. If you show the whole image at half its exported width, the blocks also appear about half as wide. A bold mosaic in a full-size file can look much finer in a small website preview.
Example: a mosaic effect in a design tutorial
Suppose a tutorial uses a flower photograph to demonstrate pixelation. You select a 160 × 160 pixel square containing the flower and try three block sizes:
- 8 pixels: roughly twenty blocks across, keeping more of the petal shapes and colour changes.
- 16 pixels: roughly ten blocks across, creating a more obvious mosaic.
- 32 pixels: roughly five blocks across, reducing the flower to broad patches of colour.
Compare these versions at the size used in the tutorial. Choose the one that shows the intended effect clearly; if the flower becomes too abstract, reduce the block size. These are illustration settings, not thresholds for concealing information.
Pixelate or cover areas with Pixilo
- Choose your image. Open Pixelate Image and select a JPG, PNG or WebP. A starting region appears on the picture.
- Position the region. Drag inside it with your mouse or finger to move it. Drag an edge or corner to resize it.
- Choose the effect. Select Pixelate and adjust Block size (px) for a mosaic effect, or choose Solid cover and pick the cover colour.
- Add other regions. Use Add area for each extra detail. Move and resize each new rectangle; adding it does not automatically place it over the next item you want to hide.
- Refine the selection. Choose an area in the Selected area menu. Open Exact selection to enter its position and dimensions in the original image's pixels. Left and Top measure the distance from the image's left and top edges.
- Inspect the result. Open View preview and select Actual size (100%) to examine the full-size result. Close the preview window to return to editing.
- Save your copy. Select Download PNG. Use the checklist below to review the downloaded file.
Manage several areas
- Select and move an area. Choose it from the menu or click it in the image. After clicking the image, you can use the arrow keys to move the selected area one pixel at a time.
- Redraw an area. Start a drag outside all existing rectangles to redraw the selected one. Use Add area instead if you want to keep that rectangle and create another.
- Remove an area. Remove area deletes the selected rectangle. Clear areas removes every rectangle and disables downloading until you add a new one.
All areas share the effect settings. Changing the effect, block size or cover colour updates every rectangle. If any region contains confidential text, choose solid covers for all selected regions.
File and size limits
- Input: one JPG, PNG or WebP image at a time, up to 25 MB.
- Dimensions: no more than 8,000 pixels on either side and 32 million pixels in total.
- Output: one PNG containing all selected regions, with the pixel dimensions shown above the workspace. Selecting a smaller area does not resize the whole image.
The tool processes the selected image in your browser. Its image-editing process does not upload the file to a server. If a source exceeds the dimension limit, resize a working copy before selecting it.
Example: prepare a screenshot for a public support question
Suppose a screenshot shows a settings panel with an error message, an email address in the account menu and a customer name in a side panel. The question is about the settings, so the error and relevant controls need to remain readable.
- Crop out unrelated browser tabs and desktop content while keeping the settings and error message.
- Choose Solid cover. Move the starting rectangle over the complete email address, leaving a small margin around its characters.
- Select Add area and place the second rectangle over the customer name. Choose each region in turn to check that neither rectangle hides a setting needed to explain the problem.
- Download the PNG with a neutral filename, such as
settings-error-covered.png.
The settings and error message should remain readable while both personal details are covered. Use the checklist below to review the rest of your screenshot for anything else that needs attention.
Check the saved image, not only the editor
Open the downloaded PNG from the folder where you saved it. The selection outlines and handles are editing controls and do not appear in the download. Inspect the edited pixels and their boundaries:
- Coverage: examine every region at actual size. Zoom in on the edges to look for exposed characters or details; a small thumbnail can hide these mistakes.
- The rest of the frame: look for repeated text, reflections and other details you missed.
- Useful content: confirm that the image still explains what you intended, with important text and controls readable.
- Other information: review the filename, caption and embedded information separately. Covering visible pixels does not tell you what metadata a file contains; our photo metadata guide explains how to check.
- The shared version: after uploading or attaching the image, open that copy and confirm you selected the edited file.
Pixilo draws the edits into the PNG's pixels. Removing an area in the open editor reveals the source because the editor still holds your original. In the downloaded PNG, the rectangles are no longer separate objects you can move or remove. This does not make pixelation reliable redaction: its blocks still retain some source information. A solid cover replaces the pixels inside its rectangle.
Prepare the image for sharing or publishing
Pixilo exports PNG even when you start with a JPG or WebP. PNG uses lossless compression, so the export does not add the compression artifacts associated with JPG. It can preserve transparency, but cannot repair blur or compression damage already in the source. A photograph saved as PNG may also be larger than its source. MDN's image format guide explains these format choices.
If the file is too large, start with the edited PNG and work through these options:
- Try lossless compression. Add the edited PNG to Pixilo's image compressor. It optimises PNG files without changing their pixels, although the reduction depends on the image.
- Resize only if needed. If the picture is larger than its intended display size, resize a copy while keeping its proportions. Leave enough detail for any text that needs to remain readable.
- Consider another format. For a photograph, try PNG to WebP, which can keep transparency. PNG to JPG is another option if you do not need transparency. Both conversions use lossy compression in Pixilo, so compare the file size and visible detail with the PNG.
Inspect the version you will actually send or publish after any of these changes. For attachment limits and compatibility, see our email image guide.
For a website, describe the useful content in the caption and text alternative without repeating information you removed. For the support example, “Settings panel showing the connection error; account details covered” explains the image more usefully than “Pixelated screenshot.” Our alt text and filenames guide covers descriptions that match the page.
Frequently asked questions
Can I pixelate the whole image?
Yes. Select an area and open Exact selection. Set Left and Top to 0, then enter the original image's full width and height, shown above the workspace. The chosen effect will cover the entire picture.
Can I use a different effect for each area?
Not in the current tool. All regions share one effect, block size and cover colour. You can position and resize each region separately.
Can I move a cover after downloading the PNG?
The downloaded PNG contains the edited pixels, not movable rectangles. Adjust the region in the open editor and download again, or start from your original image. Selecting the already covered PNG does not restore the pixels beneath its solid covers.
Does Pixilo offer blur as well as pixelation?
This tool offers pixelation and solid covers. Pixelation creates visible blocks; blur produces a softer appearance. Neither appearance alone is proof that sensitive information has been removed.
Choose the areas you want to hide
Keep the parts that explain your image, edit the details you want to leave out, and check the downloaded copy before sharing.
Pixelate or cover an imageCrop out an unwanted edge → ChatGPT
 Grok
 Google
 Perplexity
 Claude