Website images
Image Alt Text and Filenames: A Practical Guide to Image SEO
Write useful alt text and clear image filenames with practical examples for product photos, decorative images, links and charts. Avoid keyword stuffing.
Alt text, filenames and captions do different jobs
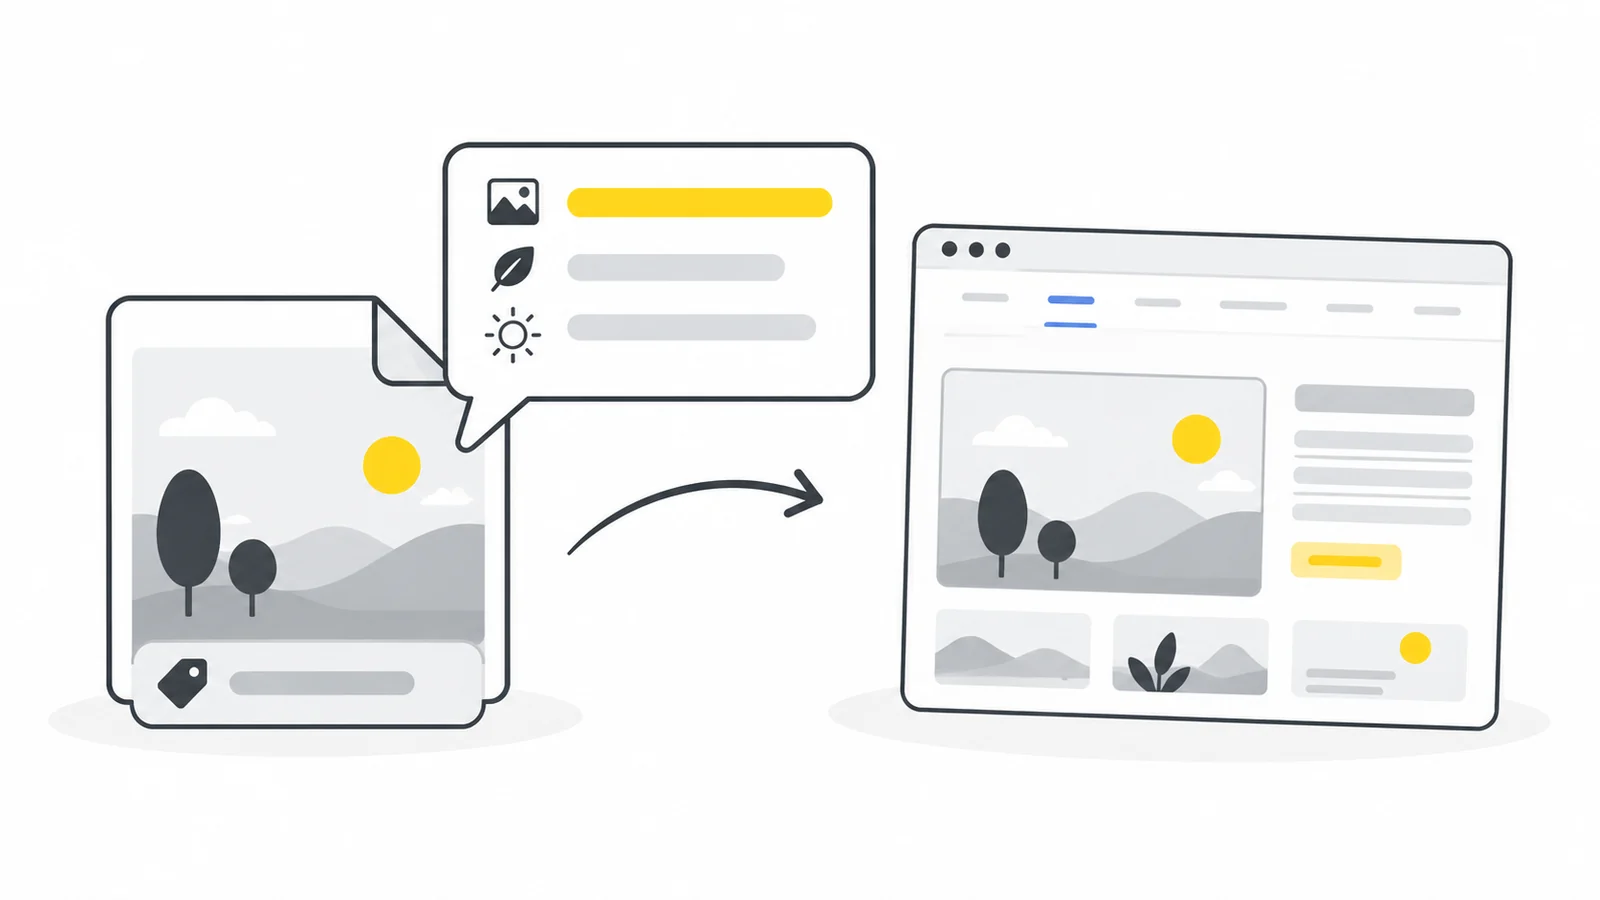
When preparing a website image, you may see several fields that appear to ask for the same information. Each field has a different purpose. The filename identifies the file. Alt text explains the image for someone who cannot see it. A caption appears beside the picture for everyone to read.
| Field | Example | Purpose |
|---|---|---|
| Filename | blue-ceramic-mug-side.webp | Identify the file and the view it contains |
| Alt text | Blue ceramic mug with a curved handle, viewed from the side | Describe the relevant visual information when the image cannot be seen |
| Caption | The curved handle leaves room for a two-finger grip. | Add a visible explanation that helps all readers |
Alt text is saved in the web page, usually in a field called the alt attribute. It is not stored inside the JPG or PNG file. A screen reader — software that reads page content aloud or presents it in braille — can use this description to explain the image. See MDN’s explanation of the alt attribute.
The same photograph can need different alt text in different places. On a product page, the handle and finish might matter. In an article about photographing reflective surfaces, the light reflected in the glaze might be the point. Describe what matters to someone reading that particular page.
Decide what the reader needs from the image
Before writing, ask what a reader would miss if the picture were unavailable. Does it show a product detail, explain a step, contain important words, or provide the only label for a link? Or does it simply make the page look nicer? The W3C alt-text decision tree helps you choose an approach based on the image’s role.
- A picture that adds information: describe the detail the reader needs.
- A link or button with no other label: explain its destination or action.
- A decoration: leave the alt text empty if the image adds no needed information and does not act as a link or control.
- A chart or detailed diagram: briefly explain what it shows, then give the details in nearby text or a table.
Consider a photograph of a mug on a desk. On a page selling the mug, its shape and appearance are useful. Behind a newsletter sign-up form, the same photo might simply be decoration. What matters is why you placed it there.
Write a useful description in plain language
Start with the subject, then add the detail the reader needs. For example, the side view of a backpack might show a mesh pocket holding a bottle. That detail is more useful on a product page than a list of every visible color.
Keep the description focused. You do not need to describe the background, camera angle and lighting unless they help explain the image. The W3C guidance on informative images explains how to describe the useful information without listing every detail in the picture.
| Situation | Weak description | More useful description |
|---|---|---|
| Backpack product detail | Backpack image | Green backpack with a water bottle in the side mesh pocket |
| Instruction for trimming a plant | Gardening photo | Pruning shears just above the point where a leaf joins the stem |
| Comparing compression results | Small image | Compressed diagram with blurred lettering and uneven line edges |
| Accessible entrance information | Building entrance | Entrance ramp to the left of the steps, with handrails on both sides |
These are example descriptions, not descriptions of images shown in this article. For your own images, check that every detail is actually visible. Do not invent a material, model name, location or feature because it would make the description sound more complete. A photograph may show a brown chair without proving that it is leather.
Read the description with the sentence before and after the image. Does it add useful information, or repeat the same sentence unnecessarily? Adjust it for the whole page. If a caption already explains everything the image adds, consider whether the image needs a separate description. Keep alt text for useful details that the caption does not cover.
Use empty alt text for decorative images
A flourish beside a heading or a background illustration may simply make the page look nicer. If it adds no needed information, give it an empty alt attribute: alt="". A screen reader can then skip it. Do not just omit the attribute: some screen readers may read the filename aloud instead. See the W3C decorative image guidance.
<img src="/images/yellow-flourish.svg" alt="">Do not enter the words “decorative image” as the description. That adds something for a reader to hear without explaining anything useful. Empty means there is no description to announce.
Be careful with pictures that look decorative but contain the only copy of important information. A banner showing a discount and its expiry date is not merely decoration if those details are missing from the page text. Write the offer as normal page text, or include its message in the alt text. An error icon also needs a written explanation if it is the only way the page tells someone that something went wrong.
Describe the purpose of image-only links and buttons
When a picture is the only content of a link, its text alternative should tell the reader where the link goes. For an image-only button, it should describe the action. For a search button, “Search” tells the reader what happens. “Magnifying glass” only describes its shape. The W3C functional image guidance explains these cases.
Suppose a shop logo is the only content of a link to the homepage. “North Shore shop home” gives the link a meaningful label. A detailed description of the wave shape in the logo does not tell someone where the link goes.
If the same link already contains clear visible text, an accompanying image can often have empty alt text to avoid repeating the label. This depends on whether the image adds important information beyond that text. Check the image and link text together.
<a href="/">
  <img src="/images/north-shore-logo.svg"
       alt="North Shore shop home">
</a>
For a product gallery, consider what selecting a thumbnail does. A label such as “View the backpack’s side pocket” may be more helpful than repeating the product name for every thumbnail. Your gallery may have separate fields for button labels and image descriptions. Check that each control has a clear label in the published gallery.
Handle charts, screenshots and text inside images
A chart may contain too much information for one short description. Briefly explain what it shows, then put its main findings and values in nearby text or a table that readers can access without seeing the chart. The W3C complex image guidance describes these approaches.
For example, imagine a chart comparing download sizes for three exports of one photograph. The alt text could identify it as a file-size comparison, while a table gives each format and size. Readers should be able to understand the result without interpreting bar heights. Use the actual measurements, and make it clear that the results apply to that photograph.
For a tutorial screenshot, describe the setting or step the picture helps explain. A sentence identifying where the quality setting appears can help, but write the actual instruction as normal page text too. If several labels are needed to follow the step, make those available in the surrounding instructions rather than hiding a long procedure inside alt text.
If an image contains a short piece of important text that is not written elsewhere, include those words in its alt text. For longer passages, put the content directly on the page. Our Canva export guide explains why important headings and buttons usually work better as page content than as part of a downloaded picture.
Choose short, descriptive image filenames
Google recommends short descriptive filenames and says they give a small clue about the image’s subject. It also uses alt text and the surrounding page to understand images. This is not a reason to pack a filename with search phrases. See Google’s image SEO guidance.
Name the subject first, then add a useful detail or the view shown. For a product gallery, green-backpack-side-pocket.webp is easier to recognize than IMG_4821.webp. You can add a product identifier when it helps your team distinguish similar items. Do not add a year unless it helps identify the image.
| Generic name | Clearer name | Why it helps |
|---|---|---|
image-final-2.jpg | blue-mug-side.jpg | Identifies the subject and view |
export.png | canva-banner-download-settings.png | Identifies the tutorial screenshot |
picture1.webp | backpack-adjustable-shoulder-straps.webp | Distinguishes this detail from other gallery views |
For an easy naming system, use lowercase words separated by hyphens. This helps keep your files organized; it does not guarantee better rankings. Keep the extension correct: changing .png to .jpg in the name does not convert the image. Use a conversion tool when you need a different format.
Rename files before uploading them where possible. If renaming a published image changes its web address, pages using the old address may lose the picture. Update those pages and, where needed, redirect the old address to the new one. Avoid renaming a working image library merely to add keywords.
Add the description to the image on the page
In your website editor, look for a field called alternative text or alt text. Save the description and check the published page. Changing the title, caption or filename in your media library does not necessarily change the alt text on the page. Different editors and templates handle these fields differently.
You do not need to write HTML if your editor provides the right field. For someone editing the page directly, a simple informative image looks like this:
<img src="/images/green-backpack-side-pocket.webp"
     alt="Green backpack with a water bottle in the side mesh pocket">
Check the actual page after saving. In a desktop browser, you can inspect the image element and look for its alt value. An accessibility checker can find missing alt attributes, but it cannot reliably tell you whether a description is useful. Read the words alongside the page content yourself.
If your site has several languages, write the description in the language of that page. Translate the meaning naturally rather than carrying over an English list of keywords. A shared image file can have different alt text on each page because each page stores its own description.
Example: add a useful description to a product photo
Suppose you are adding a side-pocket photograph to a green backpack’s product page. The goal is to show how a water bottle fits, not to repeat the entire product specification.
- Choose the useful view. Use a photograph where the bottle and pocket are clear. Do not describe a hidden detail that the image does not show.
- Prepare the file. Crop unnecessary space and choose dimensions that keep the pocket visible in the gallery. Follow our product image guide for the broader workflow.
- Name the final file. Use a name such as
green-backpack-side-pocket.jpg, with the extension matching the actual saved format. - Add page-specific alt text. Describe the bottle in the mesh pocket. Leave prices, shipping claims and unrelated search phrases in the page content where they belong.
- Check the published gallery. Check that the image has the description you entered and that the gallery controls have clear labels. Check on a phone as well as a desktop.
This workflow keeps file preparation separate from writing the text alternative. Both matter, but they solve different problems. For a tutorial screenshot or a chart, use the same process and change the description to suit the information being shown.
Avoid these common mistakes
- Repeating search phrases. “Backpack best backpack cheap backpack hiking backpack” does not describe the pocket or help someone understand the photograph.
- Using the filename as the description. A filename helps you find a file, but it may not explain what a reader needs to know about the picture.
- Giving every gallery image the same text. Describe the different views when they reveal different information.
- Guessing details. Verify materials, labels and features rather than inventing them from appearance.
- Writing long descriptions for decorations. Unnecessary descriptions can make the useful page content harder to follow.
- Checking only the media library. A template may not use the field you edited. Verify the published image.
Frequently asked questions
How long should alt text be?
Keep it as short as you can without leaving out useful information. A simple photograph may need one short sentence. There is no single character limit that makes a description useful. Put long explanations of charts or diagrams in normal page text.
Should every image have descriptive alt text?
No. Describe an image if it adds useful information. Use empty alt text for a decoration. If an image is the only label for a link or button, explain the destination or action.
Can I use AI to draft descriptions?
You can use a draft as a starting point, but compare it with the real image and page. Remove guesses, unnecessary details and repeated keywords. A generated description can sound confident while describing a feature the picture does not actually show.
Does compressing an image remove its alt text?
Alt text lives in the website page, not in the image file. Compressing a local JPG or PNG does not edit that page. However, replacing an image in your editor may change or reset its fields, so check the published description after replacement.
Will better filenames guarantee more search traffic?
No. Clear names and useful descriptions support a well-prepared page, but they do not guarantee indexing, rankings or clicks. Google’s guidance also covers the text around images, whether its crawlers can find them and how quickly pages load. See our image performance guide for that separate part of the work.
Start with one page’s images
Identify each image’s purpose, write only the information readers need and check the published result. Use that approach consistently across the rest of your site.
Prepare better product imagesOptimize a Canva export → ChatGPT
 Grok
 Google
 Perplexity
 Claude