Publishing workflows
Why Are My Instagram Photos Blurry? How to Improve Upload Quality
Troubleshoot blurry Instagram photos with a clear export workflow, feed image sizes, separate Story checks and an interactive upload checklist.
A photo can look sharp in your camera roll and softer on Instagram. The cause might be a tight crop, a compressed export or the way the post is displayed. Find the first version that looks wrong before changing your settings.
This guide focuses on still images in feed posts and carousels, with separate checks for Stories. Ready to prepare a file? Use the interactive upload checklist.
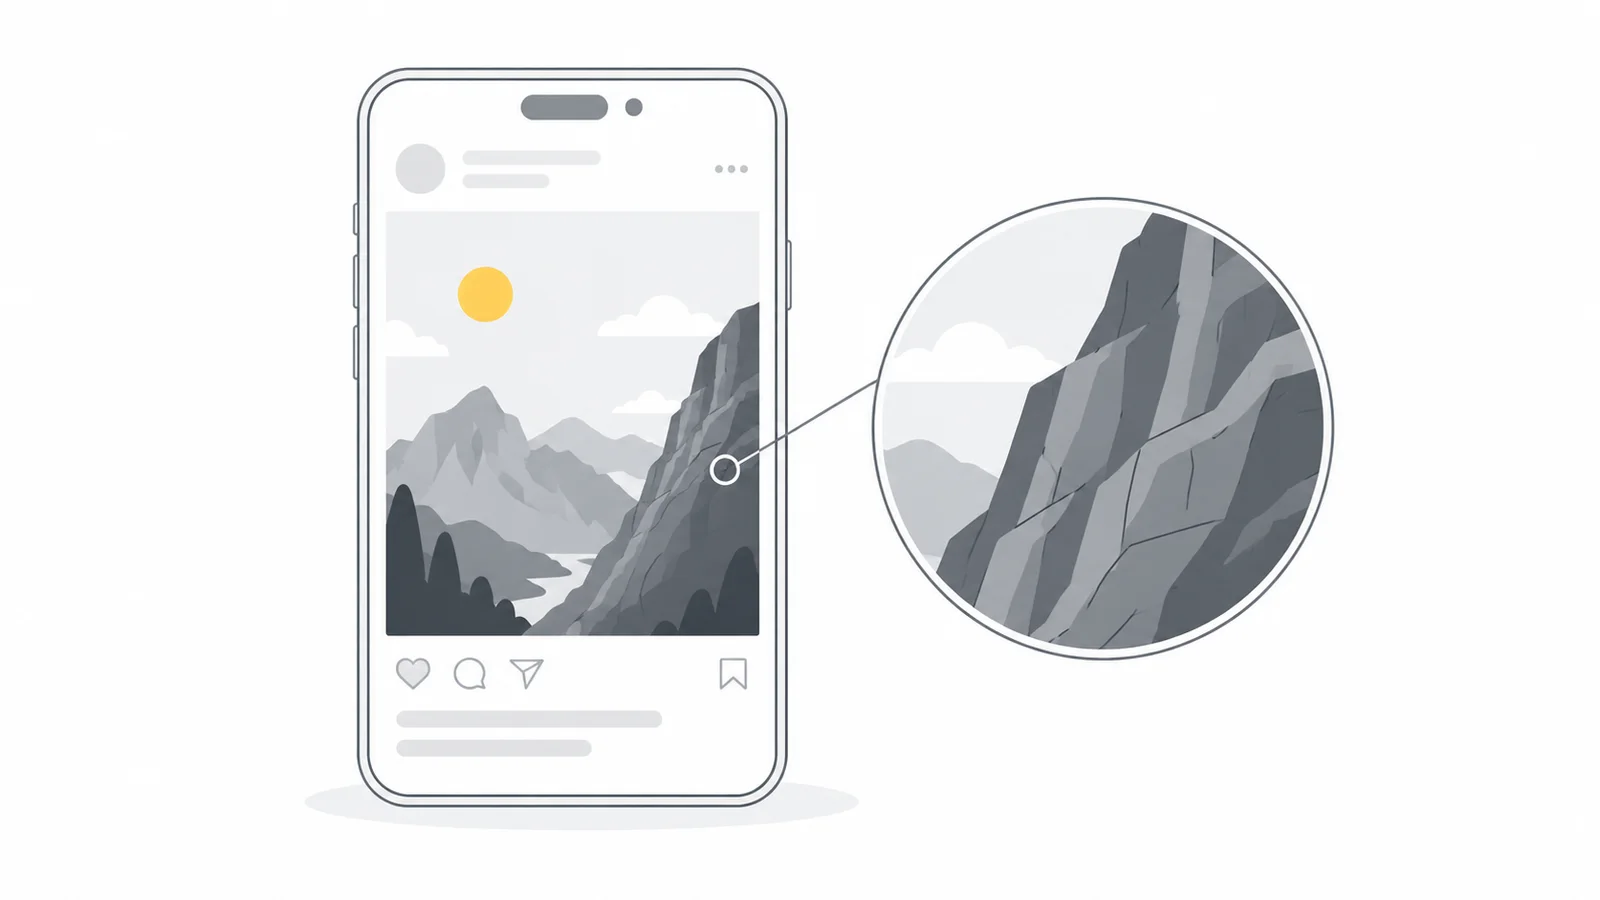
Find where the image first loses detail
On the same phone, open the original photo, the exact file you selected for upload and the full published post. Compare one detail, such as an eyelash, a product label or a word, at a similar displayed size. A tiny preview can hide defects that become obvious when the picture fills the screen.
| What do you see? | What should you check? |
|---|---|
| Faces or fine textures are already soft in the original | Check focus, camera movement and how tightly the image has been cropped. |
| The export has blocky patches or smeared texture | Check export quality, dimensions and whether you started from an already compressed copy. |
| Letters have speckles or uneven edges in the download | Compare a PNG export from the design editor and check whether the text is large enough. |
| The export is clear, but the full post loses detail | Check the selected upload file and in-app edits, then follow the controlled test below. |
| Only a grid thumbnail or one viewing device looks wrong | Inspect the full post and investigate the viewing conditions before replacing the file. |
Bright or dark rims around edges can also come from sharpening applied before upload. Check whether they are present in the original. Missing parts of the subject indicate a crop, while a darker or less saturated image calls for a colour check; neither is necessarily a loss of sharpness.
Use the original and check the pixels left after cropping
Use the camera original or a fresh download from your design editor. A screenshot, a saved social post or a messaging-app copy may already have lost detail. Keep the original and make each new export from it instead of repeatedly saving the previous JPG.
Look at the part of the photograph you will actually use. A 4000 × 3000 landscape photo can supply a 2250 × 3000 portrait crop at 3:4, which has enough pixels for a 1080 × 1440 export. But if you zoom into a distant subject and retain only a 600 × 800 region, exporting it at 1080 × 1440 enlarges that small crop. It does not recover the missing texture.
If the subject is already soft, use a better original or loosen the crop. Judge focus from the subject rather than a deliberately blurred background. Heavy sharpening cannot reliably reconstruct an out-of-focus face or unreadable product label.
Choose a shape before choosing an export size
Instagram's photo-resolution guidance describes feed photos up to 1080 pixels wide, with supported aspect ratios from 1.91:1 to 3:4. Wider images are reduced; unsupported shapes are cropped. A 4:5 portrait is still useful, but is not the only supported portrait shape.
| Shape | Width × height | What to check |
|---|---|---|
| Square feed photo, 1:1 | 1080 × 1080 px | Keep the subject intact within the square. |
| Portrait feed photo, 4:5 | 1080 × 1350 px | Use this shape when it suits the composition. |
| Portrait feed photo, 3:4 | 1080 × 1440 px | A portrait phone photo may already have this shape. |
| Wide feed photo, about 1.91:1 | 1080 × 566 px | Check whether the subject remains large enough to see. |
In Pixilo's Social Media Image Resizer, choose the matching Instagram preset. Use Fill the frame to adjust a crop, or Show the whole image to keep the picture with space around it. Inspect the result before downloading, including the subject's edges. For several placements, see how to adapt one image for different social posts.
A 1080-pixel-wide feed export is a useful default because you can inspect the resize yourself. Keep the larger original for future use. If the retained crop is smaller than your target, find a better source or use a looser crop rather than stretching it to meet the preset.
Export photographs and text-heavy designs differently
For a photograph, start with a clean JPG
Start with your editor's high-quality JPG setting and inspect the saved file, especially hair, foliage, skin and smooth skies. If the export introduces block patterns or smears texture, increase its quality. Quality scales vary between exporters, so a value of 85 in one tool need not match 85 in another.
Keep the chosen dimensions and avoid forcing the file under an arbitrary target such as 200 KB unless your upload workflow actually requires it. Excessive compression at this stage discards detail before Instagram receives the image.

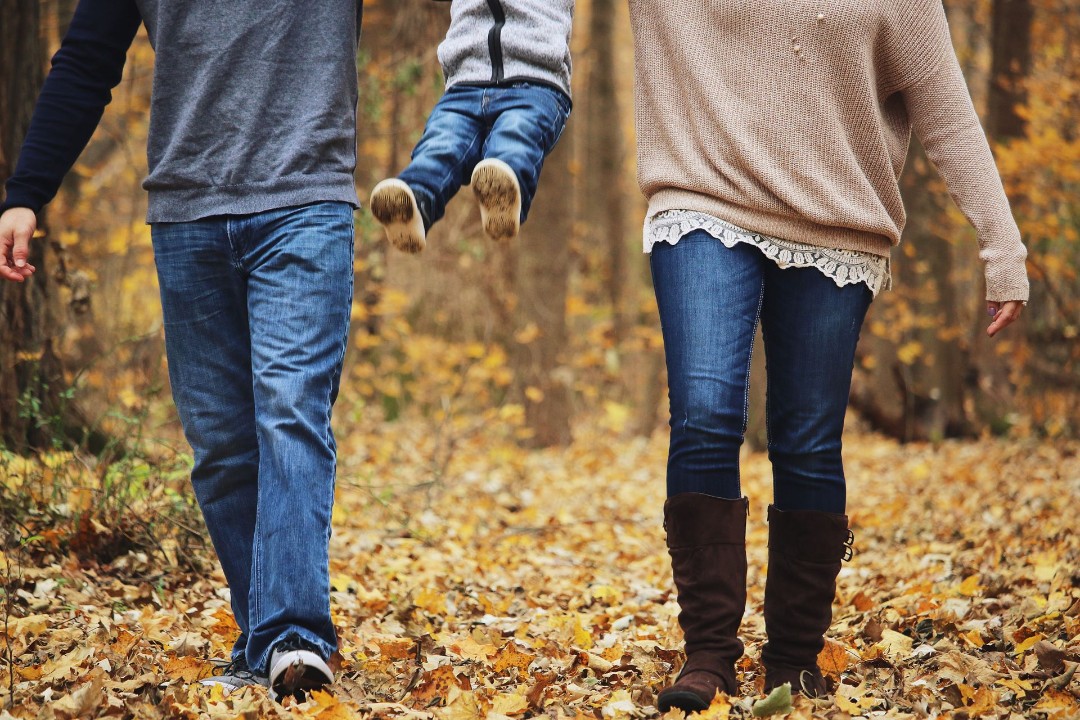
Pixilo JPG exports from the same resized source: quality 90 vs 20, both 1080 × 720 px. Drag the divider to inspect the knit and denim. These are local exports before upload, not results from Instagram.
For lettering, logos and diagrams, compare PNG
PNG preserves its encoded pixels without lossy compression; JPG trades some image information for a smaller file. The MDN image-format reference explains the distinction. Exporting a text-heavy design as PNG can prevent JPG artifacts in the file you upload. Instagram can still process that file.
Open the downloaded graphic on a phone at roughly the size of a post. If the headline is difficult to read without zooming, increase its size, strengthen its contrast or shorten it in the design. A larger export cannot make a dense page of tiny text comfortable to read in a feed.
For a blurry Canva download, check the source images, design dimensions, file type and filters, as described in Canva's guidance. Our Canva troubleshooting guide includes real exports to inspect. If the graphic needs a specific background, include it in the design before exporting.
Prepare Stories separately
For a full-screen still-image Story, 1080 × 1920 pixels at 9:16 is a practical starting canvas. Prepare that composition from the original rather than enlarging a smaller feed export to fill the Story. The feed-photo specifications above do not describe how Stories are delivered.
Zooming a landscape photo to fill a tall frame uses only part of the source. Check the detail left in that crop. If it is too small, keep the whole photo on a background or choose a different original. In the Story preview, check that captions and important details are clear of the app's controls and any stickers you add.
If the file is sharp, check the app and upload settings
Use an up-to-date Instagram app and a stable connection. If your app offers Upload at highest quality, you can enable it under your profile menu → Media quality. Menu names may vary. Instagram's instructions document this setting for Reels; treat it as an optional check for still photos, rather than the main fix.
If you normally publish through a scheduling service, one direct upload of the same file can help isolate that part of the workflow. Keep the placement and crop consistent. Wi-Fi can make the test easier to repeat, but does not itself make the picture sharper.
Run a controlled test before changing everything
Choose one detail to judge and change one thing at a time. Start with an existing post and its local export; make a new test post only if needed.
- Inspect the export on your phone. Confirm its dimensions and check the chosen detail. Fix any defect that is already present here.
- Open the full published post on the same phone. Compare the same detail at a similar displayed size. For a new test, let the upload finish and avoid extra zoom, filters or layout changes.
- Check another view if the difference persists. Open the full post in a browser or on another device. A different appearance is a clue to investigate viewing conditions; it does not identify the cause on its own, because displays and apps can also render images differently.
For an export comparison, keep the crop and dimensions unchanged when testing JPG against PNG. If testing the larger original against your 1080-pixel-wide export, keep the framing and upload edits consistent. Judge the visible result, rather than choosing whichever file has more bytes.
Recognize problems another export will not solve
If the export is sharp and only one viewing device shows a problem, investigate that view before making larger files. Update or restart the app, reopen the post on a reliable connection and check whether other posts show the same issue.
If edges remain sharp but the photo is darker, flatter or less saturated, investigate colour and HDR handling separately. See why image colours change between apps and devices. Sharpening a colour mismatch does not solve it.
If the problem persists, keep the original and record the device, app version, placement and steps that reproduce it for an Instagram problem report. Pixilo can prepare a fresh export, but cannot change how Instagram processes or displays it.
Instagram image quality checklist
Complete the five file checks before uploading, then finish the two checks after publishing.
Before uploading
After publishing
Frequently asked questions
Why is the photo sharp in my camera roll but blurry on Instagram?
Check the exact file selected for upload; it may be a smaller or compressed copy of the camera original. If that file is clear, compare it with the full post on the same phone. Instagram's processing, in-app edits and the viewing conditions are the next things to investigate.
Should I export at 1080 pixels or upload the full-resolution photo?
Start with a 1080-pixel-wide feed export so you can inspect the resize before upload. Instagram also accepts larger originals and resizes them. Keep the original for comparison if the published photo still looks soft; do not enlarge a small source just to reach 1080 pixels.
Is PNG always sharper than JPG on Instagram?
No. PNG can preserve text and graphic edges better in the file you provide, while a well-exported JPG can be suitable for a photograph. Instagram still processes uploads, so format alone does not guarantee the sharper published post.
Does 300 DPI make an Instagram photo sharper?
Changing only the DPI or PPI metadata adds no pixels. Check the actual width, height and retained crop. A 1080 × 1440 image contains the same number of pixels whether its metadata says 72 or 300 PPI.
Will Upload at highest quality stop Instagram compressing photos?
Instagram can still process the image with this setting enabled. Its documentation describes the option for Reel uploads and notes that higher-quality uploads may take longer. Check it, then judge your still photo from the published result.
Why is only one carousel slide blurry?
Check that slide's source file, export dimensions and crop first. If the saved file is clear, reopen the carousel in another view. If a test post is practical, trying the exact file as a single-photo post can help isolate the publishing path. The result does not establish a general rule about carousel quality.
Why does my grid thumbnail look blurry or cropped when the post is fine?
The grid thumbnail is a smaller preview with its own framing. Judge image detail in the full post, and check the grid separately for composition. If the full image is clear, increasing JPG quality will not fix a subject cut off by the thumbnail crop.
Prepare the file you want Instagram to receive
Choose a suitable shape, keep the subject intact and inspect the download before uploading.
Prepare your social imageAdjust the crop first → ChatGPT
 Grok
 Google
 Perplexity
 Claude