Website images
Why Do Image Colors Look Different on My Website?
Find out why a photo or logo looks different on your website. Compare the files, check color settings and fix changes caused by the page or screen.
Start with three versions of the same image
A photo looks right in your image editor, but its colors change on your website. It is tempting to make the photo brighter or more colorful. First check whether the problem is in the image, the page or the screen.
You will compare three versions: the original, the copy you saved for the website and the image the website actually shows. Saving a finished copy from an editor is often called exporting. The website may then create its own smaller or compressed copy.
- Keep the original. Use the original photograph or editable design file as your reference. Work on copies so you can return to it.
- Check the saved copy. Open it in your image editor alongside the original. Then drag the saved file into a browser tab to see how it looks there.
- Check the website's copy. On a computer, right-click the image on the published page and look for Open image in new tab or a similar option. The steps below explain what to do if that option is unavailable.
- Compare the same area. Use the same screen, similar image sizes and a similar background. Choose an area where the difference is easy to see, such as a product's fabric or a solid part of a logo.
For now, keep brightness and other screen settings unchanged. Comparing one image on a phone with another on a laptop makes it harder to tell whether the file or the display caused the difference.
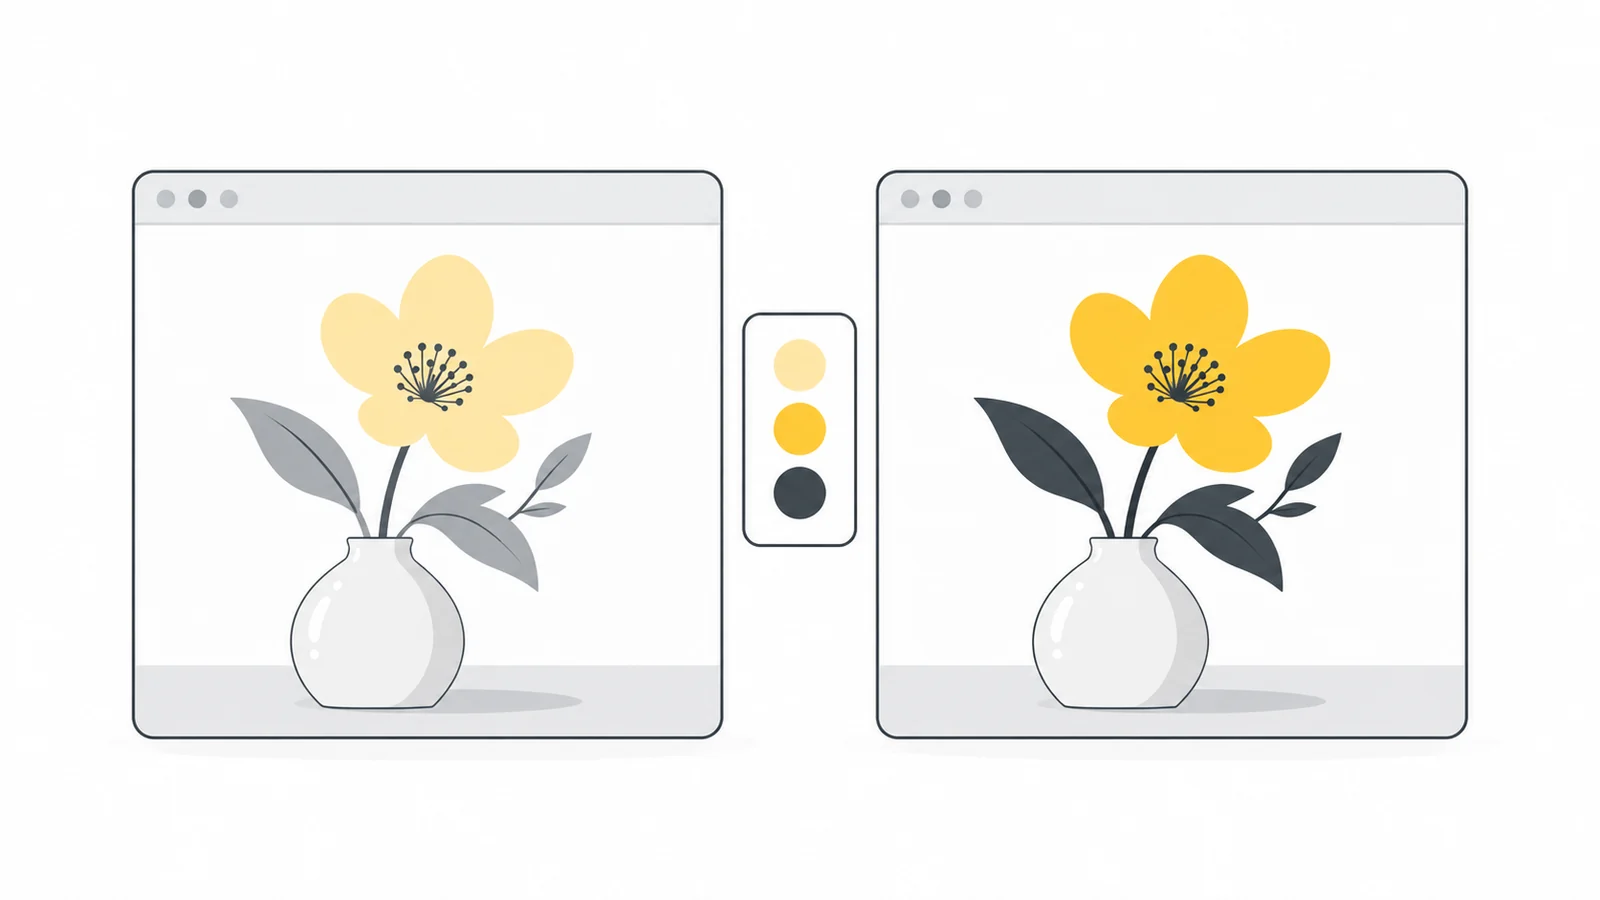
Choose the next step from what you see
| What you see | What to check next | Where to start |
|---|---|---|
| The saved copy differs from the original | How the editor saves colors | Prepare a new web copy |
| The same file looks different in two apps | How the apps read its color profile | Check the profile before editing colors |
| The saved copy is fine, but the website's copy differs | Changes made after upload | Check the website's image processing |
| The website's image looks fine in its own tab | Page effects and background | Check the page's appearance settings |
| The same file differs between screens | Display settings and lighting | Compare under similar viewing conditions |
What is a color profile, and why does it matter?
An image stores colors as numbers. A color profile tells an app how those numbers should look. When the profile is saved inside the image file, it is called an embedded profile. You may also see it called an ICC profile, which refers to the standard used for these profiles. The International Color Consortium's FAQ explains how they work.
sRGB is a widely used way of defining colors for website images. Think of it as a shared set of color instructions. It is a practical choice for ordinary photos and graphics that will appear on many different devices. Adobe RGB and Display P3 define different, wider ranges of colors.
If color information is missing or read incorrectly, an app may display the image differently. However, a missing profile does not automatically mean the file is wrong. A file already prepared for sRGB may still look as intended. The problem is assuming the wrong instructions for the colors it contains. See Adobe's explanation of image profiles.
A display also has its own profile, which describes how that screen reproduces colors. Keep that separate from the image's profile: your monitor's profile is not the one to attach to images for every visitor.
Use color conversion, not just a new profile label
Image editors may offer both Assign Profile and Convert to Profile. They do different things:
- Assign Profile gives existing color numbers a different interpretation. The numbers stay the same, but the picture can change.
- Convert to Profile adjusts the numbers for a different set of color instructions, aiming to keep the picture's appearance.
To make an sRGB copy of a correctly identified Adobe RGB image, use conversion. Simply assigning sRGB can change the colors. Some very vivid colors cannot be reproduced exactly within sRGB's smaller range, so review the result. Adobe's profile instructions describe both commands.
If the original profile is unknown, look for the original design file or ask its creator. Do not choose a profile just because it makes the picture more colorful. An editor may have assumed a profile when it opened the file, so the profile it currently reports does not prove which one was used to create the image.
Save a web copy with sRGB colors
For an ordinary website photo or graphic, create a separate sRGB copy and keep the original. You need an editor that supports color conversion; Photoshop is one example. Another editor may offer Convert to sRGB in its export settings.
- Check the original's profile. Look in the editor's document color settings. In Photoshop, open Edit → Convert to Profile and read Source Space. If the app warns that the profile is missing, use the original file's settings or ask its creator before guessing.
- Choose sRGB for the copy. In Photoshop's conversion dialog, select sRGB IEC61966-2.1 as the destination. Turn on Preview to inspect the change, then confirm. Adobe provides the full Photoshop workflow.
- Save or export the copy. If the exporter offers Embed Color Profile, include the matching sRGB profile. Conversion changes the color numbers; embedding saves the instructions needed to read them.
- Reopen the saved file. Check it in your editor and browser before uploading. Use a separate filename so you can identify the new copy.
If your editor has no color-profile controls, check its documentation for how it exports colors. Ask the designer for an sRGB web copy if you cannot verify the settings yourself.
Choose the file format separately. JPG is often suitable for photographs; PNG can be useful for graphics that need a transparent background. Our web image formats guide explains the options. Switching from JPG to PNG alone does not repair incorrect color information.
Check whether the website changes the image
If the saved file looks right but the website's image does not, check what happens after upload. A website builder, image plugin or delivery service may resize, compress or change the format of an image.
Start with the image you opened in a separate tab. Save that copy to your computer and compare it with the file you uploaded, using the same image editor. A smaller image size is not proof of a color problem, but it confirms that you may be comparing different versions.
If you cannot open the image directly
The browser's developer tools can show which file the page loads. This is easiest on a computer:
- Open the page, then open the browser menu and look for Developer tools, often under More tools.
- Choose the Network tab and reload the page. This lists the files the page loads.
- Use the image filter, usually labeled Img or Images. Select a file and check the Preview tab to find your image.
- Right-click its entry in the list and choose Open in new tab if available. Otherwise, copy its web address, also called its URL, and paste it into a new browser tab. Save that image for the comparison.
Chrome's Network panel guide illustrates these tools. Menu names and layout can differ between browsers.
The selected image can change between phone and desktop layouts. The responsive images guide explains this in more detail.
If you do not manage the website's technical settings, send the original upload and the website's copy to the person who does. Ask them to check whether image processing removes the color profile or converts the colors incorrectly. After a fix, the site may need to recreate its image copies and clear its cache, which stores previously generated files. Check that you are viewing the new version.
Color information is different from private details such as a photo's GPS location. Removing all metadata, meaning information stored alongside the picture, can also remove its color profile. Check both privacy and appearance when making a sharing copy. The photo metadata guide covers that process.
Check page effects and the background
If the website's image looks right in its own tab but different on the page, the page may be changing its appearance. Try switching between the site's light and dark themes, and check whether the image changes when you move the pointer over it.
- Color or brightness effects: a theme can make images darker, less colorful or gray. These effects are often called filters. The MDN filter reference shows how they affect an image.
- Partial transparency: an image or its surrounding section may let the background show through, making colors look faded. This setting is called opacity. It can affect the image even when applied to the section around it; see MDN's opacity explanation.
- A layer over the image: a colored overlay or hover effect can tint the picture without changing its file.
- A different background: transparent and partly transparent areas blend with the page background. Even solid colors can appear different when surrounded by white instead of dark gray.
Compare a transparent image on the same background used in the design. If it only looks wrong against a particular background, review the design for that placement. The transparent background guide explains the options.
Check your page editor or theme settings for image effects. If you need help, tell the site's developer that the image looks correct on its own and ask them to check filters, opacity and overlays. They can temporarily disable individual style rules to identify the cause. MDN's CSS debugging guide explains that method.
Compare screens under similar conditions
If the same file looks different on two screens, keep the file unchanged while checking the displays. Different brightness settings, room lighting and display capabilities can affect what you see.
Temporarily turn off settings that deliberately change the display's appearance. Apple's Night Shift makes the screen warmer, and True Tone adjusts its color and intensity to the surrounding light. See Apple's display settings guide. On other devices, look for settings such as a blue-light filter, night mode or vivid color mode.
If the whole page has a similar warm or vivid appearance, display settings are a useful place to start. If only one photo differs, return to that photo's color information and check whether it is an HDR image, as explained in the FAQ.
If accurate product colors matter, use a calibrated display as a reference. Calibration adjusts the display toward a known target; a display profile describes how it reproduces colors. The ICC FAQ explains these roles. Correct image preparation helps consistency, but it cannot make every visitor's screen look identical.
Example: a product photo looks dull in the browser
Imagine a product photo whose original file has a known Adobe RGB profile. It looks right in the editor, but the saved copy looks dull in a browser. This is a hypothetical example; losing a profile does not affect every image in the same way.
- Find the first difference. The saved file already differs before upload, so start with the editor's export settings.
- Check what was saved. In this example, the export lost its Adobe RGB profile without converting the colors to sRGB.
- Make a new copy from the original. Convert it to sRGB and save it with matching profile information.
- Compare before uploading. Open the new copy in the editor and browser on the same screen.
- Check the website too. Upload the copy and compare the image the page actually uses.
Increasing saturation, which makes colors more vivid, might make the first export look better in one app while making it too colorful in another. Fixing the export addresses the cause and keeps the original useful for other purposes.
Use Pixilo after preparing the colors
Once the saved copy has the colors you want, use Pixilo to resize it for the page or reduce its file size. Keep the copy you prepared so you can compare it with the download.
Pixilo provides resizing and compression, but it has no controls for repairing or selecting color profiles. Its resizing and many format conversions use the browser to redraw the image. If you need to keep Display P3 or HDR features, check the output carefully; do not assume that every operation preserves them.
Start with one image before processing a batch. Compare its important colors and details after downloading, then check the published result. If the difference appears only after upload, investigate the website's processing or page effects.
Frequently asked questions
Should I always convert Display P3 images to sRGB?
No. Display P3 allows a wider range of colors and can be useful when the website and viewers' devices support it. If you are unsure how your website handles it, an sRGB copy is a simpler starting point for ordinary publishing. Keep the original. WebKit explains how profiled images are matched to a display.
Why does my phone photo lose its bright highlights?
The original may be HDR, short for high dynamic range, which can show a greater difference between dark and bright areas. A standard image copy may not retain that appearance. Look for an export option for standard dynamic range, sometimes called SDR. An editor may call the adjustment tone mapping: fitting HDR brightness into the standard range. Review the result, especially highlights and shadows. Changing the color profile alone does not do that job. WebKit's HDR overview explains the display capability.
Does PNG guarantee accurate colors?
No. PNG can keep the saved pixel values unchanged, but an app still needs to interpret those values correctly. Switching formats cannot repair a wrong or unknown color profile.
What if the designer sent me a CMYK image?
CMYK uses cyan, magenta, yellow and black for print. RGB uses red, green and blue for screen images. Ask for a separate sRGB web copy, or create one in an editor that supports color conversion. Keep the print original. Adobe's color modes guide explains the difference.
Why does my logo not match the page's color code?
A code such as #336699 is a hex color code; on a web page, it describes an sRGB color. A logo prepared with different color instructions may not match. Also check transparency and page effects. Compare a solid area inside the logo, since its smooth edges may contain partly transparent pixels. MDN's hex color reference explains the notation.
Check the colors, then reduce the file size
Keep the original, prepare a web copy and compare it with the published image. When the colors look right, compress the copy and check the download before using it on your website.
Compress your prepared imageRead the compression guide → ChatGPT
 Grok
 Google
 Perplexity
 Claude