Image sharing
How to Reduce Word Document Size by Optimizing Images
Reduce Word document size by optimizing pictures. Follow Windows, Mac and web workflows, choose suitable image resolution and preserve readable detail.
A short Word document can be surprisingly large. A report with a few pages of text may also contain camera originals, full-page scans or screenshots with far more pixels than the reader needs. Making those pictures look smaller on the page does not reliably remove the extra image data.
A photo in an internal report and a scanned technical drawing need different treatment. This guide covers DOCX documents: both pictures already inside Word and images you have not inserted yet.
Pixilo works with image files, not Word documents. It does not open or compress DOCX files. Use Word to optimize an existing document, or use Pixilo to prepare image copies that you will insert yourself.
Start with a working copy and a clear target
Keep your editable master and original images. Save a separate copy such as project-report-sharing.docx and record its file size. For a cloud document, download a baseline copy to compare actual files.
Decide what the recipient needs. Will they read it on a laptop, print it, inspect small screenshot labels or edit the document? If an upload form imposes a size limit, check that it accepts Word files and note the limit before changing anything.
| What you notice | A useful starting point |
|---|---|
| Many large photographs | Test Word's picture compression on a representative photo. |
| Screenshots with tiny labels or scanned pages | Check the smallest text before reducing resolution; remove irrelevant margins where appropriate. |
| Photos with large areas cropped out in Word | Review whether the sharing copy needs to retain the hidden areas. |
| Only a few modest pictures, but a large DOCX | Investigate embedded objects, fonts and other stored content. |
Choose test pictures that represent the document's content, especially any small labels or thin diagram lines.
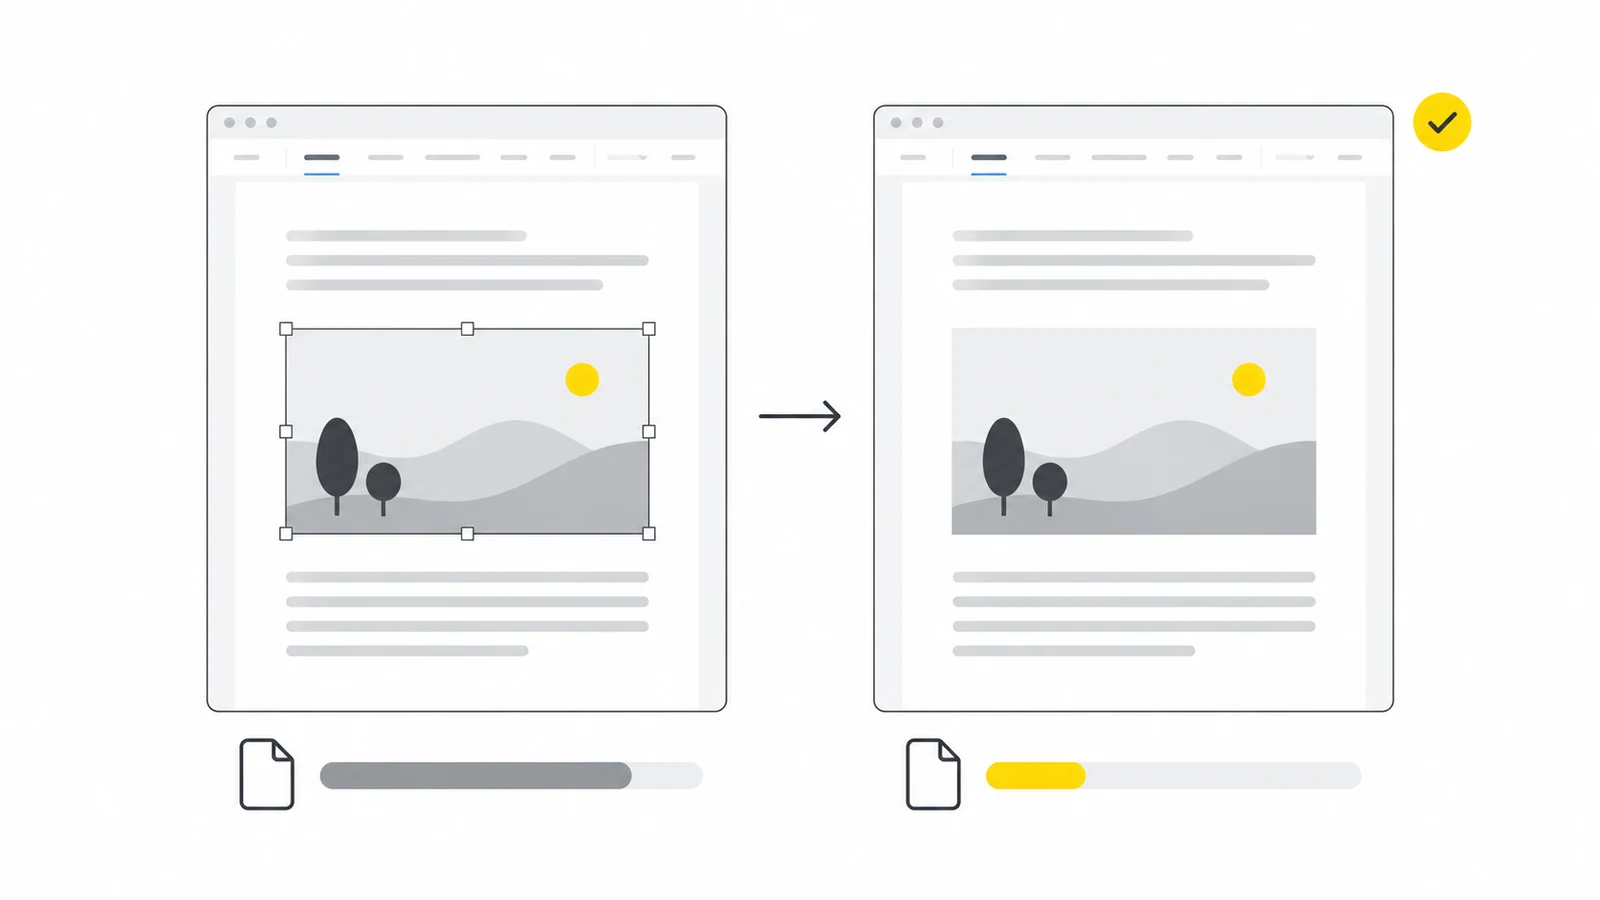
Compress pictures already inside Word
Test one picture first, then inspect it in the saved document.
Word for Windows
- Select a picture. Open Picture Format → Compress Pictures. The tab appears when a picture is selected.
- Keep Apply only to this picture selected to limit the test.
- Choose a resolution. Try 150 ppi for ordinary photos in a report read mainly on screen. Start at 220 ppi, or retain the source detail, for small screenshot text or fine lines. For demanding print work, retain the source detail or follow the printer's requirements. These are starting points to test.
- Keep cropped areas initially. Leave Delete cropped areas of pictures unchecked until you have decided whether those areas are needed.
- Confirm, save and reopen the copy. Inspect the picture at the size readers will use and compare the saved DOCX size.
See Microsoft's Word file-size instructions for the Windows controls. If you choose Use default resolution, check File → Options → Advanced → Image Size and Quality first. The document's default may be High fidelity, which prioritizes preserving detail. Microsoft's resolution-setting guide explains that option.
Word for Mac
- Select a picture and open Picture Format → Compress Pictures.
- Choose Picture Quality. Use the resolution guidance above if ppi values are shown; higher settings retain more detail.
- Choose Selected pictures only for the test.
- Leave Delete cropped areas of pictures unchecked initially.
- Apply, save and reopen. Inspect the result and compare file sizes.
File → Compress Pictures processes all pictures. Menu wording varies by release; see the macOS section of Microsoft's compression guide.
Word for the web
Microsoft does not offer these picture-compression controls in Microsoft 365 for the web. Open a copy in desktop Word, or prepare smaller image files separately and replace the oversized pictures in the browser editor.
The browser editor can crop a picture, but cannot delete its hidden cropped areas. Use desktop Word to remove that data, or insert an image cropped beforehand. Microsoft's cropping guide explains this limitation.
Expand the scope only after the test
On Windows, clearing Apply only to this picture can override earlier settings for other pictures. Process all pictures together only if the chosen setting suits every image type; otherwise keep compression selective.
Choose resolution for the picture's size on the page
Pixels per inch (ppi) relates pixel dimensions to the picture's physical size on the page. It is separate from JPEG quality: two photos can have the same ppi and different file sizes.
To find the displayed width in desktop Word, select the picture and look for Width under Picture Format → Size. On a narrow ribbon, expand the Size group. Labels may vary by version; Microsoft's sizing instructions show the Windows and Mac controls. Read the measurement without changing it.
For a source image, calculate width in inches × target ppi = pixel width. If Word shows centimetres, divide the width by 2.54 first. Six inches equals 15.24 cm:
| Target resolution | Pixel width | What to assess |
|---|---|---|
| 150 ppi | 900 pixels | A starting point for ordinary photos; check that needed detail remains clear. |
| 220 ppi | 1,320 pixels | A more detailed test copy for screenshots and illustrations; inspect the smallest text. |
| 300 ppi | 1,800 pixels | A possible starting point for detailed print content; follow the printer's requirements. |
These calculations assume an uncropped picture. For example, a 6,000 × 4,000 photo placed at six by four inches (15.24 × 10.16 cm) needs 1,320 × 880 pixels for 220 ppi. You can resize a source copy to those dimensions before insertion. Choosing 220 ppi in Word instead asks Word to process the embedded picture; it does not guarantee a file with exactly those dimensions, especially with a crop.
More pixels cannot repair blur or make physically tiny screenshot labels larger. If a figure is difficult to read, enlarge it on the page or include a detail view. See the DPI, PPI and pixels guide for more on the units.
Understand what Word may retain after an edit
Word can retain the hidden parts of a cropped picture for later adjustment. Once the framing is final, removing those areas may reduce the file size.
After approving the composition, you can choose Delete cropped areas of pictures in the compression dialog. Treat the deletion as permanent for that saved copy: changing your mind later may require the original image. Microsoft's cropping instructions explain the retained areas and their removal.
Windows Word also has Discard editing data under File → Options → Advanced → Image Size and Quality. It removes stored information used to restore picture edits. Check the selected document before enabling it. It is a separate decision from choosing a lower resolution.
Cropping is not redaction
A picture's invisible edges may still be present in an editable document. If part of an image contains private information, prepare a copy with that content removed before inserting it and review the final document for other copies. A smaller file size does not demonstrate that hidden information has been removed.
Prepare oversized source images before inserting them
For a new document or a few oversized pictures, prepare image copies from the original files before inserting them.
- Decide the framing. Use Crop Image to remove empty margins or irrelevant surroundings while preserving context.
- Set an appropriate pixel size. Use Resize Image with the aspect ratio locked. Plan from the picture's intended size on the page, rather than the width of the entire monitor.
- Choose a format for the content. Test JPG for photographs. Keep PNG for screenshots, transparency or graphics where JPEG artifacts damage text and lines. The JPG vs PNG guide shows why those uses differ.
- Test compression if needed. Compare a compressed copy with the source. For a photographic PNG without needed transparency, try PNG to JPG.
- Insert the chosen file. Select the prepared copy using Word's picture-insertion command.
Use only the steps each image needs. Repeated JPG exports can introduce successive lossy changes; for several edits, consider an editor that combines them before one final export. MDN's format reference explains the JPEG and PNG tradeoffs.
Pixilo supports images up to 25 MB each. Check the linked tool's dimension and batch limits before preparing large scans. Keep Word charts and diagrams editable when recipients need to change them.
Replace pictures without losing the layout
Before replacing an image, note its displayed width and height, crop, text wrapping and position. A replacement with a different aspect ratio can change the framing or move surrounding text.
- Select the existing picture in desktop Word.
- Open Picture Format → Change Picture. In older versions, the tab may be called Format.
- Choose the file source, browse to the prepared image and select Insert. See Microsoft's replacement instructions for version differences.
Check the replacement's framing, dimensions and wrapping. If you delete and reinsert instead, restore those settings deliberately. A tighter crop or different subject may also need revised alternative text.
What if the document is still large?
If the saved DOCX barely shrinks, identify what is still taking up space before lowering image quality again.
| Possible explanation | Next check |
|---|---|
| Only the test picture was processed | Review the operation's scope and decide which other pictures can use the same treatment. |
| The source is already small or compressed | Compare a few actual image files. Avoid damaging acceptable pictures for a negligible saving. |
| The default preserves more detail than expected | Check the selected document and its resolution and automatic-compression settings. |
| The document contains many scanned pages | Test a detailed page separately. Preserve small text, and consider a scanning or OCR workflow if searchable text is required. |
| Embedded objects or fonts account for much of the file | Review their purpose before replacing or removing them. |
Check the automatic-compression setting on Windows
Under File → Options → Advanced → Image Size and Quality, clear Do not compress images in file if you want automatic compression enabled. Select the intended document, avoiding All New Documents. See Microsoft's setting guide. Use Compress Pictures for a deliberate test of existing images.
Review fonts and embedded objects separately
Embedded fonts and spreadsheets can add substantial data. Removing embedded fonts can change pagination; replacing an object with a picture removes its editing features. Embedding only the font characters already used saves space but restricts later text edits. Consult Microsoft's font guidance before changing these options.
Optional: find the largest embedded pictures
A DOCX is a ZIP-based package. For an advanced check, open a duplicate with an archive utility, renaming the duplicate's extension to .zip if needed. Inspect sizes under word/media, then make changes in Word. Do not edit the archive or assume its filenames match page order. See Microsoft's Open XML overview.
Consider another delivery method
For reading only, a PDF may be suitable. Windows Office's Minimum size export option can help, but the PDF needs its own quality and size check; the DOCX stays unchanged. See Microsoft's export instructions. If recipients need Word editing, a controlled-access sharing link can avoid an attachment limit without reducing the document itself.
Check the saved sharing copy
- Compare the files. Use the same size measurement for the original and the new DOCX. If there is a strict upload limit, leave some room for subsequent edits.
- Reopen the exact copy you will send. Check photos, screenshot labels, chart text and thin lines at the intended reading size.
- Review the document layout. Look for changed crops, displaced pictures, broken captions, table shifts and different page breaks.
- Test the real output. For print, inspect a representative printed page. For a PDF deliverable, check the exported PDF separately.
Frequently asked questions
Does making a picture smaller on the page reduce the Word file size?
Not reliably. Its displayed dimensions and its stored image data are different things. Test picture compression or replace an oversized source, then save and compare the DOCX files.
What resolution should I choose for a Word document?
Try 150 ppi for ordinary report photos; retain more detail for small text and demanding print work. A document with mixed content may need different settings for different pictures. Raising the setting cannot restore detail already lost from the source.
Should I convert all the pictures to JPG?
No. JPG can work well for photographs but can introduce artifacts around text and thin lines. It also cannot preserve transparency. Compare formats on representative images and keep editable graphics when editing matters.
Will putting a DOCX in a ZIP file make it much smaller?
Often there is little room for a large saving because DOCX already uses ZIP-based packaging. Optimize the content when you need a meaningful reduction, and measure the final file rather than assuming another archive will solve the limit.
Can Pixilo reduce the whole Word document to a particular size?
No. Pixilo can optimize individual supported images, but it cannot enforce a size limit for the DOCX that contains them. Save the finished document and check it against the receiving system's requirements.
Prepare smaller images for your next document
Optimize image copies, insert the versions you want and check the saved Word document before sharing it.
Compress images for WordResize oversized images → ChatGPT
 Grok
 Google
 Perplexity
 Claude