Website images
DPI vs PPI vs Pixels: Image Size for Web and Print
Understand DPI, PPI and pixel dimensions. Calculate print sizes, choose website image dimensions and avoid resolution changes that add no real detail.
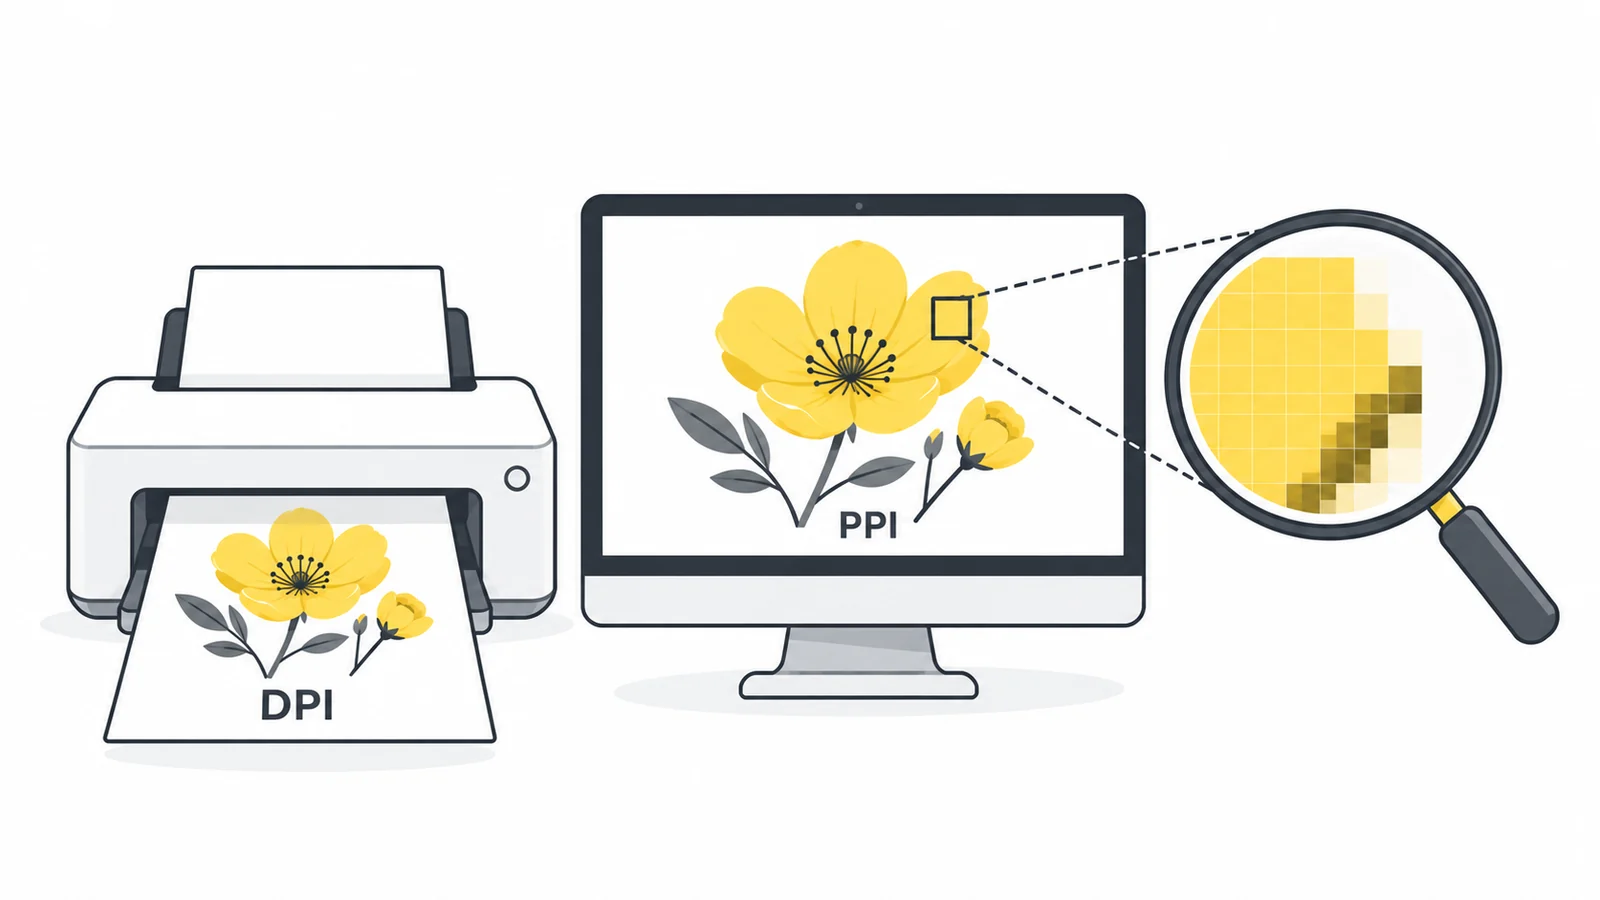
DPI, PPI and pixels: three different questions
An image may be described as 2400 × 1600 pixels, 300 PPI and 2 MB at the same time. Those measurements describe different properties. Mixing them up can lead to enlarging a small picture unnecessarily or shrinking a useful original when all you needed was a different print setting.
| Measurement | Meaning | Useful question |
|---|---|---|
| Pixel dimensions | Width and height of the image’s pixel grid | Do I have enough pixels for this placement? |
| PPI | Pixels assigned to each inch at a specified physical size | How densely will these pixels be used in a print? |
| DPI | Dots per inch produced by a printer | What output setting does the printer use? |
| File size | Storage or download size, such as KB or MB | Will it fit the upload limit or download budget? |
Printer dots are not interchangeable with image pixels. A printer can use multiple dots to represent a pixel’s color. You should not resize a photograph to a printer’s advertised maximum DPI number. Epson’s print resolution guidance distinguishes input PPI from printer output resolution.
People commonly say “300 DPI image” when asking for a print-ready photograph. Before changing anything, establish whether the request means enough pixels at the final print size, a resolution value stored in the file, or both.
Start with the pixels you actually have
A 2400 × 1600 image contains 3,840,000 pixels, or about 3.84 megapixels. Its proportions are 3:2. Neither the megapixel count nor a PPI label tells you whether the subject is sharp, but the width and height provide the starting point for planning an export.
Check the actual file rather than a preview thumbnail or a copy downloaded from a messaging app. A phone may have captured a large photograph while the version you received has far fewer pixels. Increasing the small copy’s dimensions cannot recover the original camera data.
Also separate dimensions from file size. Two pictures with the same width and height can have very different download sizes because their content, format and compression differ. A 2 MB limit is not a pixel dimension, and changing a PPI field is not a reliable way to meet it.
If you need to change the pixel grid, use the image resizer and keep the aspect-ratio lock on unless distortion is intentional. If you need a different shape, crop the image first. Cropping removes content; proportional resizing retains its shape while changing the number of pixels.
Calculate print size from pixels and PPI
For a 20 × 15 cm print at 300 PPI, calculate each side as centimeters ÷ 2.54 × 300. Rounding upward gives 2363 × 1772 pixels. Confirm any extra border or bleed with the printer.
The relationship is straightforward: divide an image dimension in pixels by the intended PPI to find its size in inches. Multiply inches by 2.54 to convert to centimeters. Apply the calculation to both width and height.
| Print density | Size in inches | Approximate size in centimeters |
|---|---|---|
| 300 PPI | 8 × 5.33 | 20.32 × 13.55 |
| 200 PPI | 12 × 8 | 30.48 × 20.32 |
| 150 PPI | 16 × 10.67 | 40.64 × 27.09 |
The table changes the physical print size, not the original pixel count. A larger print spreads the same pixels over a larger area. Whether that looks acceptable depends on the picture, viewing distance, paper and printing process.
To work in the other direction, multiply the required width and height in inches by the requested PPI. For an 8 × 6 inch print at 300 PPI, the target grid is 2400 × 1800 pixels. For a size in centimeters, divide by 2.54 first.
A worked example: fitting a photograph to a print
Suppose your photograph is 2400 × 1600 pixels and you want an 8 × 6 inch print. The source has a 3:2 shape, while the print is 4:3. Merely changing its PPI value does not make those shapes match.
- Choose the framing. If the print must be filled without stretching, crop the source to 4:3. Keeping the full 1600-pixel height leaves a width of about 2133 pixels. Check that the subject still fits.
- Calculate the available density. At 8 × 6 inches, that crop provides about 267 PPI on each side. This is lower than 300 but may be acceptable to your printer.
- Ask about the requirement. Confirm whether 300 PPI is a strict submission rule or a preferred target. Do not assume a slightly lower value will be accepted.
- Consider alternatives. Use a higher-resolution original, choose a smaller print or allow borders to retain more of the source.
- Inspect a proof. Check the subject’s sharpness at the physical size and viewing distance that matter, rather than relying only on a resolution label.
If you enlarge the crop to 2400 × 1800, the dimensions meet the arithmetic target, but the added pixels are calculated from existing information. The export has not gained the detail of a photograph originally captured at that size.
For artwork with small lettering, ask about the proper production workflow. A raster photo export may be unsuitable when the printer expects a layout file or vector artwork. Pixilo is an image preparation tool, not a prepress application.
Changing PPI is different from resampling
In an editor with a resolution field, changing PPI without resampling keeps the pixel grid and changes its assigned physical size. Adobe’s resizing and resampling explanation describes this distinction. Check the resampling option before accepting a change.
With resampling enabled, changing dimensions can remove pixels or create additional ones. Downsampling is useful when the source is unnecessarily large for its destination. Upsampling can satisfy a required pixel count, but it does not recover missing source detail.
Use a copy for either operation. Record the original dimensions, the final dimensions and the intended destination. If the file size or appearance changes unexpectedly, that record makes it easier to tell whether you changed only the resolution assignment or also re-exported the image.
A metadata-only PPI change does not make the underlying picture smaller in the way reducing dimensions can. An application may still change the file size during saving because it re-encodes the image or rewrites metadata. Do not treat that as proof that PPI itself compressed the picture.
In Photoshop, open Image → Image Size. Turn off Resample to change the print resolution while keeping the pixel dimensions. Turn it on only when you also want to change the number of pixels. Check width and height before saving a copy.
For websites, plan around the display size
A website image does not need a universal “72 DPI” setting. In normal web layouts, the relevant choices are the source pixel dimensions, the space it occupies in CSS and the image version the browser receives. A PPI metadata label is not a substitute for those decisions.
For example, a picture displayed 600 CSS pixels wide could use a 600-pixel candidate for a standard-density display and a 1200-pixel candidate for a higher-density display. These are useful test widths, not a rule that every visitor must download the larger file.
Provide responsive variants when your publishing system supports them. The browser can choose among candidates according to the layout and device. Our responsive images guide explains srcset, sizes and why a large image made smaller with CSS can still be an unnecessarily large download. For the underlying HTML behavior, see MDN’s responsive images documentation.
Check important detail at the actual displayed size. A picture with plenty of pixels can still be blurry because the source was out of focus, compression was too aggressive or the site serves a small thumbnail. Changing its DPI field does not fix those problems.
Keep the web and print copies separate when one original serves both. A small website export should not replace the larger source you need for print. For general placement planning, see choosing image sizes for websites.
What to do when a form asks for 300 DPI
Read the complete requirement. A form might specify 300 DPI, a physical size, a pixel minimum, an accepted format and a maximum file size. Each is a separate constraint, and satisfying only one can still produce a rejected upload.
- Physical size and PPI: calculate the needed pixel dimensions and check the source after any crop.
- Exact width and height: confirm whether the form requires a crop, permits borders or accepts another aspect ratio.
- A resolution field: use an editor that can explicitly set and verify the stored resolution. Do not assume a browser export keeps the original value.
- A file size limit: choose a permitted format and sensible compression after confirming dimensions. Keep text or fine detail readable.
- Color or production requirements: follow the destination’s instructions rather than treating pixel dimensions as complete print readiness.
Pixilo’s resizer changes pixel dimensions; it does not provide a control for assigning 300 PPI metadata or certifying a file for print. Its exports are browser-generated copies, so verify required metadata in an appropriate editor before submitting to a printer or a strict form.
If the remaining problem is a KB or MB limit, use Compress to a File Size. Keep dimensions unchanged first if they are mandatory. When the required size cannot be reached acceptably, ask the destination about another format or submission method rather than submitting a file that no longer meets its pixel requirement.
Diagnose blur, oversized files and rejected uploads
The picture is blurry despite “300 DPI.” Inspect the original dimensions and sharpness. A small image can carry that label without having enough pixels for a large print. An enlarged copy may also meet the dimensions while retaining soft source detail.
The image is much too large to upload. Check file size separately from pixel dimensions. If the destination allows smaller dimensions, resize proportionally. If it requires the existing dimensions, compare permitted formats and compression. See reducing image file size for the complete workflow.
The print is cropped unexpectedly. Compare the image’s aspect ratio with the selected paper or layout. “Fill” and “fit” settings can produce different results. Preview the crop and borders before ordering, especially near faces or text.
The form still rejects an apparently correct file. Inspect the actual downloaded copy for dimensions, format and required resolution metadata. Read the error message; the issue may be another constraint rather than insufficient PPI. Do not repeatedly recompress a file without identifying which check failed.
Frequently asked questions
Does changing 72 DPI to 300 DPI improve image quality?
No. Changing only the resolution assignment adds no detail. If an editor also resamples the image, it changes the pixel grid, but additional calculated pixels do not restore the original scene’s missing detail.
How many pixels do I need for a 300 PPI print?
Multiply each final dimension in inches by 300. An 8 × 6 inch print needs 2400 × 1800 pixels. Include any extra area required by the printer and account for the pixels lost when cropping.
Is 300 PPI always required?
No. The appropriate density depends on the job and the printer’s requirements. A close-viewed photograph and a large display viewed from a distance have different demands. Obtain the actual specification instead of assuming one number suits everything.
Does DPI affect a website image’s file size?
A resolution label alone does not reduce the pixel grid. For normal website optimization, work with dimensions, format and compression. Saving through an editor may change the file size for other reasons.
Can Pixilo make my image 300 DPI?
Pixilo can prepare suitable pixel dimensions, but it has no control for setting 300 PPI metadata. Use an editor with explicit resolution settings when the destination requires that stored value.
Choose the right pixel dimensions first
Keep your original, confirm the destination’s size requirements and resize a copy without stretching it. Check print metadata separately when it is required.
Resize an imageMatch the required aspect ratio → ChatGPT
 Grok
 Google
 Perplexity
 Claude