Website images
How to Resize an Image Without Stretching It
Resize an image without stretching: lock the aspect ratio, change one dimension and choose cropping or borders when you need a different shape.
Resize, crop or add borders: choose the right operation
A face that looks wider after resizing is usually a proportion problem. The image has been forced into a shape that does not match the original. Increasing export quality will not correct it; the width and height must be fixed.
Resizing changes the number of pixels. When done proportionally, it keeps the full scene and its shape. Cropping removes part of the scene to change the composition or aspect ratio. Adding borders places the whole picture inside a larger canvas, filling the unused area with a solid color or transparency.
Choose based on what must be preserved. A landscape photograph may tolerate losing some sky. A product photograph may need the entire object visible. A screenshot with instructions should not have the last line cropped off simply to fit a square.
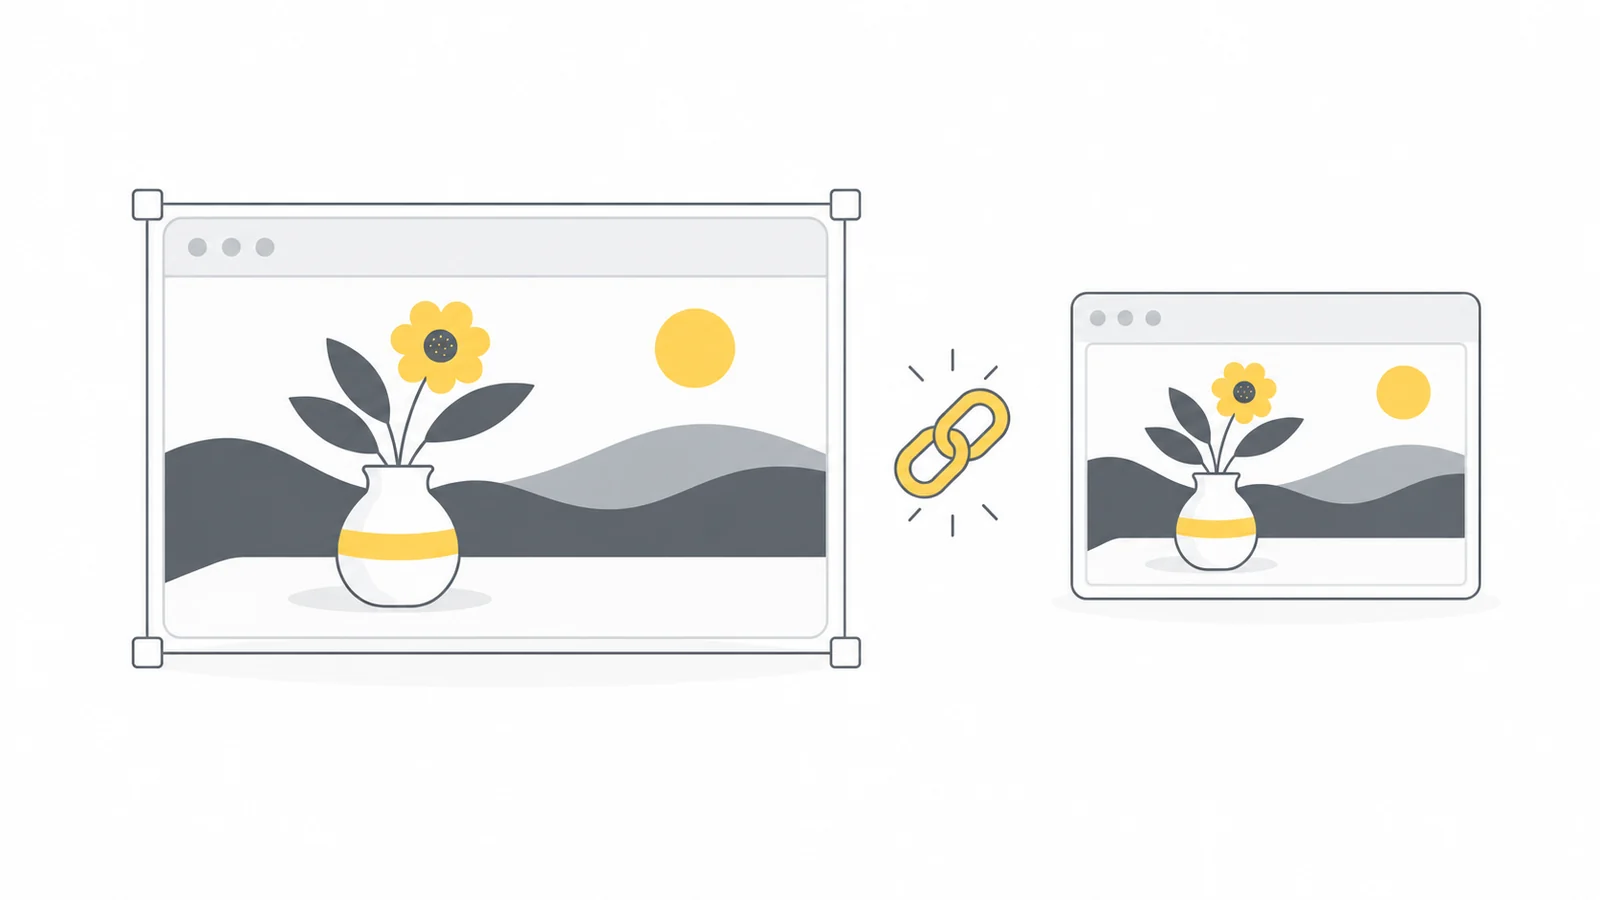
Resize proportionally with Pixilo
- Check the original dimensions. Use the image properties in your file manager or photo editor. Work from the full-resolution original rather than a preview downloaded from a message.
- Decide the destination size. Check the required dimensions or the space the image will occupy. Avoid enlarging a small source merely to reach an arbitrary number.
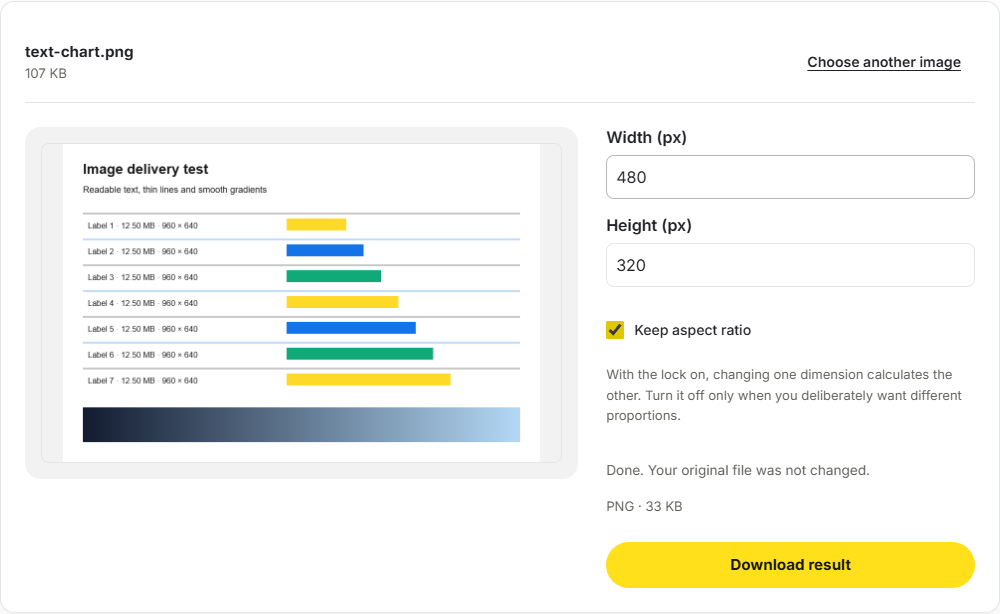
- Open Image Resizer. Keep the aspect-ratio lock on and enter the width or height you need. The tool calculates the other dimension automatically.
- Process and download the copy. Inspect the saved file at its intended display size and check its dimensions.
The aspect-ratio lock is on by default. For a 2400 × 1600 source, entering a width of 1200 calculates a height of 800. With the lock off, the values are independent and an empty field keeps that original dimension, which can stretch the result. Check both values before processing.
The tool redraws the picture and exports a new file in the input format for supported JPG, PNG and WebP images. JPEG and WebP re-export can change compression and detail. Keep the source if you may need a larger or differently cropped version later.
How to calculate dimensions that keep the same shape
The aspect ratio is the relationship between width and height. A 2400 × 1600 image has a 3:2 ratio. To make it 1200 pixels wide without distortion, set the height to 800 pixels.
The calculation is: new height = original height × new width ÷ original width. If you know the new height instead, calculate new width = original width × new height ÷ original height. Round to the nearest whole pixel where necessary.
| Original | New width | Matching height |
|---|---|---|
| 2400 × 1600 | 1200 | 800 |
| 1600 × 900 | 800 | 450 |
| 1200 × 1800 | 600 | 900 |
| 2000 × 2000 | 1000 | 1000 |
Halving both dimensions leaves one quarter of the pixels, because width and height both change. It does not promise a particular reduction in file size: that also depends on the format, image contents and compression.
How to turn a landscape photo into a square
Consider a 1600 × 900 photo that must become 800 × 800. A proportional resize to 800 pixels wide produces 800 × 450, leaving 350 pixels of height to fill. You have two sensible choices.
Crop to fill the square
Use the crop tool to select a square composition, keeping the subject and important details inside it. A 900 × 900 crop from the original can then be resized to 800 × 800. This fills the destination without stretching, but removes some content from the sides. Check the crop deliberately instead of always assuming the center is best.
Keep the full photograph with borders
Resize to 800 × 450 and place it on an 800 × 800 canvas in an editor that supports canvas sizing. Centering it leaves 175 pixels above and below. Match the border color to the intended background, or use transparency if the destination supports it. Pixilo’s current resizer does not add canvas padding automatically.
For a website, the display can also crop or fit an image without changing the source file. CSS object-fit: cover fills a box by cropping, while object-fit: contain keeps the whole picture visible. MDN’s object-fit reference explains this distinction. A CSS fix changes presentation; it does not make the downloaded image smaller.
Why a correctly resized image may still look soft
Keeping proportions prevents distortion, but it does not guarantee sharpness. Enlarging a small image creates additional pixels by estimating values between existing ones. It cannot reliably recover the original fine detail that was never present in the source.
Reducing an image can also make tiny lettering or thin lines hard to see. Review those details at the size the reader will actually use. If the result is too soft, try a larger output, a tighter crop around the important content, or a less compressed export.
A screen with a high pixel density may benefit from an image wider than its CSS display size. However, do not upscale a low-resolution original just to produce a “2×” file. Start with a sufficiently detailed source and use the website image size guide to choose dimensions for the layout.
How to fit an image inside maximum dimensions
Sometimes a service gives you a bounding box, such as “no more than 1200 pixels wide and 800 pixels high,” rather than an exact shape. To keep the whole image, calculate the scale for each limit and use the smaller one: scale = the smaller of maximum width ÷ original width and maximum height ÷ original height. Multiply both original dimensions by that scale.
A 3000 × 2000 landscape photo fits that box at 1200 × 800. A 2000 × 3000 portrait needs a different result: the height limit gives a scale of 800 ÷ 3000, so the output is approximately 533 × 800. Forcing both pictures to 1200 × 800 would stretch the portrait. If an image already fits within both limits, you can keep its existing dimensions rather than enlarge it.
Round the calculated dimensions to whole pixels and check that neither exceeds the maximum. A one-pixel difference from the ideal ratio is usually a practical rounding effect. A large difference, such as changing a 3:2 image to 3:4, is a different shape and should be handled with cropping or borders.
Read the wording carefully: “maximum 1200 × 800” allows a smaller portrait, while “exactly 1200 × 800” may require a landscape crop or a padded canvas. If the service also specifies a minimum size, check that your result meets it. A small source may be unable to meet a large minimum without enlargement and reduced sharpness.
Check the subject and edges before you finish
Compare the original and the downloaded copy with the same viewing conditions. Round objects should stay round, faces should keep their proportions, and straight lines should not look squeezed. For a crop, check every edge: it is easy to cut off a product corner, a hand, a caption or part of a logo while focusing on the center.
Then review the actual destination. A correct file can still be cropped differently by a website, profile-photo widget or social preview. If the service lets you reposition the image, use that control and inspect the saved result. Keep important content away from the edges when the final crop is outside your control.
For transparent artwork, check both the visible subject and the empty margins. Large transparent borders can make a logo look unexpectedly small after it is fitted into a box. Cropping those margins may be appropriate, but retain any spacing required by the brand. For a screenshot, test small labels at the intended display size before accepting the resize.
Frequently asked questions
Can I change the aspect ratio without cropping?
You can add borders to keep the full picture. Filling a differently shaped frame without borders requires cropping, distortion or content generation; simple resizing cannot satisfy all of those constraints at once.
Why does my image look fine locally but stretched on a website?
The page may be applying a width and height that do not match the image. Check the display styles before editing the original. For a naturally sized image, a proportional height is usually preferable to forcing both dimensions.
Is resizing the same as compression?
No. Resizing changes pixel dimensions. Compression changes how the image is stored. Both can reduce file size, and a workflow may use both.
Should I crop before or after resizing?
Usually crop the original first, then resize the chosen composition once. This keeps more source detail available while you decide which part of the picture to use.
Choose the shape before exporting
Use proportional dimensions when keeping the whole image. Crop first when the destination requires a different shape.
Resize an imageCrop an image → ChatGPT
 Grok
 Google
 Perplexity
 Claude