Image formats
Why Is My WebP File Bigger Than the Original?
Find why a WebP export is larger than its JPG or PNG source. Compare real downloads, check dimensions and quality settings, and choose the right fix.
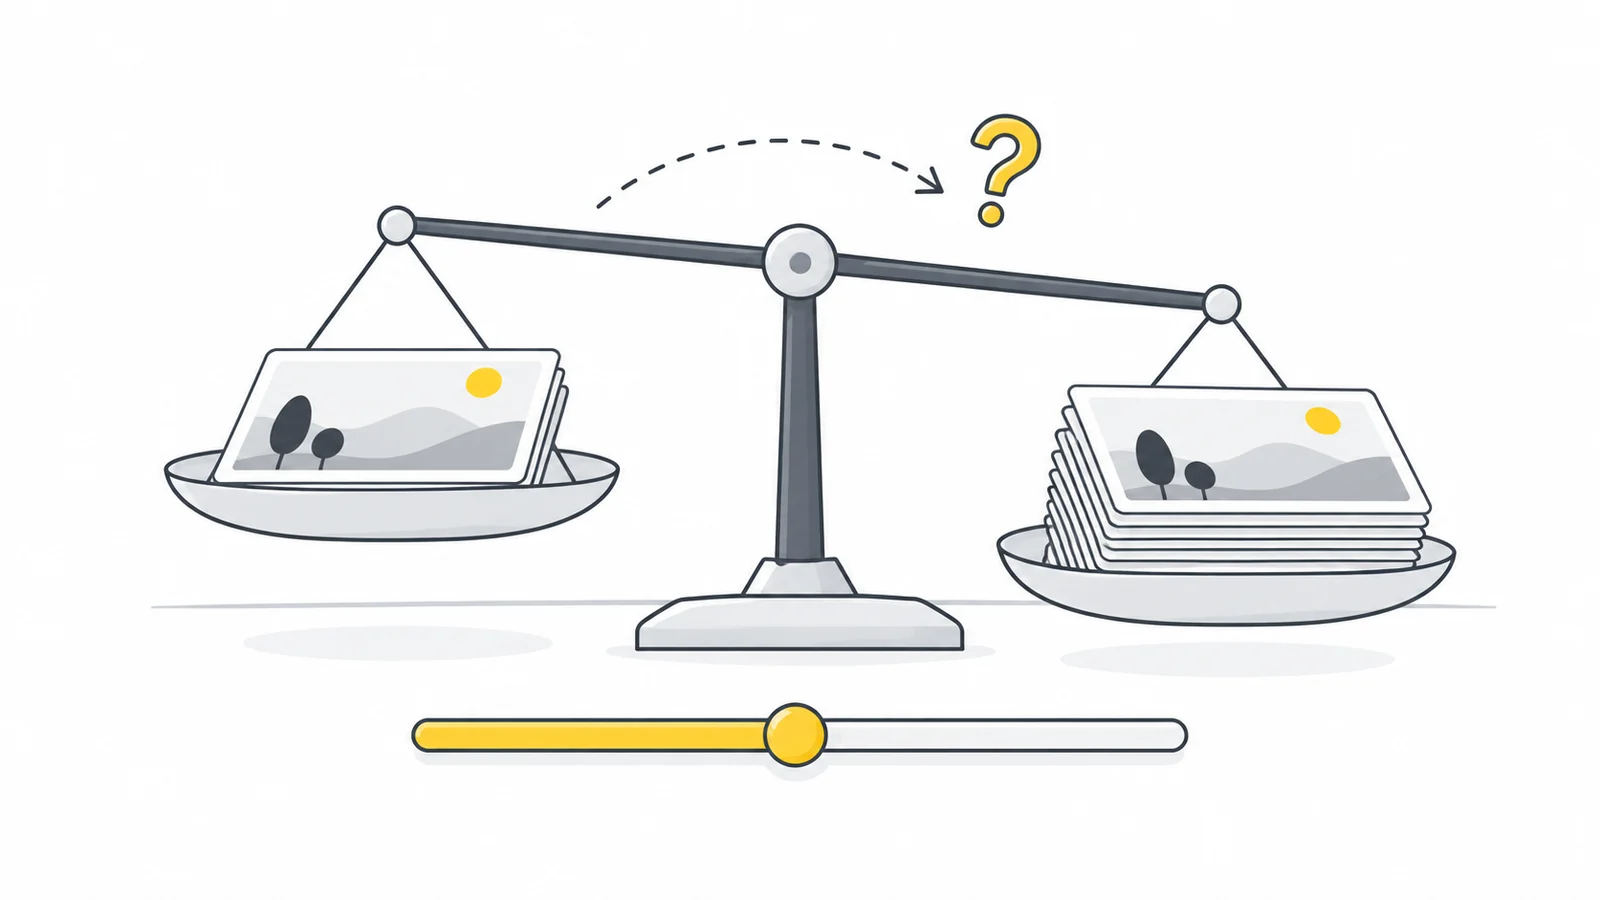
You convert an image to WebP expecting a smaller file, but the download is bigger. That does not necessarily mean the converter has failed. A format gives an encoder different ways to store an image; it does not set a guaranteed file size.
This guide helps you find why the file grew and decide what to change. For the broader choice between formats, see WebP vs JPG and PNG vs WebP.
First check that you are comparing the right files
Compare the source you actually selected with the downloaded WebP, rather than a thumbnail, a preview screenshot or another export with a similar name. Put the two files in one folder and inspect their file sizes and pixel dimensions.
- File size is the number of bytes stored on disk. Use the file's size rather than its allocated “size on disk,” which can depend on how the drive stores files.
- Pixel dimensions are width × height, such as 1200 × 800. A larger pixel count can outweigh the benefit of another format.
- The selected file may already be a small version downloaded from a website or messaging app. Find the camera original or design source if you have it.
Changing from 800 × 600 to 1600 × 1200 produces four times as many pixels. That is a different comparison from changing only the format. Conversely, a smaller WebP may owe part of its saving to reduced dimensions.
Renaming photo.jpg to photo.webp does not convert it. Use an actual export or conversion, then open the saved result to verify that it works.
Why WebP can be larger than JPG or PNG
A high quality setting spends more bytes on an already compressed image
A converter normally decodes the source into pixels and encodes those pixels again. If a small JPG already contains softened texture or compression marks, those become part of the picture being encoded. A high WebP quality setting may spend additional bytes preserving them.
The larger download cannot restore detail the earlier JPG discarded. If that JPG is the only source, compare a few moderate WebP settings. The measured comparison below shows what changed when we lowered the setting for the same input.
A simple PNG may already be extremely compact
PNG can store a graphic using a small palette of colors. Repeated flat areas and a regular pattern may then require very little space. A lossy WebP export can be a poor match for that particular file, even though it works well on many photographs.
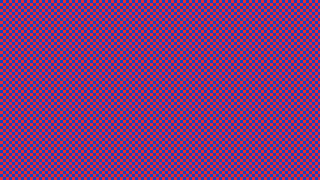
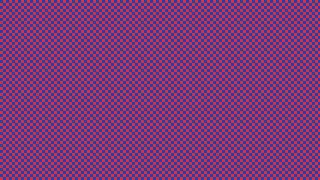
There is also a less obvious reason. Lossy WebP stores less color detail than brightness detail. When sharp red-and-blue boundaries are reconstructed, nearby pixels can acquire intermediate shades. A graphic that began with just two colors can therefore become more complicated to describe, even though its edges look less precise. This is especially noticeable in the repeating pattern used below.
Google's WebP FAQ describes file growth with low-color PNGs and some conversions between compression modes. That is a reason to test your own image, rather than apply an average saving to every file.
Lossless WebP is a different choice from high-quality lossy WebP
WebP supports both lossy and lossless encoding. Lossy encoding can change visible detail. Lossless encoding is designed to preserve the picture without that loss. The format's capabilities are described in Google's compression documentation.
A quality slider is not necessarily a switch between these modes. Pixilo's JPG-to-WebP and PNG-to-WebP tools use the browser's WebP encoder with a quality setting. They do not offer an explicit lossless mode. Setting quality to 100 does not make the conversion a guaranteed pixel-identical copy.
Transparent edges and busy detail still need space
Transparency does not make a file automatically small. Soft shadows, fine edges, noise and texture can make an image harder to compress. When the background must remain transparent, compare suitable PNG and WebP copies. Converting to JPG would require a solid background and solve a different problem.
Measured examples: a photo, a screenshot and controlled graphics
On 18 October 2026, we downloaded these exports from Pixilo's actual PNG-to-WebP and JPG-to-WebP tools in Microsoft Edge 155.0.4283.62. All outputs kept their source dimensions. The photo and screenshot show two everyday kinds of input; the graphics help explain specific causes of growth. This small set is not a representative benchmark or a comparison at equal visual quality.
| Source (download) | Source kB | WebP setting | WebP kB (download) | Change |
|---|---|---|---|---|
| Two-colour pattern | 0.171 | 80 | 25.0 | +14,501.2% |
| Illustration PNG | 659.4 | 80 | 23.7 | -96.4% |
| Previously compressed JPG | 27.8 | 95 | 53.0 | +91.0% |
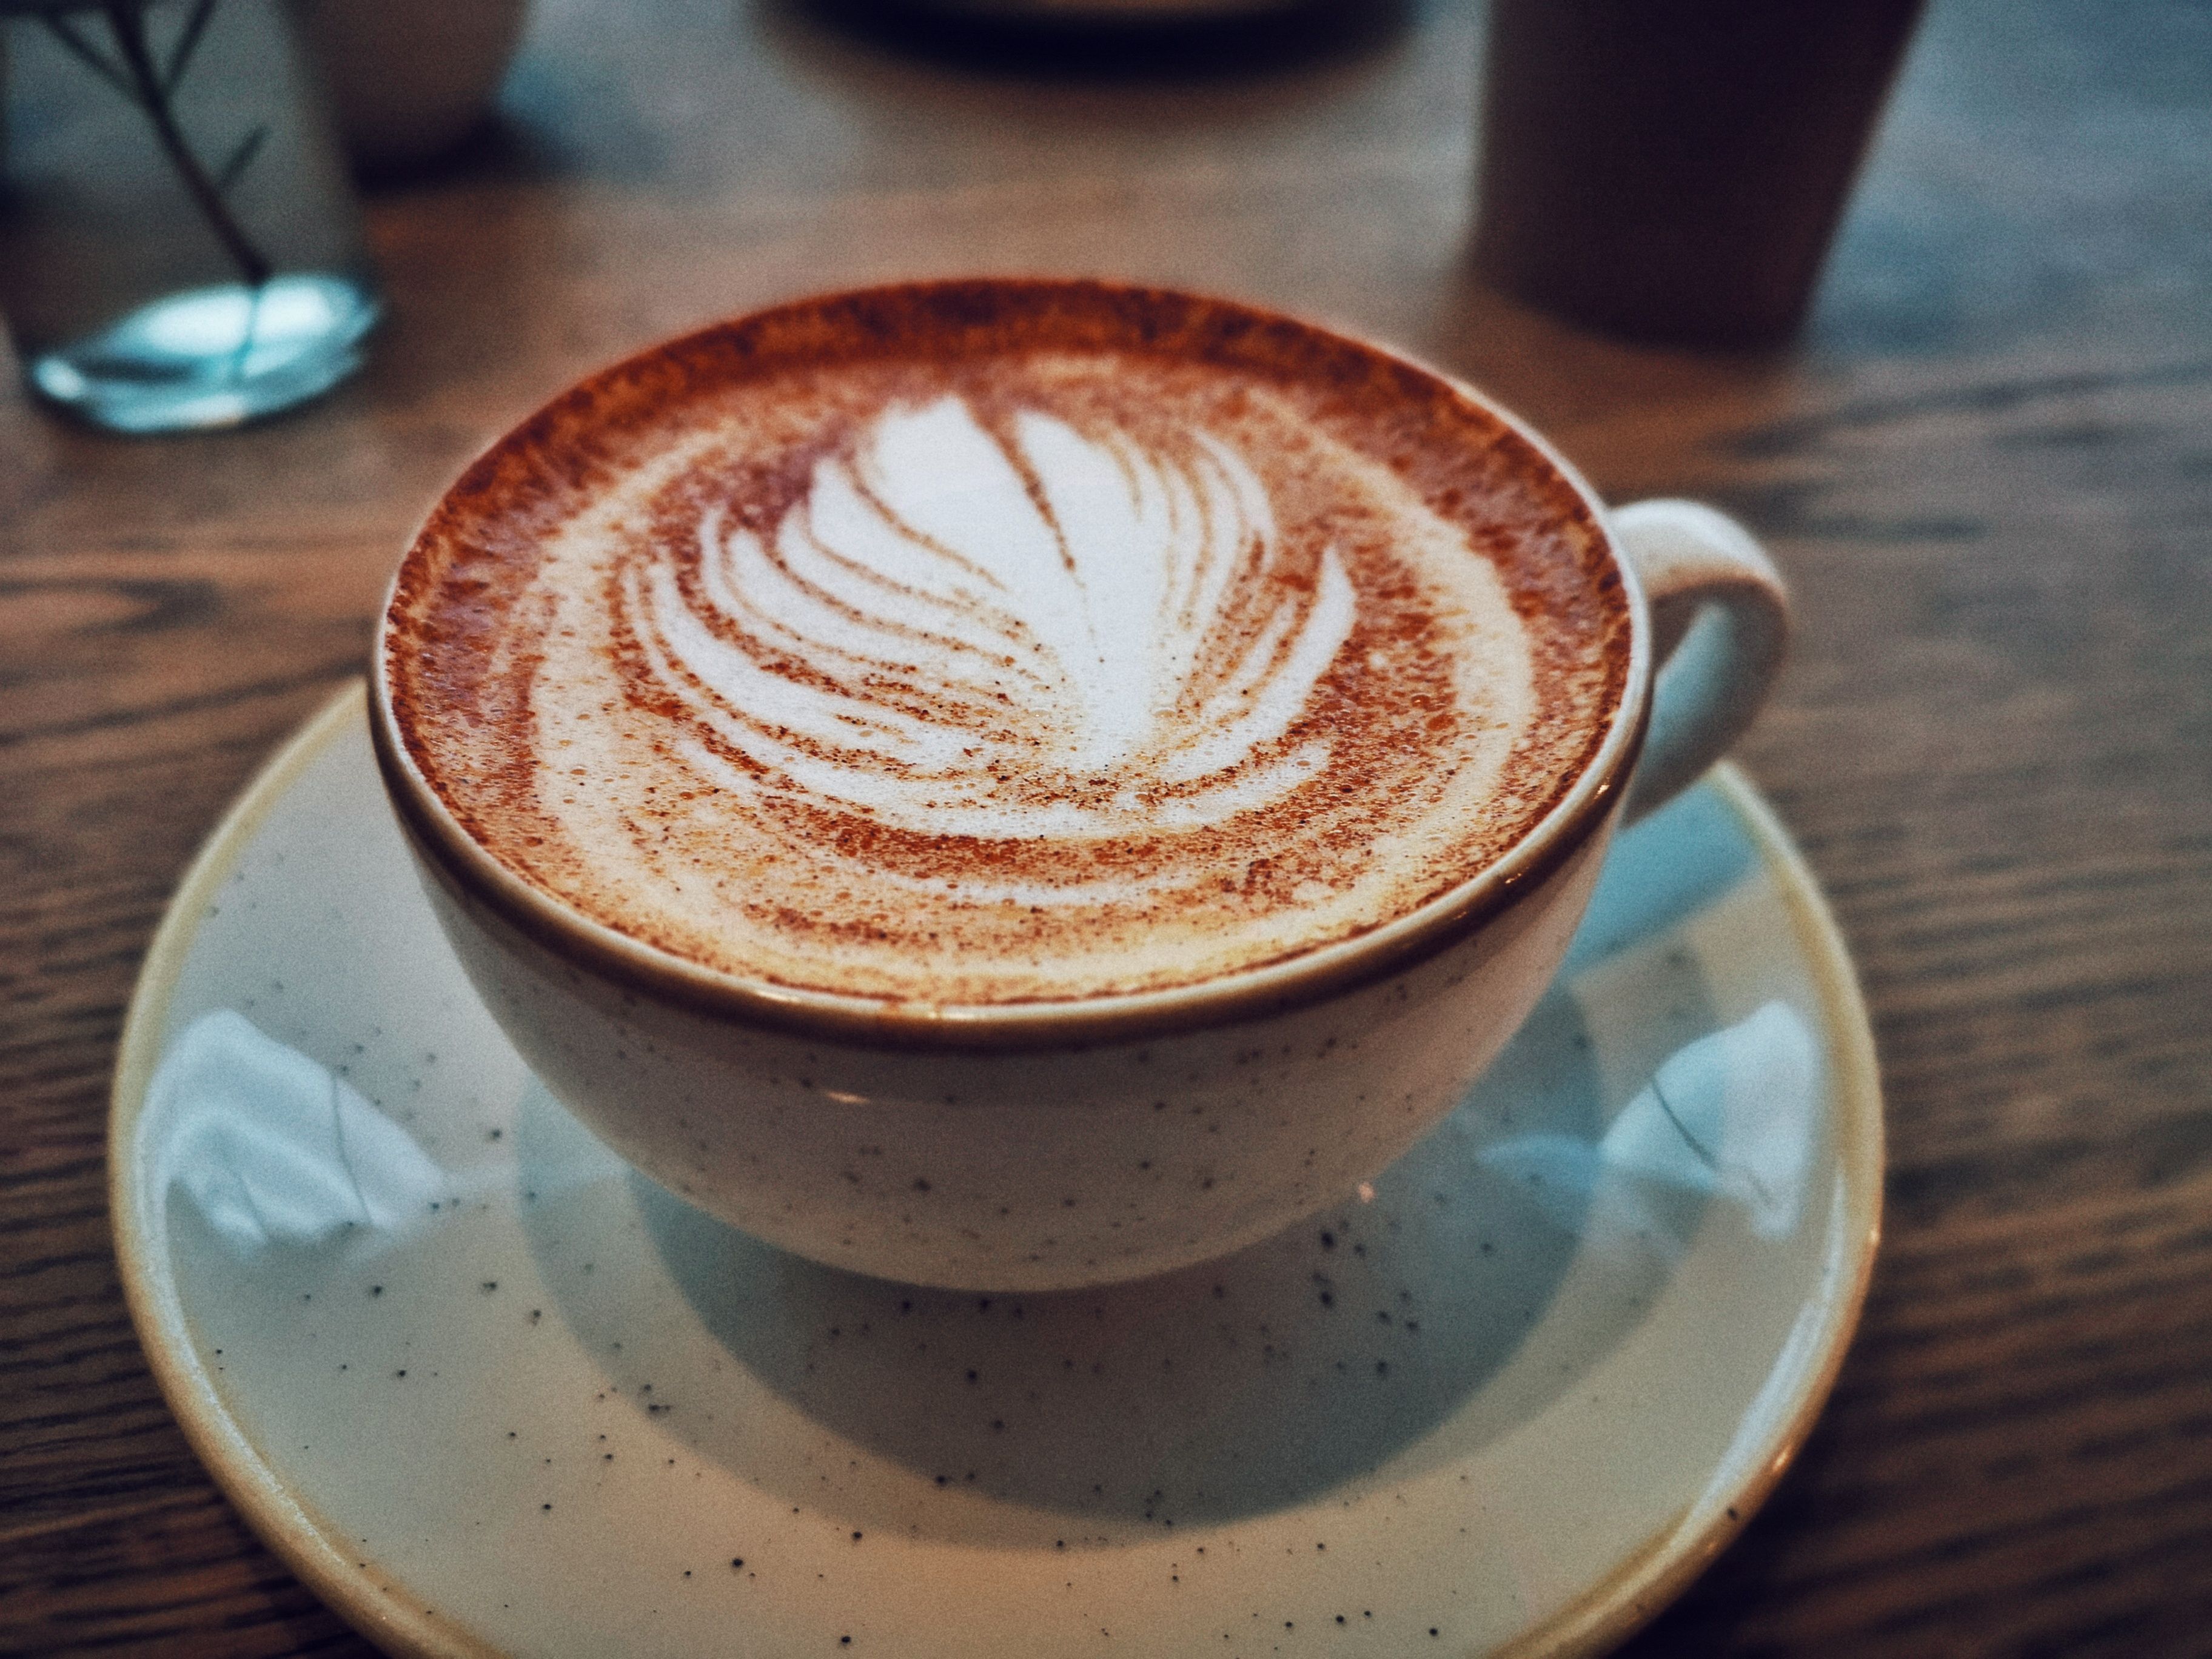
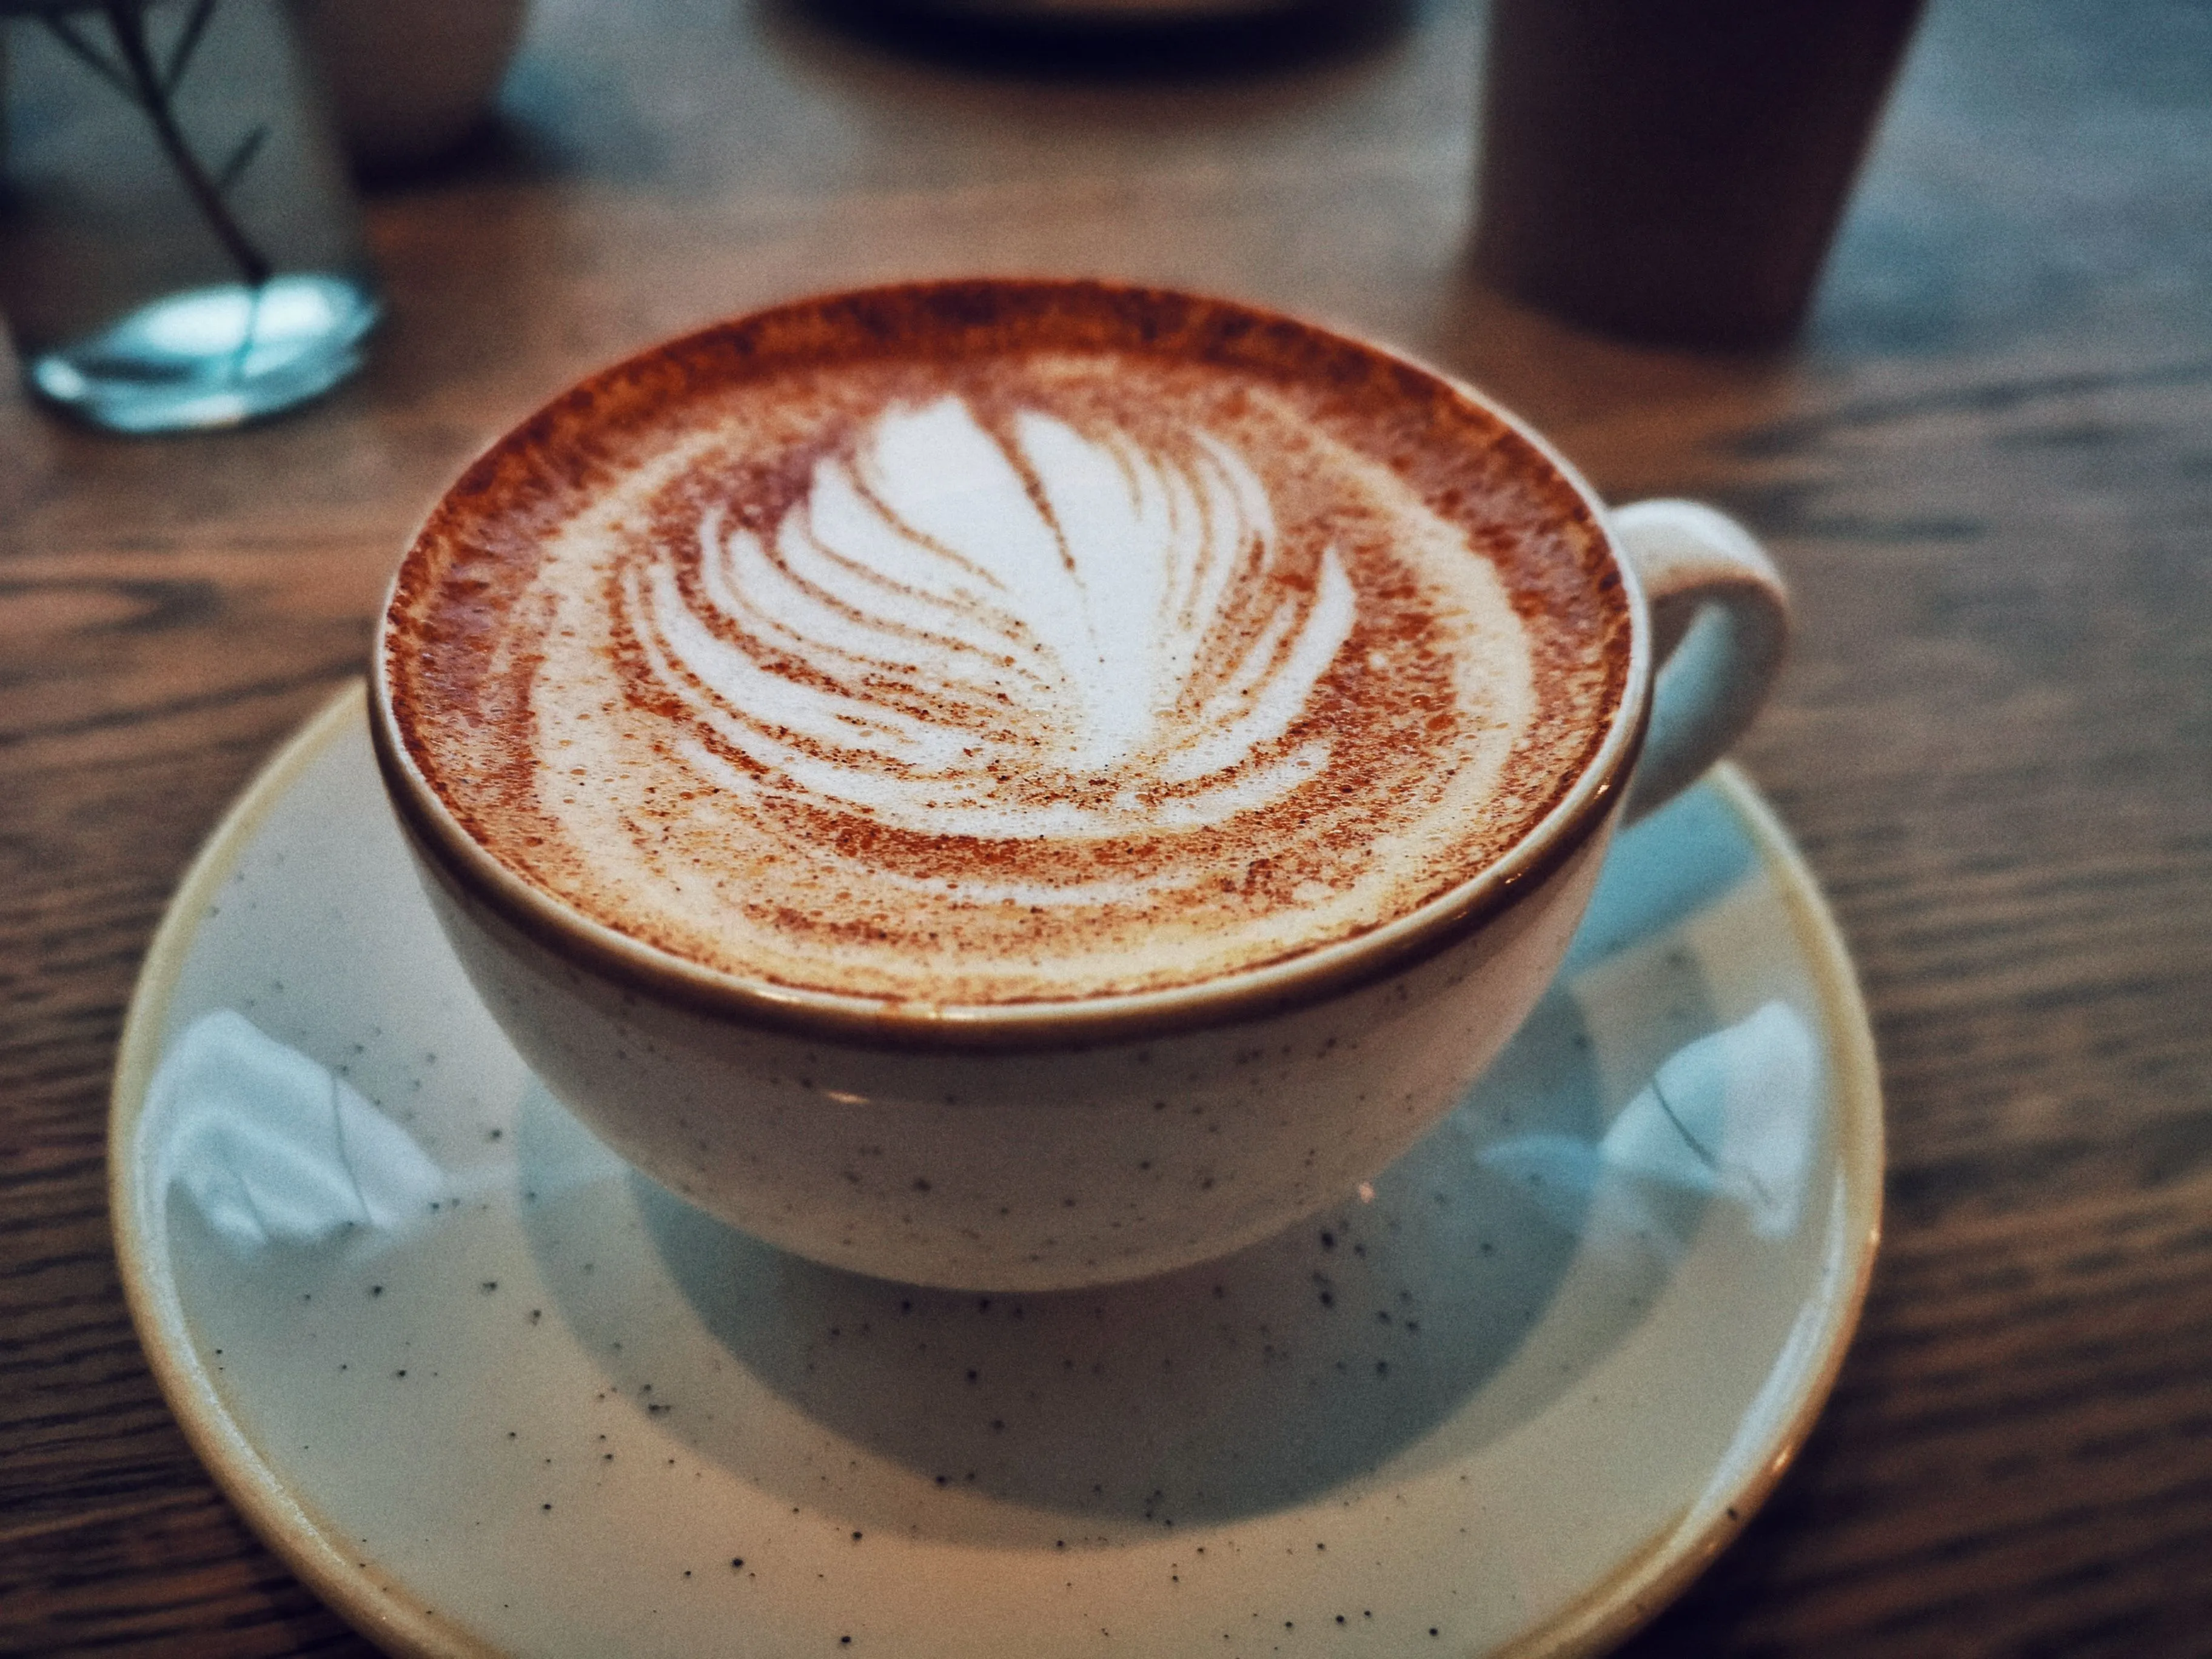
| Coffee photograph | 1318.7 | 80 | 791.5 | -40.0% |
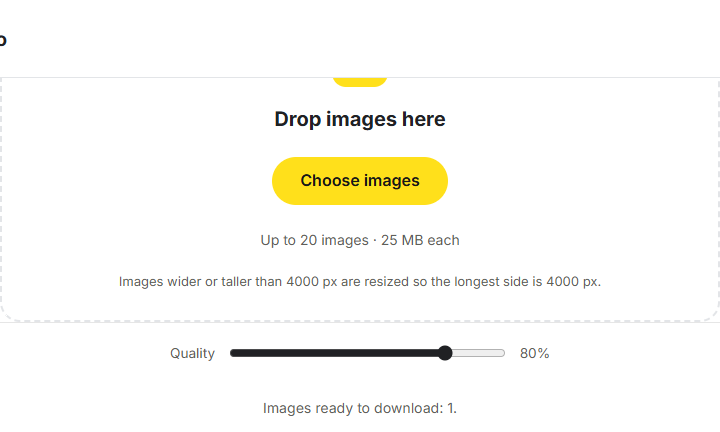
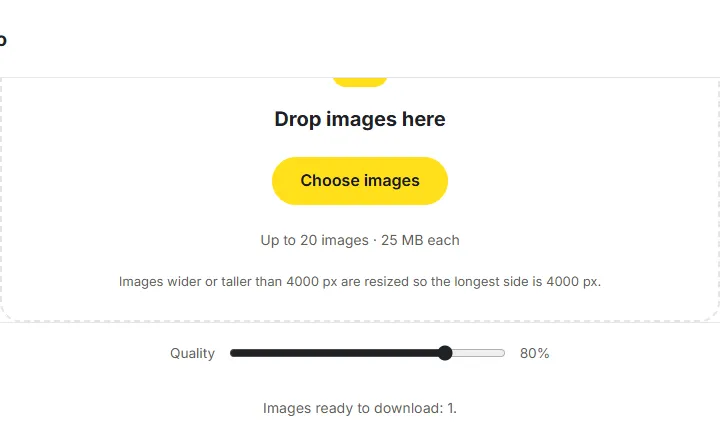
| Pixilo converter screenshot | 23.1 | 80 | 11.8 | -49.0% |
File sizes use decimal units: 1 kB = 1,000 bytes. Change is relative to the source; a minus sign means a smaller output. The links download the source and WebP files, and their tooltips show exact byte counts.
The coffee photograph was supplied from Pexels for this test; see the Pexels license. Its source was already a JPG, not a camera RAW file. Check the foam's fine texture and the shadow on the cup. The screenshot is a real 720 × 432 capture of Pixilo's converter interface with a public sample image; compare its lettering and icons. Neither one establishes results for every photo or interface.
The two-color pattern is deliberately artificial. It repeats three-pixel red-and-blue blocks in an indexed PNG. Its 171-byte source is unusually compact, so even a small output in absolute terms can produce a huge percentage increase. Read it as an edge case, not an expected result for ordinary photos.
The illustration and compressed-JPG cases share one underlying picture. We exported the illustration PNG through Pixilo's PNG-to-JPG tool at quality 40 to make the compressed source. The WebP version at 95 was almost twice that JPG's size. The next comparison tests whether lowering the setting helps.
What happened when we lowered the WebP setting?
We converted the same 27,761-byte JPG separately at each setting below. Every candidate started from that JPG, not the previous WebP. Dimensions remained 960 × 505.
| WebP setting | Output kB (download) | Change from JPG |
|---|---|---|
| 95 | 53.0 | +91.0% |
| 80 | 29.1 | +4.9% |
| 70 | 24.2 | -12.7% |
At 80, the output was still slightly larger than the JPG. At 70, it was about 13% smaller. Lowering the setting therefore fixed the file-size increase in this example, but it did not recover the detail lost in the earlier JPG export or prove that the result was visually acceptable.
Open the source and candidates and compare the same edges and small details. If the smaller version looks worse where you will use it, retain the JPG or work from a better original. A file-size target and a quality judgment are separate decisions.
Find a useful setting without repeatedly degrading the image
- Keep a reference. Preserve the original source and choose an area where damage would matter: small lettering, a face, fine fabric or a soft shadow.
- Fix the dimensions for the comparison. Use the same source for each candidate and record the exported dimensions.
- Make a moderate-quality candidate. In JPG to WebP or PNG to WebP, select the source and try the initial setting. When you move the quality slider, run the conversion again before downloading the revised result.
- Inspect before lowering quality further. Compare the saved output at its intended display size, then inspect important details at the actual pixel size. Check transparent edges on both light and dark backgrounds.
- Try another setting from the source. For example, compare 80 and 70, then narrow the range if necessary. These are test settings, not recommendations for every image.
- Keep the useful result. If the smaller file damages required detail, choose a better-quality version or retain the original format.
Do not use each new WebP as the input for the next attempt. Work from the same original so your comparison does not accumulate losses. The quality number is an encoder control, not a percentage of retained detail, and equal numbers in different formats do not promise equal quality.
Pixilo's JPG/PNG-to-WebP converters currently reduce images whose longest side exceeds 4000 pixels to that limit, keeping the proportions. Check this when planning a format-only comparison. The browser's encoding behavior can also differ between versions; MDN explains the browser export API used for these conversions.
Choose the next step from the result
| What you find | Useful next step |
|---|---|
| WebP is larger, but both copies look suitable | Try a lower setting once, then keep the smaller acceptable file. Conversion is optional when the destination accepts the source. |
| PNG text or flat-color edges look worse in WebP | Keep PNG, or test an encoder with an explicit lossless WebP mode. |
| Only a high WebP setting looks acceptable | Consider whether the dimensions are necessary, or whether the original format is already the better choice. |
| A form requires an exact file-size limit | Use a size-targeted export in a format the form accepts, rather than assuming WebP is allowed. |
| The website still loads the old file | Check the published page's image request and cache. A local conversion does not replace the website's image. |
If dimensions are the real problem, use Resize Image to prepare a smaller copy without stretching it. If an upload has a strict byte limit, use Compress to a File Size and verify the actual download. A website that automatically delivers optimized image variants may need a good source upload rather than a manually converted WebP.
Frequently asked questions
Does a larger WebP mean better quality?
No. A larger export can preserve existing compression marks or encode an unsuitable image inefficiently. Judge the details you need to retain, not the file size alone.
Should every JPG on my website become WebP?
No. Compare useful savings and appearance for the actual images. Also check whether your website already generates and serves WebP automatically. Keep your originals for future edits.
Will removing metadata make the difference?
It can help when a file contains substantial embedded data, but it does not change how efficiently the picture itself is encoded. A large increase in an exported image needs a check of dimensions, encoding and source content as well. The metadata guide explains what to inspect.
Is a tiny saving worth another conversion?
Consider the placement and number of images, and whether the new file introduces visible damage or another variant to maintain. A small absolute saving on one icon may be unimportant; repeated across many image requests it can be more useful. Keep only changes that serve a clear purpose.
Compare one source before converting a batch
Make a WebP copy, inspect its important details and compare the downloaded file sizes. Keep the version that works for your destination.
Compare a JPG as WebPStart with a PNG → ChatGPT
 Grok
 Google
 Perplexity
 Claude