Image sharing
How to Prepare Photos for Online Forms
Match a form's photo requirements: crop to the right proportions, set exact pixel dimensions, choose an accepted format and troubleshoot rejected uploads.
A photo can open perfectly on your device and still fail an application form. “600 × 800 pixels”, “at least 600 pixels wide” and “under 300 KB” describe different requirements. Fixing one does not necessarily fix the others.
This guide focuses on choosing the right shape and dimensions while keeping the photo suitable for its destination. For the compression steps themselves, use our guide to meeting a file-size limit.
Identify which requirement the photo fails
Find the rules beside the upload field or in the service's current help page. Note the accepted formats, required width and height, maximum file size and any rules about the picture itself. “Exactly”, “at least”, “no more than” and “recommended” do not mean the same thing.
| What is wrong? | What to do |
|---|---|
| The format is not accepted | Convert to a listed format. Renaming a HEIC file to JPG does not convert its contents. |
| The shape or framing is wrong | Choose a suitable crop, if the destination allows it. Leave the necessary parts of the subject visible. |
| The shape is right, but dimensions are wrong | Resize proportionally. Check both width and height, not just one number. |
| Only the file is too large | Keep the accepted dimensions and try compression. Do not automatically allow further resizing. |
| The photo itself is unsuitable | Follow the destination's guidance on background, pose, age and framing. A new photo may be needed. |
| All requirements are already met | Use that file. Another export is unnecessary. |
These changes may need to be combined, but they are not a compulsory sequence for every image. The numbers below are illustrative; they are not the rules for a particular passport, visa or other application.
Inspect the original before choosing a tool
Keep the original and make a separate application copy. Check its format, pixel dimensions, orientation and file size. On a computer, look in Properties, Get Info or the image viewer's information panel. On a phone, use the photo's information view or a file app that exposes these properties.
Use the camera original where possible. A copy saved from a message or old profile may have fewer pixels. If detail is already missing, enlargement cannot restore it.
For a HEIC source that needs editing in Pixilo's cropper or resizer, export a JPG copy first. If the photo appears sideways, inspect the saved orientation before deciding on the crop. Our photo rotation guide explains that problem.
Distinguish exact dimensions from minimum dimensions
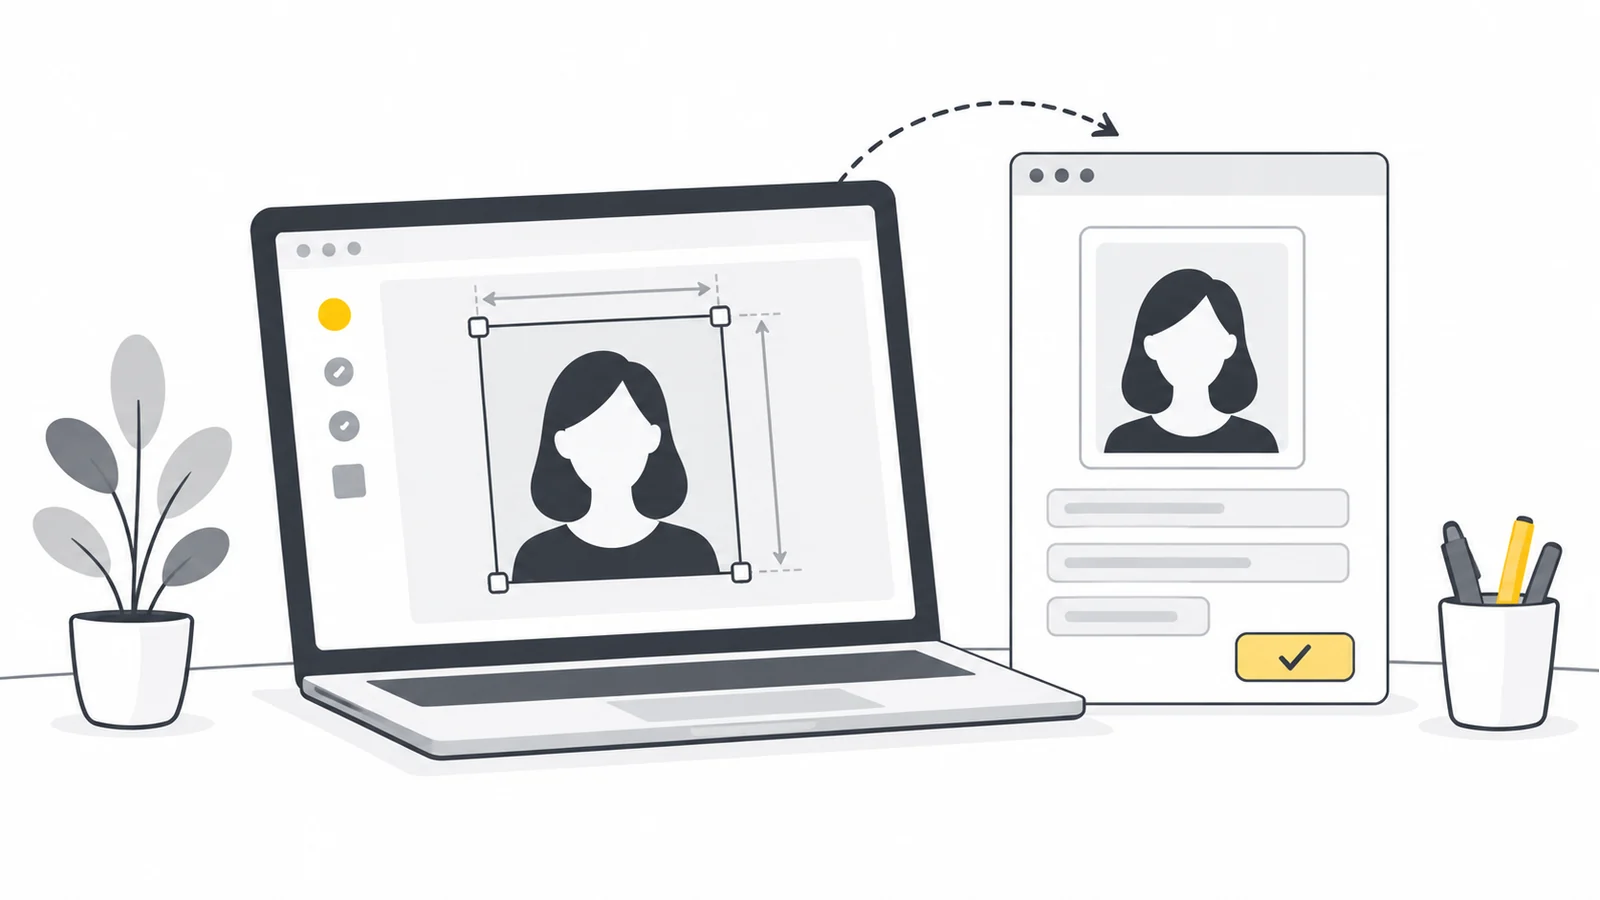
Pixel dimensions are normally written as width × height. An exact requirement of 600 × 800 therefore describes a portrait image with a 3:4 width-to-height ratio. A larger 1,200 × 1,600 image has the same shape but does not meet the exact dimensions.
A minimum requirement is different. Suppose a form asks for at least 800 pixels wide and 1,000 pixels high, without specifying a ratio. A 2,400 × 3,600 original can be resized proportionally to 800 × 1,200 and satisfy both minima. You do not need to crop it to 800 × 1,000 unless the form also requires that shape. Check any maximum dimensions separately.
Likewise, “no more than 1,200 × 1,200” can describe a bounding box rather than a required square. Read the service's explanation before cutting away useful content. Cropping changes what the photo shows; resizing changes the number of pixels used to show it.
Example: prepare an exact 600 × 800 photo
Imagine a membership form requiring JPG, exactly 600 × 800 pixels and less than 300 KB. You have a sharp 3,000 × 4,000 portrait. Its proportions are already correct; it only needs cropping if the subject's position or surrounding space needs adjustment.
- Check the composition. If the whole photo is suitable, skip cropping. If you need a closer view, use Crop Image with the 3:4 preset. Position the subject and keep enough room around it. A crop of 1,800 × 2,400 pixels would leave enough detail for the final reduction.
- Set the final dimensions. Open the original or the saved crop in Resize Image. Keep the aspect ratio locked and set the width to 600. An exact 3:4 source produces a height of 800.
- Read both dimensions before continuing. Do not assume choosing a ratio preset guarantees the exact final pixel pair. See the rounding advice below if the height becomes 799 or 801.
- Use the accepted format. A JPG resized in this tool remains a JPG. If you used a PNG working copy, convert the finished image to JPG before checking its size.
- Compress only if necessary. If the JPG is too large, use Compress to a File Size with JPG selected and automatic resizing disabled. For example, 280 KB in Pixilo is below a 300,000-byte limit because the tool uses 1,024 bytes per KB.
- Inspect and submit the final copy. Confirm JPG, 600 × 800, the file size and clear facial detail. Save it with a distinct name such as
membership-photo-600x800.jpgso you can select the right file.
Even at the same dimensions, a photo with fine texture may need more data than a simple portrait. Check the final file rather than expecting every photo to reach the same size.
If a ratio preset leaves the result one pixel out
A crop selected on a scaled preview has to be converted back to whole source pixels. That rounding can leave a saved crop slightly different from the intended ratio. Check the crop's saved width and height: for an exact 3:4 shape, width × 4 equals height × 3. For example, 1,800 × 2,400 passes that check.
If the saved crop does not have the right ratio and proportional resizing gives 600 × 799 or 600 × 801, do not keep guessing at small changes or stretch the picture. Use an editor with numeric crop dimensions: choose a rectangle such as 1,800 × 2,400 within a sufficiently large original, position it around the subject, then resize to 600 × 800. An editor that accepts the final crop-and-export size directly can also perform both operations together. Pixilo's cropper offers ratio presets but does not provide that exact-size crop control.
If the required framing cannot fit within the available photo, use a wider original or take a new picture. Add borders only when the destination permits them. Correct dimensions do not make an unsuitable composition acceptable.
Check official photo rules before editing
Passports, visas and other official applications can restrict cropping, retouching and background changes. Read the responsible authority's current instructions first. The UK passport photo guidance, for example, includes requirements beyond file properties. This guide explains technical preparation; it does not establish official acceptance.
Keep the finished dimensions intact
Once the framing and exact dimensions are correct, avoid another operation that changes them. In the target-size tool, leave automatic resizing off for an exact-dimension requirement. If compression cannot meet the limit while keeping faces or text clear, consult the destination's guidance instead of submitting an unreadable file.
Choose an explicitly accepted format. A smaller WebP still fails a JPG-only rule, and PNG is not necessarily smaller for photographs. The MDN format guide explains the differences. Allow some space below a strict file-size limit because displayed labels can be rounded and KB conventions differ.
Each JPG export can add compression loss. If you need several edits, an editor that applies them before one final export is often simpler. A PNG working copy can avoid intermediate JPG losses, but large PNGs may exceed the next tool's input limit. Neither approach restores details already lost.
Check file size and pixel limits
Pixilo's cropper, resizer and target-size tool accept JPG, PNG and WebP files up to 25 MB each. The target-size tool also rejects sources above 32 million pixels. The resizer limits output to 8,000 pixels per side and 32 million pixels overall. A file below 25 MB can therefore still exceed a pixel limit. Prepare a suitable copy in your photo editor if necessary. These are tool limits, not the form's requirements.
Use the error message to choose the next check
The file cannot be selected
Confirm the format and that the complete file is available on the device, rather than only a cloud-library preview. A browser's file picker can filter by type, but selecting a file does not prove that it passes the server's checks. MDN explains this distinction.
The form reports invalid dimensions
Inspect the saved copy's width and height, not the editor preview. Check whether the form specifies an exact pair, minima, maxima or an aspect ratio. Changing only a DPI or PPI label does not fix ordinary pixel-dimension requirements.
The form reports a size or format problem
Make sure you chose the new file. Verify that a format conversion really happened and check whether the size limit applies to each attachment or the whole submission. Use the file-size guide for the compression steps rather than repeatedly exporting the same rejected copy.
The upload stalls without a clear validation error
A stalled transfer does not necessarily mean the photo needs editing. Check the connection and any message about an expired login or unfinished required field. Save your application progress where the service allows it before reloading or signing in again. If the verified file still fails, keep the exact error wording and contact the destination's support.
The file uploads, but the photo is rejected
The service may be checking the background, pose, framing or how recently the photo was taken. Follow that specific feedback. Further compression will not fix a content problem.
Check the file selected in the form
- The actual format is accepted and matches the filename extension.
- Both dimensions satisfy the exact, minimum and maximum rules that apply.
- The file fits the byte limit without losing necessary detail.
- Orientation, framing, background and any edits comply with the destination's instructions.
- The form preview shows the intended copy and you complete the final confirmation.
Frequently asked questions
Can I use one photo for every application?
You can often start from the same original, but each destination can require a different prepared copy. Check its dimensions and content rules rather than assuming a previously accepted file will work again.
Can I use a screenshot instead of converting a photo?
A proper export is more reliable. A screenshot captures the displayed view, may include interface elements and may save in an unexpected format. It does not reliably preserve the original detail or meet exact dimensions.
What if my original is too small?
Look for a larger camera original. If none exists, enlargement can change the dimensions but cannot recover missing detail. Take a new photo if the destination needs detail the current one cannot show.
Make only the change your photo needs
If the proportions are already right, set the required dimensions. If only file size is wrong, keep those dimensions and use the file-size tool.
Set photo dimensionsMeet a file-size limit → ChatGPT
 Grok
 Google
 Perplexity
 Claude