Image compression
How to Reduce an Image Below 200 KB, 500 KB or 1 MB
Make an image fit an upload limit without guessing. Check the required format, resize proportionally, adjust compression and verify the final file.
Read the upload rules before changing the picture
A form can reject a picture for several different reasons: the file is too large, the dimensions are wrong, or the format is unsupported. Reducing quality only addresses one of those problems. Write down the maximum file size, accepted formats and required width and height before you begin.
For example, a form might accept a JPG below 500 KB but require a picture at least 1200 pixels wide. A smaller WebP could still be rejected because it is the wrong format. A 600-pixel JPG could be small enough but fail the width requirement. Neither result means the compression failed; it means the output did not meet all the rules.
For official applications, follow the service’s own photo requirements. Cropping, retouching or changing the background may be restricted. Keep the original so you can start again without repeatedly processing an already compressed copy.
A reliable workflow for reaching the limit
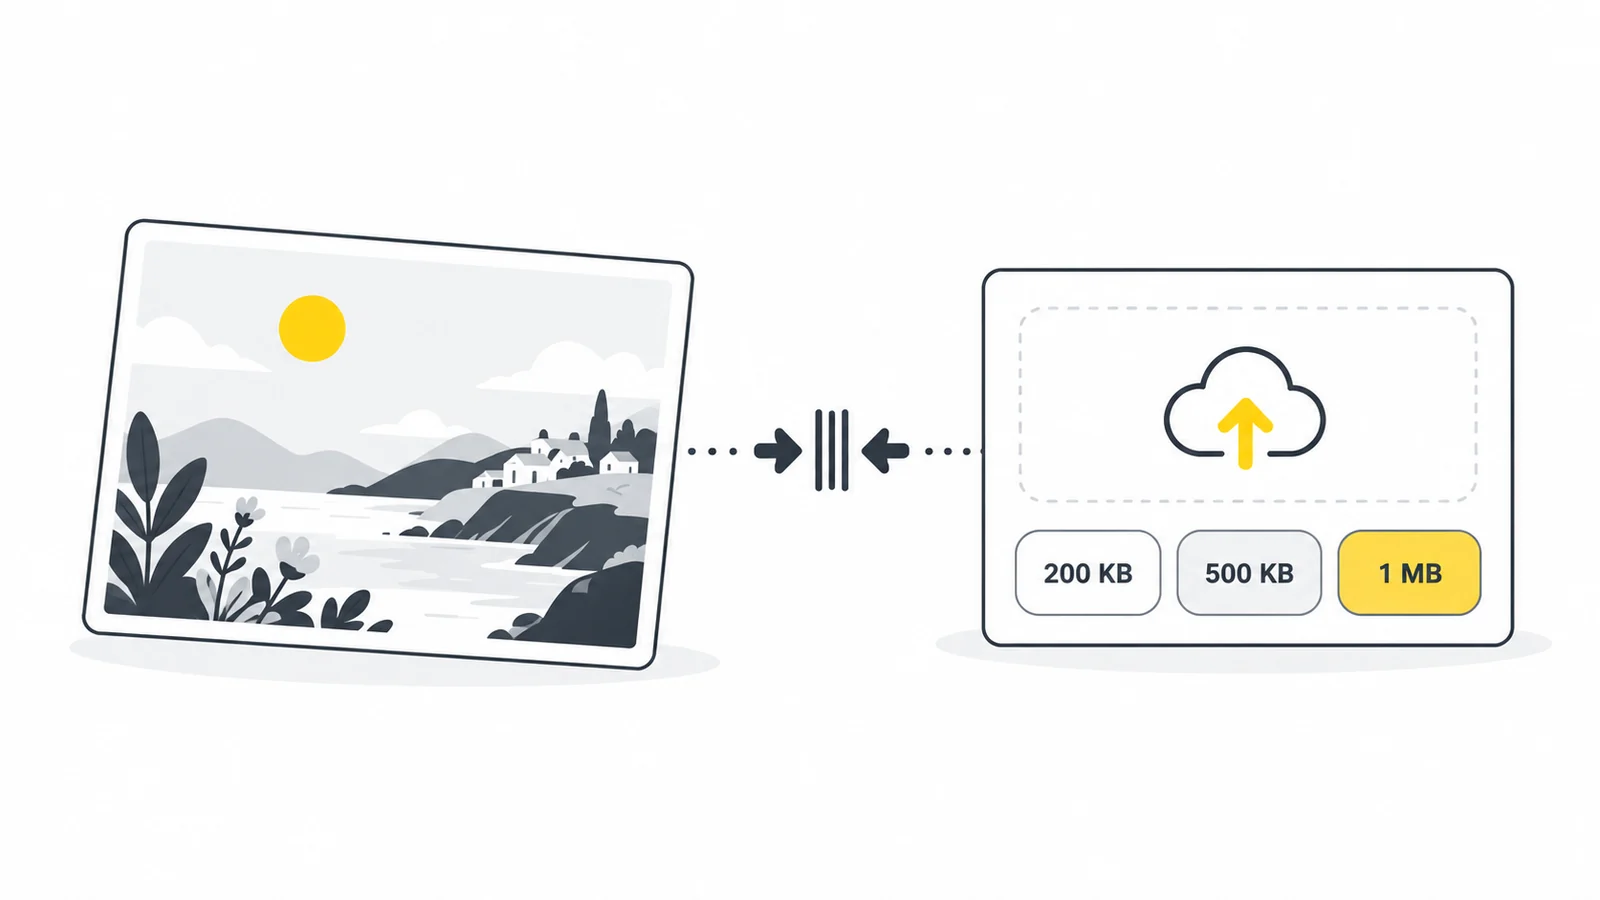
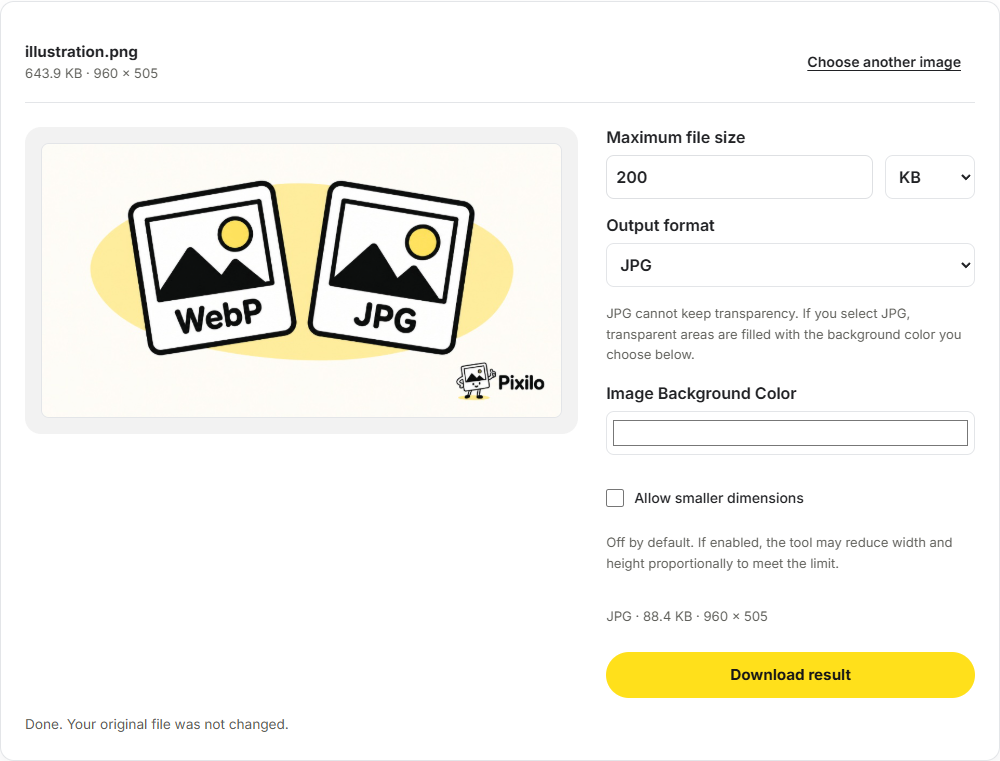
- Open Compress to a File Size and choose a JPG, PNG or WebP up to 25 MB.
- Enter the maximum size and choose KB or MB. Leave a little margin if the receiving service rounds its size labels.
- Select the output format the destination accepts.
- Enable resizing only when smaller dimensions are allowed. The tool tries compression first and reduces dimensions only with this option enabled.
- Run the tool, download the result and check file size, dimensions and readable detail. Upload that exact copy.
If the tool cannot reach the limit, return to the original. Where the upload rules allow it, use the cropper to remove unnecessary margins or the resizer with the aspect ratio locked to reduce one dimension. The other dimension is calculated automatically.
What should you change for a 200 KB, 500 KB or 1 MB limit?
| Problem | First action | Keep in mind |
|---|---|---|
| The image is oversized | Allow resizing or prepare smaller pixel dimensions. | Stay above the destination’s minimum dimensions. |
| The dimensions are already suitable | Try automatic compression in an accepted format. | Check small text and faces before using the result. |
| PNG is required | Keep PNG and reduce unused space or dimensions only where allowed. | A JPEG quality setting does not control PNG compression. |
These limits do not correspond to fixed resolutions. A plain diagram and a detailed woodland photograph can have the same dimensions and very different file sizes. Noise, texture, transparency, format and encoder settings all affect the result.
Leave a little room below a strict limit. A system showing a rounded “200 KB” may not mean the file is safely below its cutoff. A result around 190 KB is a more practical target than one displayed as exactly 200 KB. Likewise, you might aim around 480 KB for a 500 KB limit or 950 KB for a 1 MB limit. These are margins for convenience, not required settings.
Example: fitting a photo into a 500 KB upload
Suppose your source is a 4000 × 3000 photo and the form requires JPG, at least 1200 pixels wide and less than 500 KB. Select JPG and enter a maximum below 500 KB. Start with resizing disabled so you can see whether compression alone is enough.
If that fails, prepare a 1600 × 1200 copy from the original and try again. Keep at least 1200 pixels of width. Check both the size and dimensions of the final JPG; neither requirement replaces the other.
How to choose your next adjustment
If compression alone fails and the image contains more pixels than needed, try a smaller copy from the original. If essential text becomes unreadable, keep more pixels and remove only unnecessary space where permitted.
If the requirements cannot be met while keeping important detail readable, check whether the service accepts another format or another way to send the file. Repeatedly processing the compressed result will not recover lost detail.
Check the final file, not just the preview
- Format: confirm that the saved file is the type the destination accepts. WebP and JPG are different even when the images look identical.
- Dimensions: check both width and height after cropping and conversion. Some forms require an exact pair rather than only a minimum width.
- Size: use the file’s size, not “size on disk,” which can include storage allocation overhead. Size labels may use different conventions, so leave a margin and let the destination’s check be the final test.
- Readability: open the downloaded image and inspect faces, small print and important boundaries. A preview that shrinks everything to fit the window can hide damage.
- Filename: give the copy a distinct name, such as
application-photo-1200x900.jpg, so you do not accidentally select the original.
You can inspect these properties through the file manager’s Properties or Get Info view, depending on your device. If a phone hides dimensions or format details, open the file in a photo editor that exposes them. Do not assume a thumbnail or rounded size label tells you everything the form checks.
When the file still will not fit
The text becomes difficult to read
Do not keep lowering quality blindly. Return to the original, crop unused space and keep enough pixels for the lettering. A scan may need different treatment from a photograph. If the service’s resolution and size requirements cannot both be met legibly, look for its recommended document workflow or contact its support.
The exported picture is larger than the source
The original may already be efficiently compressed. Re-exporting it with different settings or converting it to another format can increase size. Compare the final files rather than assuming every conversion makes a smaller image.
The website still says “file too large”
Check that you selected the new file, not the original with a similar name. Leave more space below the limit and check whether the form limits each file or the combined upload. Also inspect the actual error message: a dimension or format error needs a different fix.
Frequently asked questions
Can I compress any image to 200 KB without losing quality?
No. Some images already fit, while others need a reduction in dimensions or visible detail. The right stopping point depends on what the recipient needs to see.
Does lowering DPI reduce the upload size?
No. Changing only a resolution label does not remove pixels. For ordinary web uploads, check pixel dimensions and the actual file size. A printing workflow may also have a separate resolution requirement.
Will renaming PNG to JPG help?
No. Renaming changes the filename, not the image data. Export or convert the file to the required format.
Should I keep compressing the downloaded result?
Prefer going back to the original and changing your export settings. Repeated lossy exports can accumulate artifacts without giving you useful control.
Make a copy that fits
Check the destination’s rules, adjust dimensions if needed, then compare the downloaded result. For a broader explanation of the tradeoffs, read how to reduce image file size without visible quality loss.
Open the file-size toolCompress an image → ChatGPT
 Grok
 Google
 Perplexity
 Claude