Publishing workflows
How to Optimize Canva Images for Websites
Choose Canva export formats and dimensions, preserve transparency, compress images and fix blurry text before publishing on your website.
Check Canva’s download settings
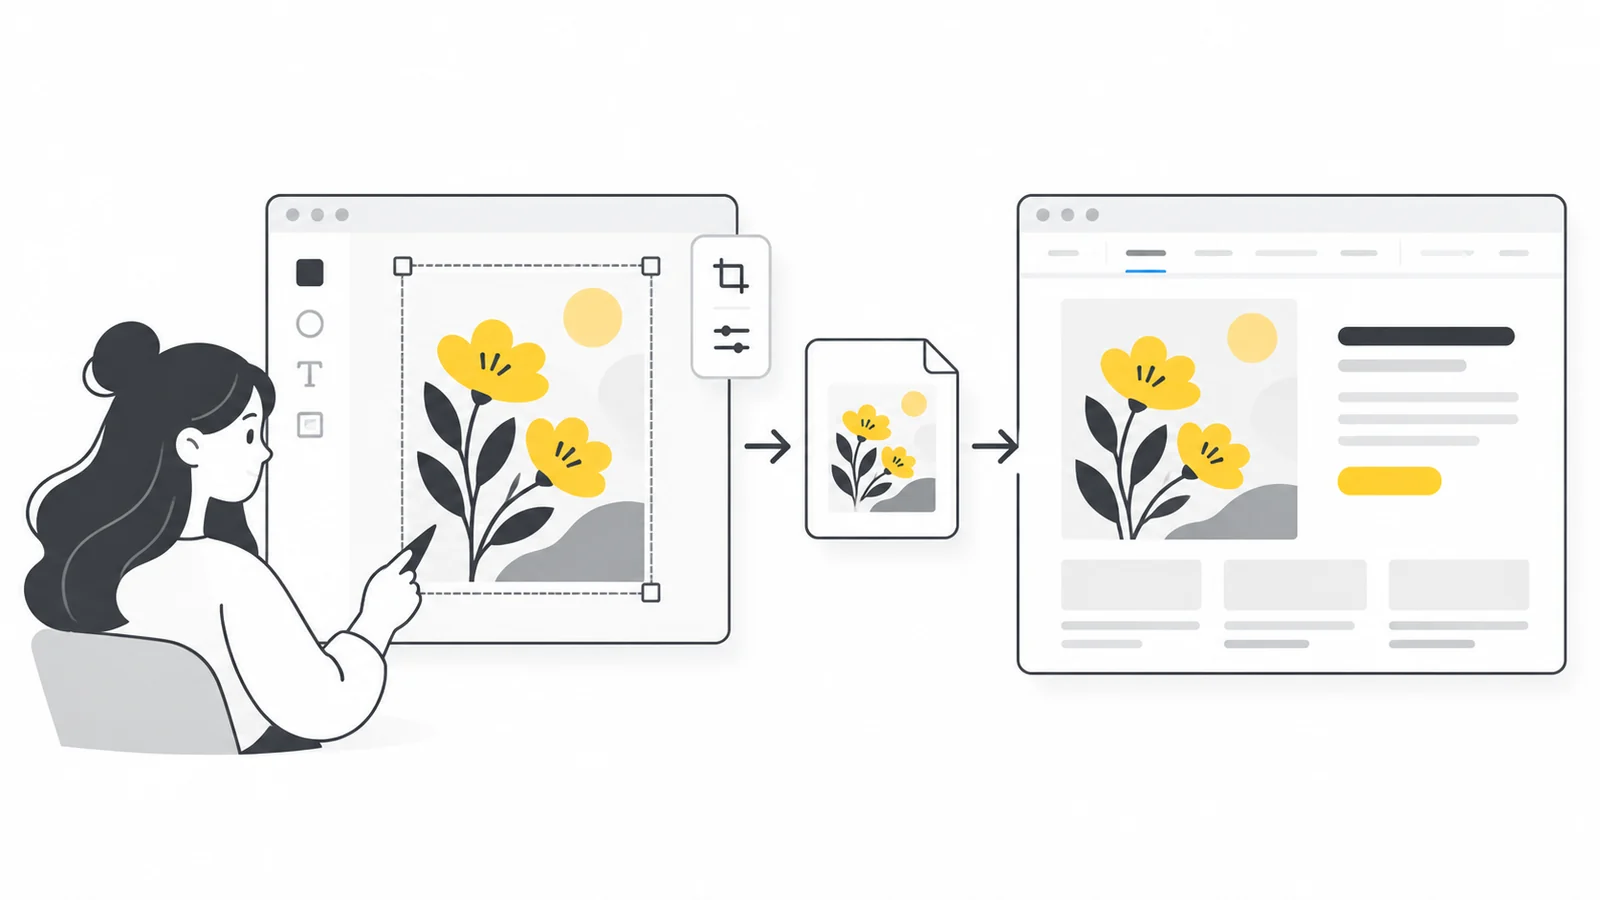
For a simple download, use Share → Download, choose JPG for a photo or PNG for text and graphics, select the page and download it. Check the saved width and height. If your account has no size or quality controls, you can resize or compress the downloaded copy afterward.
If Limit size is available, Canva currently supports it for a single-page JPG or PNG export. Its documentation notes that complex designs can still exceed the requested limit. Verify the saved file yourself.
Keep a clear Canva export before trying smaller versions. Lowering JPG quality in Canva and then compressing or converting it again can remove detail twice. Make each new version from the clean export so you can compare the results fairly.
Use an image format for a website image. PDF Print is intended for printing, not for placing a normal picture on a web page. An option that sounds higher quality may still be unsuitable for a web page: check the image’s width and height, its appearance and the file your page actually loads.
Decide where the Canva image will appear
A full-width banner, a blog thumbnail and a small logo have different needs. Before exporting, open the page where the design will be used and check how wide it appears, what shape it needs and what background it sits on. A square social post is not automatically a good fit for a wide website header.
Write down three things: the approximate display width, whether the image needs transparency, and what readers must be able to recognize. For a banner, that might be a product and one short label. For a diagram, it might be every word and line. These requirements give you a way to judge the result beyond its file size.
If a design includes a headline, paragraph or button, consider adding it directly to the web page instead. Text inside a PNG or JPG is part of the picture: it cannot wrap onto new lines when the screen gets narrower. A button drawn in Canva is also just a picture unless you add a working link on the website. Use the image for the illustration and the page for important text and buttons where possible.
Choose JPG, PNG or SVG for the design
Canva offers JPG, PNG and SVG exports with different uses. See its download format guide for current options. The table below is a starting point for comparing your own files, not a guarantee that one format always wins.
| Design | Try first | Check before publishing |
|---|---|---|
| Photograph without a transparent background | JPG | Faces, textures, smooth color changes and any blur or marks from compression |
| Diagram, screenshot or graphic with small text | PNG | Lettering and thin lines at the intended display size |
| Graphic that needs a transparent background | PNG | Actual transparency and clean edges on the page background |
| Simple vector logo or icon | SVG, if available and accepted by your site | Whether it looks right and your website allows SVG uploads |
JPG makes files smaller by discarding some image detail. This is called lossy compression. It often works well for photographs, but can leave fuzzy edges or small marks around letters. PNG avoids that type of compression damage, although a photo saved as PNG may take up much more space. Neither format can fix blur that is already in the original design.
SVG describes shapes and lines in a way that lets them stay sharp when enlarged. A photograph included in an SVG is still a photograph, though: exporting it this way does not give it unlimited detail. The file can also remain large if it contains photos. Pixilo’s image compressor does not accept SVG. If your website accepts the SVG file and it looks right, you can use it directly.
After downloading, you can also try a WebP version. Use PNG to WebP for a PNG graphic, or JPG to WebP for a JPG photo. Compare the new file with the Canva export. If it is larger or the text looks worse, keep the original export. Our website image format guide explains when each format is useful.
Choose pixel dimensions for the page
Check the widest size at which the image will appear on your page. If a banner is displayed at 800 pixels wide, compare an 800-pixel image with a 1600-pixel version on a high-density phone or laptop screen. These screens can use extra image pixels to show finer detail. The larger file may look better, but it also takes more data to download. Compare both rather than automatically doubling every image’s size.
Keep the same width-to-height ratio, also called the aspect ratio. An 800 × 450 area has a 16:9 shape, so a 1600 × 900 image fits the same shape. A 1600 × 1600 square needs cropping or a different layout. If the mobile version of your header is much taller, adjust the design rather than letting the page cut important content off the sides.
| Placement | Example display size | Image sizes to compare |
|---|---|---|
| Blog thumbnail | 360 × 240 pixels on the page | 360 × 240 and 720 × 480 pixels |
| Wide content banner | 800 × 450 pixels on the page | 800 × 450 and 1600 × 900 pixels |
| Square promotional tile | 400 × 400 pixels on the page | 400 × 400 and 800 × 800 pixels |
Your website may be able to send smaller image files to phones and larger ones to bigger screens. This is called using responsive images. Uploading one large picture does not make that happen automatically: your website needs to create or provide the different versions and choose which one to load. Check what your website builder already does before making lots of copies yourself. Our responsive image guide and MDN’s responsive image explanation cover this in more detail.
Check the downloaded file’s width and height, not just the size shown in the Canva editor. If you cannot change the download size, start with a design close to the dimensions you need and check the result. Use Pixilo’s image resizer to make an oversized image smaller. Enlarging a small JPG or PNG cannot restore missing detail.
Download a graphic with a transparent background
Some download controls, including transparent PNG export, require an eligible Canva plan. If an option is missing, check the linked help page for your account’s current options. You can still optimize an ordinary JPG or PNG download.
An image viewer may show a transparent graphic on white, so a white preview alone does not tell you whether the background is transparent. Try the downloaded graphic on both a light and a dark background. Look around the subject’s edges and check any shadows.
Converting a JPG to PNG does not remove its background. If a photo in your design has a white rectangle behind the subject, choosing PNG will not make that rectangle disappear. Remove the unwanted background in the design before downloading it.
If the graphic will always sit on the same solid background, you may not need transparency. Keep a transparent version separately if you might use it elsewhere later. Our guide to black or white backgrounds helps you work out whether the background is in the file or just in the app displaying it.
Canva’s transparent-background instructions
Compress the Canva export with Pixilo
Once the image has the right size and layout, open the image compressor. You can add up to 20 JPG, PNG or WebP files, each no larger than 25 MB. Pixilo processes them one at a time on your device and keeps the original format, width and height. Each image must be no more than 8000 pixels wide or tall, and no more than 32 million pixels in total. For example, 8000 × 4000 pixels fits both limits, but 8000 × 8000 does not.
PNG compression is lossless, which means the image’s pixels and colors stay unchanged. A PNG that Canva has already compressed well may only get a little smaller. JPG and WebP compression can change fine detail, so check the result before using it. If the new file is not smaller, Pixilo keeps the original.
To change the file format, use a conversion tool. The homepage compressor keeps a PNG as PNG. In the PNG-to-WebP and JPG-to-WebP tools, you can adjust quality after adding the image, then select Update results to apply the change. These converters reduce images wider or taller than 4000 pixels so the longest side is 4000 pixels. Check the downloaded dimensions if you start with a very large design.
If an upload form has a strict file-size limit, try Compress to a File Size. Choose a format the form accepts and check its minimum width and height. A very small file may not be possible without making the text or details unclear. Check all the form’s requirements, not just the file size.
Example: prepare a Canva banner for an article
Suppose your article needs a banner that appears at up to 800 × 450 pixels on the page. The design combines a photograph with a short label.
- Prepare the composition. Use a 16:9 design and keep the main subject inside the area visible in both desktop and mobile layouts. Put the article headline in the web page rather than duplicating a long headline inside the image.
- Download two versions. If available, export a 1600 × 900 JPG and PNG from the same design. Open both files and inspect the short label. Make both downloads from the Canva design, rather than making one from an already compressed copy.
- Compare compression. Try the homepage compressor on the preferred export. For a PNG, also test a WebP copy if your site supports it. Keep the filenames distinct so you can compare the actual files.
- Check the image on desktop and mobile. Inspect the banner at 800 × 450 and at the width used on your phone. The lettering should remain readable without zooming. If it is too small, simplify the design or move that text into the page instead of increasing compression.
- Publish the version you prefer. Check the file your website actually loads, its size and any cropping. If your website creates smaller versions automatically, check those too before updating the rest of your images.
Note which dimensions and format worked for that part of the page. Use them as a starting point for similar designs, but check each result. A plain illustration and a photograph with fine texture can require different settings even when they share the same dimensions.
Fix blurry text or unexpectedly large files
The downloaded design is already blurry
Open the Canva download before compressing it. If it already looks blurry, return to the design and check the original photo, text size and downloaded dimensions. Canva’s blurry download guidance explains common causes. Compression cannot fix an out-of-focus photo or text saved in an image that is too small.
The file is clear locally but blurry on the website
Your website might be stretching a small thumbnail, compressing the image again or showing an older saved version. Open the image from the published page in a new tab where your browser allows it, and check its width and height. If needed, use the browser’s developer tools to find the exact file the page loads. A larger Canva export will not help if the page still loads the small thumbnail.
The PNG barely gets smaller
There is only so much you can remove without changing the image. A PNG containing a photo or detailed texture may stay large, especially if it is already well compressed. If you do not need transparency, try JPG. WebP is another option, including for transparent images, but check text and edges carefully after converting. Keep the PNG if it looks better, or reduce its width and height only if the smaller version is still clear.
The design looks worse after two conversions
Return to the clean Canva export. Avoid repeatedly converting JPG to WebP and back to JPG. Each lossy save can add damage; the last conversion does not undo the earlier one. Create each candidate from the same source and compare it directly with that source.
Check the published page, not just the file
- Check the loaded image. Make sure the page shows the new file or a suitable version created by your website, rather than an old or oversized copy.
- Inspect mobile cropping. Keep the subject visible and avoid placing essential labels near edges that the layout may hide.
- Use normal page text for important information. Visitors should not have to enlarge an image to read the only copy of a price, instruction or call to action.
- Describe meaningful images. Add alt text: a short written description for people who cannot see the image. Explain what matters about it on this page. Images used only as decoration generally need empty alt text. Follow Google’s image SEO guidance without stuffing keywords into descriptions.
- Check page loading. A smaller file helps, but it also matters when the website starts loading it. See images and Core Web Vitals if the page’s main visual still appears slowly.
Frequently asked questions
Should I always download Canva designs as PNG?
No. Try PNG for transparent graphics and designs with sharp text. Try JPG for photographs that do not need transparency. Compare the downloaded files at the size they will appear on your page rather than using the same format for every design.
Can I optimize Canva images without paid export controls?
Yes. Download an available JPG or PNG, check its dimensions and use Pixilo to resize, compress or convert the copy. This does not unlock Canva’s paid features or create transparency where the source has none.
Does exporting at twice the size always improve the image?
No. A larger export can look sharper on a screen that shows more detail, but it cannot fix a small or blurry photo used inside the design. Compare both versions on your page. Use the larger file only where it makes a useful difference.
Do I need a particular DPI setting for website images?
Focus on the image’s width and height in pixels and how large it appears on the page. Changing the DPI number alone does not add image detail. Our DPI, PPI and pixels guide explains how web sizing differs from print sizing.
Will using WebP guarantee better search rankings?
No. A format change is not a ranking guarantee. A useful image, readable surrounding content, appropriate descriptions and an efficient page are better goals than choosing an extension for its own sake.
Prepare one design before processing the whole set
Choose the right dimensions, export a clear source and compare the downloaded result on your website. Once that workflow works, apply it to similar designs and inspect the exceptions.
Compress your Canva exportSet suitable image dimensions → ChatGPT
 Grok
 Google
 Perplexity
 Claude