Publishing workflows
How to Export a Logo for Websites, Email and Documents
Prepare the right SVG, PNG and JPG logo files. Choose dimensions and backgrounds, fix common export problems, and check the result on a website, in email or in a document.
A logo that looks right in a design app can become tiny, blurry or invisible after upload. The cause might be empty space around the artwork, too few pixels, a missing font or an unsuitable background. Start with where the logo will appear and work back to the export settings.
Start with the best original you have
Work from the designer’s editable file or a genuine vector version. Keep that master separately from the copies you publish. SVG can preserve vector paths, but it can also contain a low-resolution bitmap. A file ending in .svg is not proof that every part will stay sharp when enlarged.
If all you have is a small JPG, ask for the original before making a larger export. Converting it to PNG or SVG will not reconstruct the lettering or edges. Use the SVG and PNG guide if you need help identifying what you have.
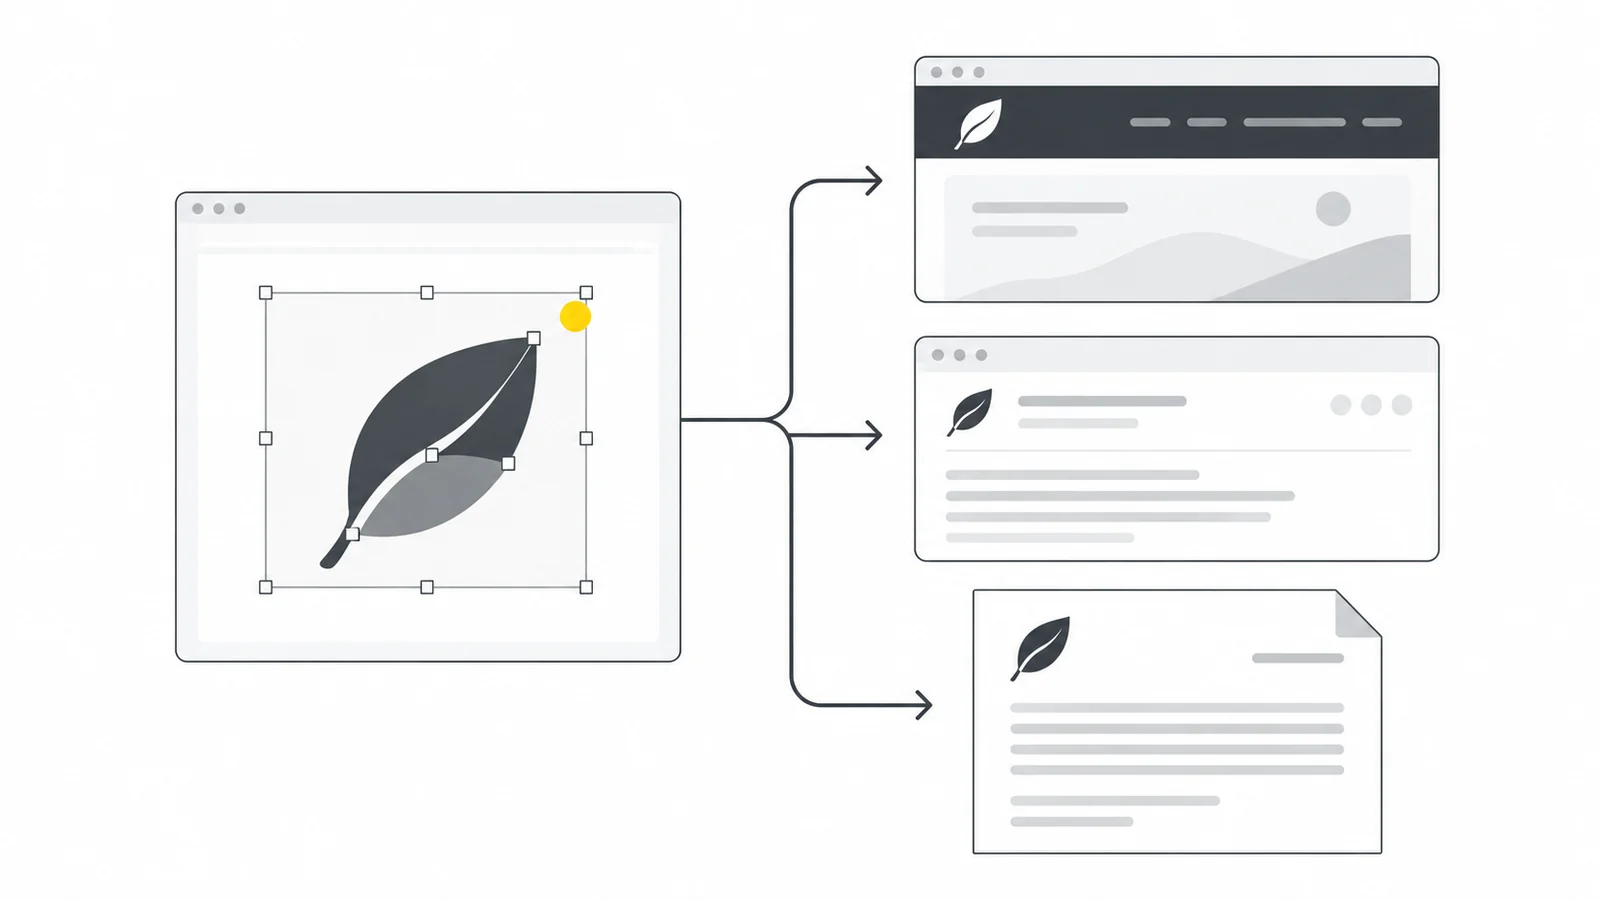
Choose the format for the destination
| Destination | Start with | Check before sending |
|---|---|---|
| Website header | SVG for vector artwork, when supported | Actual display size, background and upload rules |
| Email signature | A PNG at the required pixel dimensions | The signature editor and test messages in the email apps your recipients use |
| Document or presentation | SVG if the app and sharing workflow preserve it; otherwise PNG | The exported PDF or slide deck, not just the editing view |
| A form that requires JPG | JPG with a deliberate solid background | Edge quality, background color and the stated upload limits |
SVG preserves vector shapes; PNG stores a fixed grid of pixels. PNG’s lossless compression suits lettering, flat colors and sharp edges: saving the rendered image does not add the compression artifacts that JPG can introduce. JPG can create fuzzy edges or colored fringes around letters, and it cannot preserve transparency.
WebP can use lossy or lossless compression. Pixilo’s SVG-to-WebP tool offers a quality setting, not a separate lossless mode; a value of 100 is not a guarantee of identical pixels. Use it when the destination accepts WebP and the actual export looks good. For a simple logo, keeping SVG or a suitable PNG may be the better choice.
Size the export for how it will be displayed
Distinguish the file’s pixel dimensions from the size at which it will be displayed. Suppose the exported artwork is four times as wide as it is tall and the logo should appear at 160 × 40 CSS pixels. A 320 × 80 pixel PNG supplies two image pixels per CSS pixel in each direction, a useful starting point for a high-density screen. It is an example, not a required logo size or a rule that every image must be exported at twice its display size.
Keep the aspect ratio locked and normally enter one dimension. If the logo is twice as wide as it is tall, displaying it at 160 pixels wide makes it 80 pixels tall, not 40. Fit it within the available width and height without stretching it; use an approved alternative layout if the full logo does not fit.
The dimensions include transparent margins. If the visible logo fills only half a 320-pixel-wide canvas, it will appear about 80 pixels wide when the whole image is displayed at 160 pixels. Correct excess empty space in the original while preserving the brand’s required clear space. Set the display width in the website or signature editor too, and check whether the service creates a resized copy.
Changing a DPI value alone does not add image detail. See the DPI, PPI and pixels guide. For professional printing, ask the printer for separate file, color and resolution requirements.
Check the export area and lettering
Fit the export area to the intended logo, while keeping its required clear space and room for strokes or shadows. A large empty artboard makes the visible logo look small even when the file has plenty of pixels. Do not crop away the brand’s deliberate spacing just to make the file appear tighter. Inkscape’s export guide illustrates the difference between exporting a page, drawing and selection.
Check fonts and linked artwork before exporting. Converting text to outlines turns the letters into vector shapes so their appearance no longer depends on the recipient having that font. Those letters are no longer editable as ordinary text, so do this on an export copy and keep the original. Outlining text does not turn a low-resolution embedded image into vectors.
Make the SVG self-contained, with required images and styles included in the file. A file that looks correct when opened on its own can still behave differently as a website image: external resources are restricted in that context, as MDN explains. Compare the exported file with the design and then check its placed version. Inspect letters, spacing, clipping and effects, not just whether the file opens.
Prepare screen colors separately from print files
Use the brand’s approved RGB colors for screen versions. For PNG and JPG web exports, sRGB is a practical default; Adobe’s online color guidance describes converting to it. If the source uses another color profile, use the design app’s color conversion rather than merely assigning a different profile, and inspect the result.
Keep a CMYK or spot-color print original separately. Screen and print versions may need different approved color values; a format converter cannot choose those values for you. Check against the approved screen version; different screens may still vary. For a visible mismatch, follow the image color troubleshooting guide.
Prepare versions for light and dark backgrounds
A transparent background does not change the logo’s colors. Export an approved dark logo for light surfaces and a white or light logo for dark surfaces when both are needed. For a website, the template or its developer must select the right version; creating two files does not make them switch automatically.
Email needs a separate check. Apps can alter message backgrounds in dark mode, and support for switching images varies. Test received messages in light and dark mode. If a dark logo disappears, ask the designer for an approved version that remains visible, such as one with a contrasting outline or a suitable background panel. Neither treatment guarantees identical rendering in every app. Mailchimp’s dark-mode guidance explains why testing matters.
PNG can preserve existing transparency; JPG needs an opaque background. Choose that background before exporting JPG. A transparency checkbox cannot remove a white rectangle drawn into the artwork. The transparent-background guide helps distinguish a real background from the preview surface.
Create the PNG, JPG or WebP copies in Pixilo
- Open the prepared SVG in SVG to PNG. Choose SVG to JPG for a destination that requires JPG, or SVG to WebP when you have chosen WebP for that use.
- Enter the export width or height with the aspect ratio locked. Keep transparency where supported, or choose the final background color.
- Convert and download. Check the downloaded file, not only the source preview. PNG export is lossless, so there is no quality level to choose; for JPG and WebP, inspect letters and thin lines after adjusting quality.
- Place the copy, set its display size and check the published page, received message or exported document. Confirm that you are seeing the new file rather than an older cached version.
Pixilo creates static image copies, not an editable logo or an optimized SVG. Its SVG reader rejects external resources and unsupported content; if the file is refused, return to the design app and export a self-contained copy with the text outlined where necessary. Check the tool page for current file and dimension limits. Keep the original for future exports.
Name the files so their purpose is clear
Describe the artwork color separately from the background. For example, dark-artwork means dark shapes, not a file intended for a dark background:
- Editable original: keep the designer’s native file, with its real extension, separate from publication copies.
brand-logo-dark-artwork.svgandbrand-logo-white-artwork.svg: dark artwork for light backgrounds and white artwork for dark backgrounds.brand-logo-dark-artwork-320x80.png: a transparent PNG for the example 160 × 40 display size. The filename records the file’s pixel dimensions.brand-logo-white-background.jpg: an optional JPG with an opaque white background for a destination that requires it.
Include the intended display size and background in a short note. Create only the versions that will be used. A favicon usually needs its own simplified artwork because a full wordmark may be unreadable in a browser tab. See the favicon guide.
Check the logo where it will be used
Inspect the smallest real use first. Are the letters readable, thin strokes visible and clear space intact? Then test the light and dark surfaces. For email, send a real test message and check the received copy. For a document, open its exported PDF and inspect a print if printed output matters.
On a website, give the logo an appropriate text alternative. When it is the only content of a homepage link, identify that destination, such as “Brand home”. If visible text in the same link already provides the name and purpose, avoid repeating it. The W3C guide to functional images shows both patterns.
Frequently asked questions
Why is the uploaded logo blurry when the downloaded file is sharp?
Compare the uploaded file’s actual pixel dimensions with its display size. The platform may have created a smaller copy, or the layout may be enlarging it. Check which file the published page uses and whether excessive transparent margins make the artwork small. Increasing the original export again will not fix a page that keeps selecting the wrong version.
Why does the PNG have a white box around it?
View the downloaded file on both a checkerboard and a colored background. If the white box is part of the pixels, inspect the source for a background object or an export that flattened transparency. If the file is transparent but the box appears only after placement, check the destination’s image background or conversion. Remove a drawn background only if the logo design permits it.
Can I use the same file in every email signature?
Start with a PNG and test the signature editor, received messages and light and dark mode. A hosted image must remain available at its published address; an embedded image must survive the mail system’s handling. Keep contact details as real text so they remain available when images are blocked. One successful preview in the sender’s editor is not enough.
Does converting PNG to SVG make the logo scalable?
Embedding a PNG in an SVG keeps the original pixels. Tracing or redrawing can create vector paths, but may change curves, spacing or lettering. Ask for the vector original first, and have any reconstructed version checked against the approved logo.
What should I do if the logo exceeds an upload size limit?
First check whether the limit concerns file size in KB or dimensions in pixels. Export the required dimensions, remove unintended empty space and avoid unnecessary upscaling. For PNG, try lossless compression before sacrificing edge quality. If a lossy format is required, compare the actual downloaded result as you lower quality. The file-size guide explains the trade-offs. There is no single KB target that suits every logo and destination.
Why do the letters or colors change after conversion?
Compare the editable design, exported SVG, downloaded image and placed result to find the first stage that differs. Missing or substituted fonts point to the text export; missing effects or images can indicate unsupported SVG content. A color shift calls for checking the source profile and screen export. Fix that stage and export again rather than repeatedly converting an already incorrect copy.
Need a PNG copy of your logo?
Start with the prepared SVG and export the dimensions your destination needs.
Convert SVG to PNGUnderstand SVG and PNG → ChatGPT
 Grok
 Google
 Perplexity
 Claude