Publishing workflows
How to Optimize Product Images for Your Online Store
Prepare clear product images for your online store. Choose crops, dimensions, formats and compression, then check zoom, image SEO and storefront delivery.
Start with the product information shoppers need
A product image has a job beyond filling a rectangle. It should help someone judge the shape, finish, color and features of what they are buying. An export that removes stitching, makes lettering hard to read or changes the appearance of a surface is too aggressively compressed, even if its file size looks impressive.
Choose a small set of useful views before editing. A clear main photograph, another angle and a close-up of an important feature usually answer more questions than several nearly identical pictures. Add a lifestyle view or a scale reference when it helps explain the product. There is no required number: a plain mug and a technical jacket need different information.
Keep your original photographs in a separate folder. Prepare copies for publication with names that identify the product and view. If the source is out of focus, badly lit or too small, compression will not repair it. Replace the weak photograph before spending time on export settings.
Make crops and backgrounds consistent
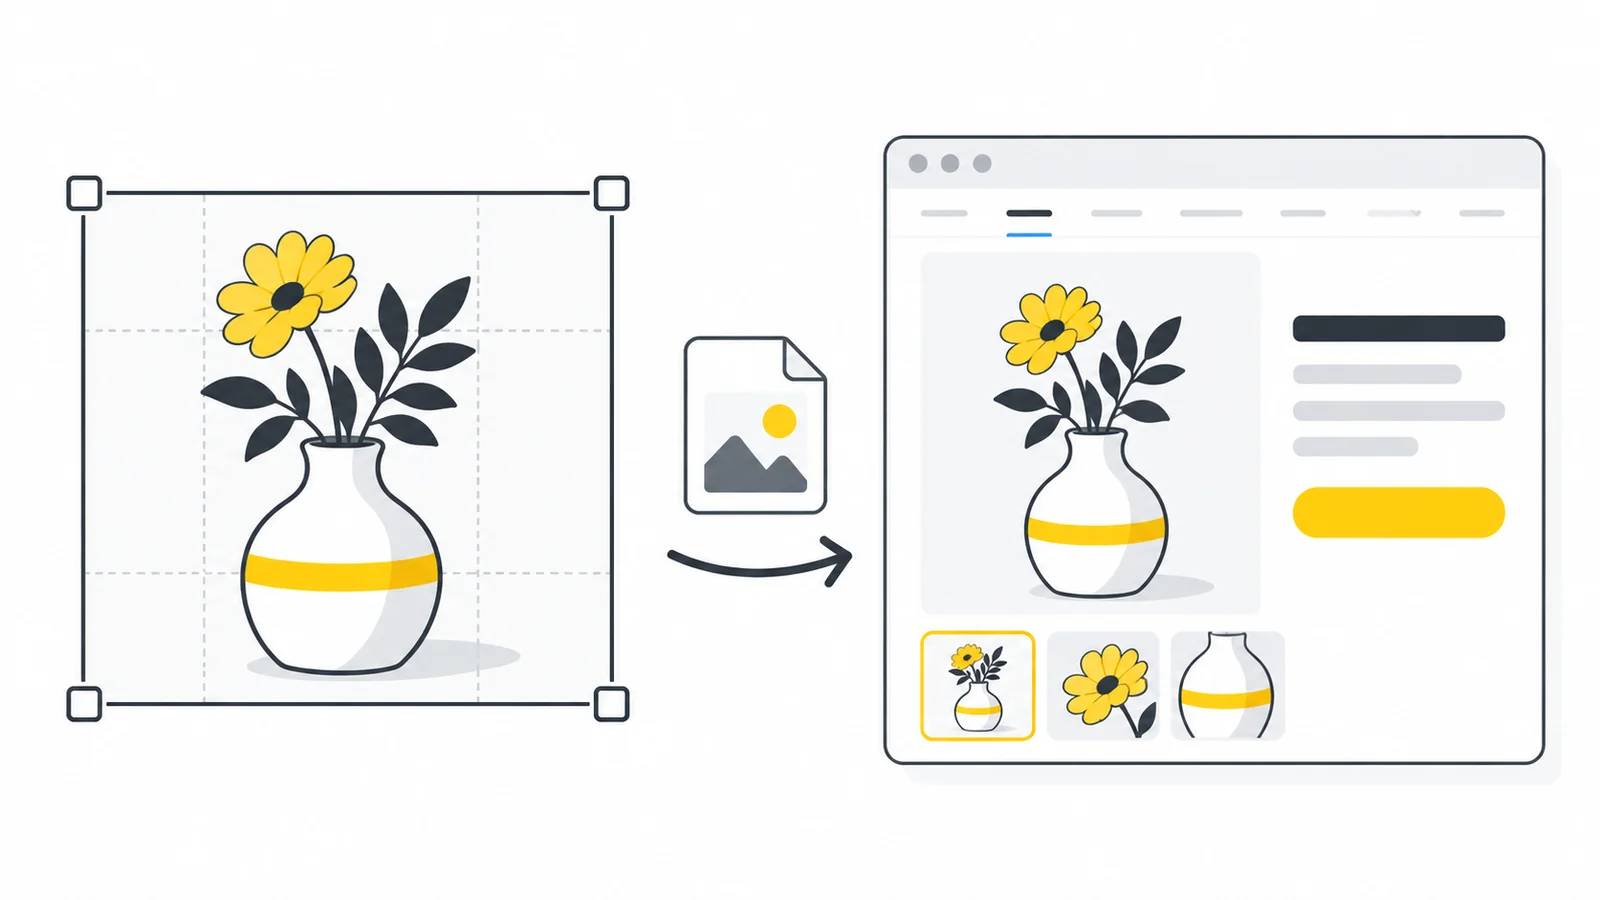
Open a collection page and look at several products together. Different amounts of empty space can make similar products look unrelated or noticeably different in size. Choose an aspect ratio that fits your theme, then keep the subject’s position and the surrounding space reasonably consistent across the main pictures.
A square crop can work well for a square product grid, but it is not a universal rule. A tall garment or a long piece of equipment may need a different presentation. Check the full object, including handles and accessories, before accepting a crop. Do not stretch a photograph to make it fit a template.
For a set of catalog photos, use Pixilo’s Product Image Optimizer. Choose shared canvas dimensions, minimum margins and a background, then crop and position each photo separately. Review the whole set in All images before downloading. Open Enlarge to inspect fine details and the effect of your export quality setting.
The minimum margin is measured from the cropped image’s edges, not from a detected product. Empty space and opaque backgrounds inside the source remain unless you crop them out. A common canvas therefore does not automatically make every product appear the same size. Your theme may also crop the displayed image, so check the published grid as well.
A white or neutral background can make a catalog feel consistent, while transparency may suit a design that places products on different backgrounds. If a PNG or WebP already has transparent areas, the background color tool can fill them with a chosen color and create a JPG. It does not remove an existing background from a normal photograph.
Check transparent edges against both light and dark surfaces. A pale outline that disappears on white may become obvious on a dark page. If that outline is already part of the source, changing the file format will not remove it. See the guide to unexpected backgrounds in transparent images for diagnosing the difference.
Choose dimensions for the grid, product page and zoom
Measure how wide the image actually appears in your layout. A collection card might occupy 360 CSS pixels, while the main product image could occupy 800. These are display widths, not automatic requirements for the uploaded file.
A CSS pixel measures the image’s visible size in the page layout. On a high-density screen, one CSS pixel can use several physical screen pixels, so a sharper version may need more image pixels than its displayed width.
For a high-density screen, a version with roughly twice the displayed width is a useful candidate to test. A 360-pixel card could therefore use a 720-pixel export, while an 800-pixel product image could use a 1600-pixel export. Keep smaller versions available too. These numbers are planning examples, not platform recommendations or guarantees about which file a browser will choose.
| Image placement | Example display width | Candidate image width | What to inspect |
|---|---|---|---|
| Collection card | 360 CSS pixels | 360 and 720 pixels | The whole product remains recognizable |
| Main product photograph | 800 CSS pixels | 800 and 1600 pixels | Surface detail and readable labels |
| Zoom or enlarged gallery | Depends on the viewer | A separate larger version if needed | Details at the actual enlargement level |
Zoom needs its own decision. If customers need to examine a fabric weave, fitting or engraving, retain a sufficiently detailed source or provide a separate close-up. A small grid export should not become the only file available to the zoom viewer. Conversely, the grid should not make every visitor download a full-resolution zoom image.
Your platform may generate these variants automatically. Where you control delivery yourself, use responsive images so the browser can request a suitable version. The responsive images guide explains how dimensions, srcset and sizes fit together. Merely making a large picture look smaller with CSS does not create a smaller downloadable file.
A real example: crop a product photo for a square card
This photograph is 1920 × 1076 pixels. The jar takes up a small part of the wide composition. For a square product card, we can bring it closer without stretching it or removing its photographic background.
- Choose the crop. In the Product Image Optimizer, keep the whole lid and jar base inside a 630 × 630 pixel crop. The pedestal can extend beyond the frame; the product itself should stay visible.
- Set the output. Use a 600 × 600 canvas and a 0% margin. Leave enlargement off: the cropped source is slightly larger than the output, so it can be reduced without adding pixels.
- Export and inspect. We downloaded a JPG at quality 90. It is 16.4 kB. Check the lid edge, the faint shadow and the smooth white surface before accepting it.

1920 × 1076 px · JPG · 73.6 kB

600 × 600 px · JPG · 16.4 kB
The 600-pixel square is a demonstration for a card, not a general upload recommendation. A larger gallery or zoom view may need more pixels. The smaller file reflects cropping, resizing and JPEG export together; it is not a measurement of compression alone. The original background and part of the pedestal remain in the picture.
Choose a format your image and publishing system can use
Separate the format you upload from the format visitors receive. Your store may accept a JPG or PNG source and deliver WebP or AVIF automatically. In that case, preparing several modern-format uploads yourself may add work without improving the result.
- JPG: a practical starting point for photographs with an opaque background, especially when your platform or another destination requires JPEG. Inspect small lettering and fine texture after compression.
- PNG: useful when you need transparency or want to retain sharp graphic elements without another lossy export. A large photographic PNG can be much larger than a suitable alternative.
- WebP: worth comparing for photos and transparent product graphics when your publishing setup accepts it. The format supports different compression modes, but Pixilo’s PNG/JPG-to-WebP converters use a quality setting rather than a dedicated lossless mode.
- AVIF: another candidate when your complete publishing workflow supports it. Test the exported picture and the published page; a smaller file alone does not establish that the image looks suitable.
Use the website image format guide for a broader comparison. Before replacing a whole catalog, try one ordinary photograph and one difficult image, such as a fine pattern or a transparent cutout. Confirm that uploads, thumbnails, galleries and zoom all work.
Set a useful file size target without sacrificing detail
There is no single correct file size for every product photograph. A simple object on a plain background and a detailed woven garment may need different settings at the same dimensions. A collection page with many pictures also has different loading demands from a gallery showing one large image.
For an image you intend to serve directly, you could test a 200 KB version as an initial budget, then decide whether it is usable. That is an example, not a requirement. If the labels or material details become unclear, try a less aggressive setting, a more efficient format or a different display size. Do not keep lowering quality just to meet an arbitrary number.
Compare at the size shoppers will normally see, then inspect the important areas at full size or in the zoom viewer. Look for broken letter edges, blocks in shadows, smeared texture and uneven transitions on smooth backgrounds. The best choice is the smallest acceptable version for that placement, rather than the smallest export your tool can produce.
For a separate compression-only test, we returned to the uncropped original and exported JPG at quality 20, keeping all 1920 × 1076 pixels. The result is 28.0 kB, about 62% smaller than the original. Use the divider and Inspect detail to compare the lid edge, wall and soft shadow. Quality 20 is a deliberately low test setting, not a recommended preset; inspect the picture at its intended display size too.

Original JPG vs a Pixilo JPG export at quality 20. Both 1920 × 1076 px; no cropping or resizing in this comparison. Drag the divider or use the arrow keys to compare.
If an upload form has a real limit, use Compress to a File Size. Keep dimensions unchanged initially and allow proportional resizing only if it is appropriate for the image’s role. A strict limit can force visible compromises; sometimes a new crop or a separate detail photograph is more useful than further compression.
Avoid exporting repeatedly from the last compressed copy. Return to the original when trying another quality setting. Quality numbers are not interchangeable between formats or encoders, so a JPG at 80 and an AVIF at 80 would not automatically have the same appearance.
Check what Shopify, WordPress or your store already handles
Shopify’s image upload documentation describes automatic storefront optimization and recommends high-quality uploads rather than mandatory manual pre-compression. Its delivered format can differ from the uploaded format. Check the requirements for your particular product media and theme; there is no reason to impose a small delivery-file budget on every source upload.
For a WordPress store, review the image sizes your theme generates and any optimization plugin or image service in use. Check whether the collection card, product gallery and zoom are receiving appropriate versions. The WordPress image optimization guide covers the underlying workflow.
If you replace an image, open a fresh page load and confirm the new version is being served. Cached thumbnails or generated variants can make an old export appear to be the new result. Adding another compression plugin before checking the current pipeline can create more confusion rather than solve the problem.
Pixilo prepares individual files locally in your browser. It does not connect to your store, update a catalog or configure its image delivery. The JPG-to-WebP, PNG-to-WebP, WebP-to-JPG and PNG-to-JPG tools reduce images larger than 4000 pixels on either side, keeping the original proportions. The resizer allows up to 8000 pixels per side and 32 million pixels in total. Check the downloaded dimensions when preparing a large zoom source.
Help search engines understand the product images
Describe the view accurately. A filename such as blue-ceramic-mug-side-view.jpg is easier to manage than IMG_4837.jpg. For alternative text, write a useful description of what the image shows, for example: “Blue ceramic mug with a curved handle, viewed from the side.” Another photograph should describe its own view rather than repeat the same text.
Keep the image near relevant product information and avoid stuffing filenames or alt text with repeated search terms. Google’s image SEO guidance explains descriptive text and image discovery. These practices help communicate what the picture represents; they do not guarantee rankings.
Check the product page too. A correct image of the chosen color or variant is more helpful than a perfectly optimized file showing the wrong item. Image optimization should support an accurate listing, not compensate for missing product information.
Check the published result before changing the whole catalog
- Collection view: the product is visible, crops are consistent and the grid does not download unnecessarily large files.
- Product gallery: the main image is clear, additional angles add information and the right variant is shown.
- Zoom: important labels, texture and fittings remain readable at the intended enlargement.
- Phone layout: a narrow screen does not crop away the subject or force a large desktop-only image into a small slot.
- Backgrounds: transparent edges and solid fills look correct against the real page colors.
- Loading: inspect file requests on a fresh visit. Avoid delaying the main visible product image just because other gallery images can load later.
- Layout: reserve the correct image proportions so text and buttons do not jump when photographs appear.
- Source files: keep the originals and a short record of the settings used for publication.
Start with a handful of representative products, including an image with fine detail. Compare before and after under similar conditions. Once both appearance and delivery work, apply the process to the rest of the catalog. For a deeper diagnosis of loading problems, read why website images load slowly.
Frequently asked questions
What is the best image size for an online store?
It depends on the theme’s display sizes and zoom behavior. Measure the grid and gallery, retain enough source detail for enlargement, and check the generated files. There is no universal square dimension that suits every product or platform.
Should every product image be below 200 KB?
No. It can be a test budget for some directly served images, but it is not a universal upload rule. A zoom source may need more detail, and an automatically optimizing platform may work better with a high-quality upload.
Is JPG or PNG better for product photographs?
JPG is a useful starting point for ordinary photographs with an opaque background. PNG is useful for transparency and sharp graphics, but can be large for photos. Check your platform’s upload and delivery workflow before choosing; the format shoppers receive may be different.
Why does my product image look blurry after uploading?
Compare the original, your exported file and the image delivered by the store. Common causes include an undersized source, aggressive compression, a small generated thumbnail used in a large gallery, or a zoom view that enlarges the same small file. Identify which step introduced the blur before changing settings.
Can Pixilo remove a product photo’s background?
No. The Product Image Optimizer fills added canvas space and areas that are already transparent with your chosen background. It does not detect a product or remove an opaque photographic background. The separate background color tool also needs an already transparent source if you want to replace the background behind a product.
Prepare one product image and test it in your store
Keep the original, choose the right framing and dimensions, and inspect the published picture before applying the same settings to your catalog.
Prepare product imagesChoose a consistent crop → ChatGPT
 Grok
 Google
 Perplexity
 Claude