Publishing workflows
How to Optimize Images for WordPress
Prepare images for WordPress, choose suitable dimensions and formats, and verify the image files your published pages actually deliver.
For a new WordPress article, prepare a suitably sized copy, upload it to the Media Library and select it in an Image block. Choose the block’s resolution, add useful alt text and check the published page on a phone. Full size selects the attachment’s full-size version, which WordPress may already have scaled down. It is not simply a control for making the block wider. The WordPress reference explains the distinction from the untouched upload.
Prepare the image before uploading
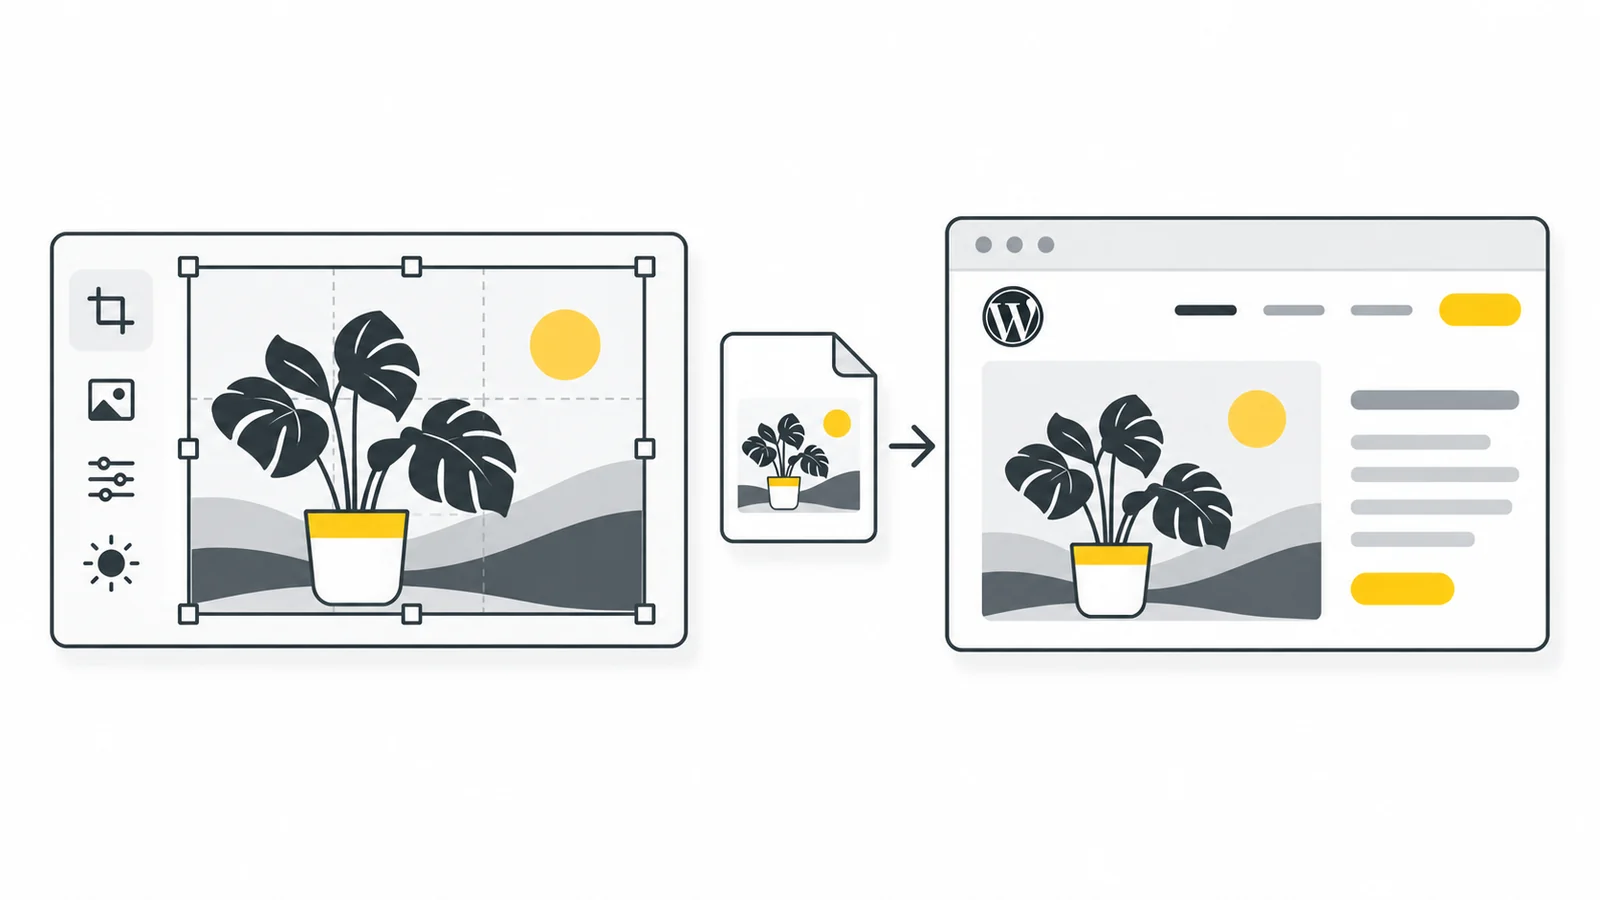
Keep your original photograph outside the folder containing images ready to publish. Decide whether the image is a full-width cover, an article illustration or a small card. These placements rarely need the same export. Crop unnecessary space first, then choose dimensions suitable for the largest intended display.
For example, a 600-pixel-wide article illustration could use a 1200-pixel-wide version for high-pixel-density screens. That is a starting point for this particular placement, not a WordPress requirement. Inspect the result and compare its file size with a smaller version before choosing.
Use the crop tool to set the composition and the resizer for the final dimensions. Preserve the original proportions when entering width and height unless you deliberately want to change the shape.
Choose a format your setup can deliver
Try WebP for photographs used on your own site. Keep PNG when you need to preserve the graphic’s pixel values, and use JPG when another system specifically needs it. Transparency alone does not require PNG: WebP supports it too.
Test one image through your complete WordPress setup before converting a whole library. Your host’s image-processing software, plugins and themes can influence what happens after upload. Consult WordPress’s image size and quality documentation for its image handling model. Avoid repeatedly recompressing already optimized files through several independent plugins without checking the result.
Check the image on the page
Insert the image in the intended post or page and review the resolution controls. Do not choose Full size simply because it sounds higher quality. Choose a version with enough detail for the placement and check the file actually delivered. The official Image block guide describes the controls.
Add alternative text that communicates the image’s purpose in context. A product detail needs different wording from a decorative separator. Do not turn the field into a list of search keywords or duplicate a nearby paragraph.
Verify the published page
- Open the published URL while signed out, including on a narrow screen.
- Check the crop, sharpness and spacing in the actual layout.
- Open the displayed image separately if you need to check which version the page uses.
- Check the downloaded image’s dimensions and size. Use the browser’s Network panel only when you need to investigate loading or the requested file.
- If an old file remains, check the relevant page, plugin or CDN cache and test again.
Create a repeatable publishing routine
Write down your usual cover, article and thumbnail dimensions for this theme. Save export copies with descriptive filenames and check one mobile preview before publishing. Revisit those presets when changing themes: an export chosen for a narrow article column may not suit a new full-width layout.
Example: prepare one article image from start to finish
Suppose your article column is 720 pixels wide and your original is 3600 × 2400. Keep the original and prepare 720 × 480 and 1440 × 960 versions with the same crop. These are example dimensions, not WordPress defaults. Compare them at the intended display size; use the larger version only when the extra detail is worthwhile. Give the selected export a descriptive filename before uploading it to the Media Library.
Insert it into a draft with an Image block. Check the resolution setting separately from the visible width: making the block narrower does not prove a smaller file is being downloaded. Preview both the article image and any featured-image placement, because the theme may crop those differently. Publish the test page, open it while signed out and verify the actual image request on mobile and desktop.
If the replacement still looks wrong
If the new image is blurry, compare the downloaded variant with the intended display width before increasing compression quality. If the old image remains, first check the requested URL: a different URL suggests a stale page reference, while an unchanged URL may require checking image or page caches. If only one thumbnail is wrong, inspect that generated size rather than replacing the whole library again.
Before bulk changes, back up the media files and database and test the replacement process on one post. Assign one system responsibility for compression; check what each plugin or CDN actually changes. Save the original, chosen export and final URL together so you can reverse a poor result without repeating lossy conversions.
Prepare your next WordPress image
Choose the crop and dimensions, upload a suitable copy, then check the variant WordPress actually delivers on mobile and desktop. Test one post before changing the library; a WebP conversion is useful only when your setup handles it correctly.
Convert JPG to WebPPlan image dimensions → ChatGPT
 Grok
 Google
 Perplexity
 Claude