Publishing workflows
How to Create a Social Preview Image for Your Website
Create a clear social preview image, choose useful dimensions and configure Open Graph. Learn how to fix a missing, incorrect or outdated link preview.
What is a social preview image?
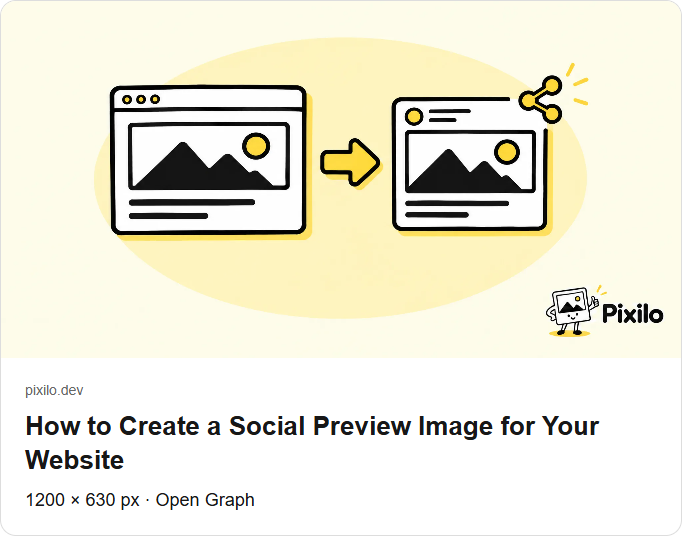
You have written a useful article and send its link to someone. They might see a bare address, the wrong picture or a clear card whose image and title explain the subject immediately. The picture in that card is called a social preview image, link preview image or Open Graph image.
This image belongs to the preview of a website link. It has a different job from an Instagram upload, a favicon (the small website icon in a browser tab) or the cover image visible on a page. The same original artwork may work in several places, but its crop, text and settings need to suit each use.
When a service builds a preview, it retrieves information about the page's title, description and image. These background details are called metadata. Open Graph is a way to label them so another service can recognize them. You can usually enter them in your website settings without writing code. MDN's metadata guide explains how these settings differ from the visible page content.
Apps do not all create the same preview, and your website does not control the final card layout. The receiving service may crop the picture, shorten the title or omit the preview. Your own mockup is useful for design; the final behavior needs checking in the service where the link will be shared.
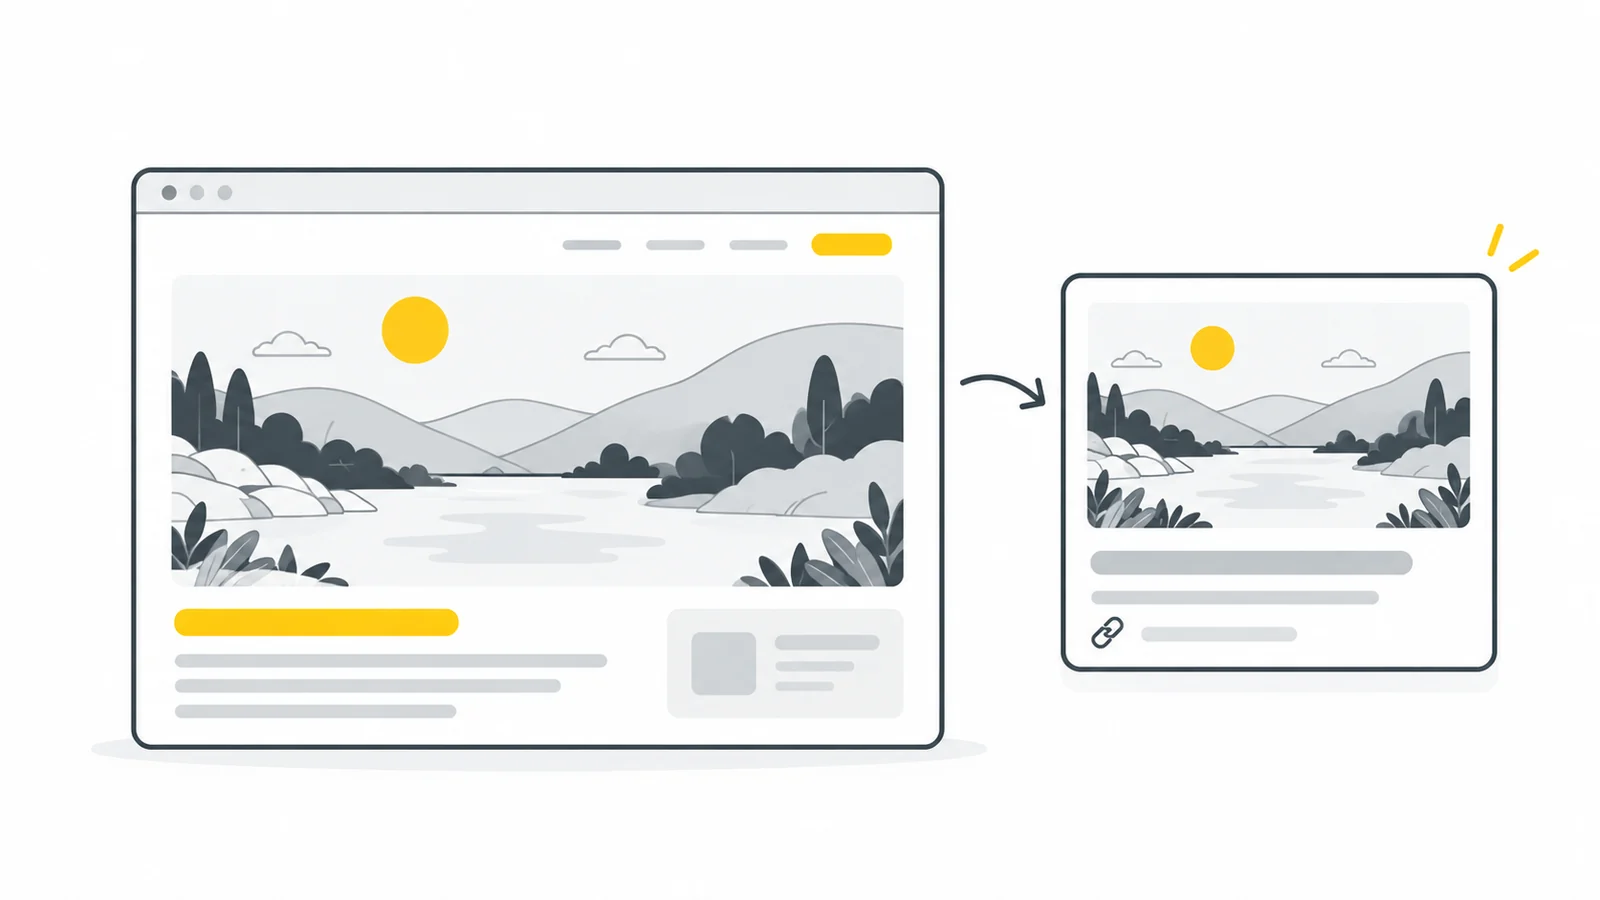
What size should a social preview image be?
Start with a 1200 × 630 landscape image unless your website setup gives another recommendation. That means 1200 pixels wide and 630 pixels tall. Pixels are the tiny picture elements that make up an image, so this picture is almost twice as wide as it is tall. This is a practical design recommendation, not a requirement shared by every service.
For example, LinkedIn's guidance recommends 1200 × 627 for a Page post preview image. A few pixels of difference are not a reason to stretch finished artwork. Follow the destination's own guidance when preparing a version specifically for that placement.
| Choice | Practical starting point | What to check |
|---|---|---|
| Pixel dimensions | 1200 × 630 | Your publishing system and destination's guidance |
| Format | JPG for a photo, PNG for precise graphics | The image opens and text remains readable |
| File size | The smallest copy that preserves important detail | Content quality and the service's actual limit |
| Composition | One clear subject and short text if needed | Important content survives different previews |
There is no universal kilobyte target for these images. Crisp text may need more space than a simple photograph. Compare copies and choose a smaller one if important details survive. The destination's maximum file size and your own quality goal are different things.
If your original is 1600 × 1600, plan a landscape crop first. Setting its dimensions directly to 1200 × 630 can stretch the subject if the tool does not preserve its proportions. The resizing without stretching guide explains how cropping differs from changing dimensions.
Design for a small, readable preview
Someone will often see the image on a phone, surrounded by other content. Details that look clear on a large design canvas may disappear in the card. Choose the one thing the reader should understand: the article's subject, the kind of event or the product behind the link.
A short phrase such as “Better product photos” may suit a guide image better than the full article title and subtitle. Many previews also show a title outside the image. You do not need to fit every detail into the artwork, and essential information should not exist only inside a picture.
Use clear contrast and leave space around the subject. Keep faces, products and important text away from the very edges. There is no exact safe area that works across every service: different cards may show the same file with different crops. Check both the full landscape composition and a tighter crop centered on the main content.
Look at the draft at about 300 pixels wide. This is your readability test, not a technical service requirement. Can you read the words without zooming? Can you recognize the subject? If not, simplify the text and details before increasing export quality.
For an online store, make the product easy to identify. For an event, the artwork can communicate atmosphere, but dates and registration instructions should also appear in page text. A company logo can help recognition; using the same large logo as the main image for every article says little about each page's subject.
Choose a format and optimize the finished copy
JPG is a practical starting point for a photo-based preview. PNG suits graphics whose lettering or precise edges suffer in a JPG export. Choose a deliberate background: a transparent image is displayed against the surrounding interface, where a pale brand mark may become hard to see.
WebP and AVIF may suit images displayed on the website, but browser support alone does not show that a service creating link previews accepts the same format. JPG or PNG is a practical starting choice for this workflow. If you use another format, check support and actual behavior in the destination.
Prepare the composition in a design application. Use Pixilo's image cropper to crop the source and the image resizer to set appropriate dimensions. For a particular file-size requirement, try compressing to a size limit. Check the downloaded file: the tool does not configure your website's social image settings.
Compress a finished copy and compare it with the export. Look for soft lettering, noise around a logo and bands in gradients. If quality is inadequate, return to the original export instead of repeatedly compressing a damaged copy. Our JPG vs PNG guide helps choose a format for text and photographs.
Add the image in WordPress or a website builder
Look in the page or article settings for a field named Social image, Sharing image, Open Graph image or something similar. It may be part of the page's search engine optimization settings, often labeled SEO. Follow this sequence:
- Open the right page. Edit the article or page whose link you intend to share.
- Select a page-specific image. Upload the prepared file or choose it from the media library, where your website stores previously uploaded pictures.
- Check the title and default. Make sure the change applies to this page rather than replacing the whole website's default sharing image.
- Save and publish. Uploading a file to the library alone does not change a page's preview metadata.
- Test the public link. Use the checks below before sharing it.
In WordPress, your existing SEO plugin may provide the setting. For example, Yoast's guidance describes social image configuration. Preview availability and menu names can depend on the plugin version and subscription. Check the existing feature before installing another plugin.
A featured image may provide a fallback, but that is not a universal WordPress rule. Yoast's technical specification describes how that plugin selects images from different sources. A page-specific image and a site-wide default are separate settings. Keep a general fallback for pages without their own image, and choose relevant artwork for important articles.
If you cannot find the setting, give your website administrator the page URL and the finished image. Ask them to configure that page's social image and check its published preview metadata. Pasting metadata into the visible article editor is not equivalent to placing it in the correct location.
Optional: add the image through the page code
Skip this section if you selected the image in your website settings. It is for you or your administrator when editing the page code directly. HTML describes a page's structure; its head section holds background information that is not displayed as article text. Place the preview settings there. og:image supplies the picture's address; other Open Graph fields describe the shared page. The Open Graph specification defines these fields. This example describes an article. For a general page, use website as the type.
Replace the example domain, page address, title, description and image file with your own values. The image must actually be 1200 × 630 if you declare those dimensions.
<meta property="og:type" content="article">
<meta property="og:title" content="Better product photos for your store">
<meta property="og:description" content="Prepare clear images and check them on your product page.">
<meta property="og:url" content="https://example.com/guides/product-photos/">
<meta property="og:image" content="https://example.com/images/product-photos-social.jpg">
<meta property="og:image:width" content="1200">
<meta property="og:image:height" content="630">
<meta property="og:image:alt" content="A blue mug on a light background with the words Better product photos.">
Use a full HTTPS image address. The page URL belongs in og:url, and the image file URL belongs in og:image. The page address should agree with its intended primary URL. Check that a shared template does not give every language version the wrong-language title or homepage address.
Describe the picture's essential content and important embedded text in og:image:alt. That description does not replace alt text for a visible page image. If the same picture appears inside the article, its HTML image element needs its own description appropriate to that use.
Before adding anything, check whether a template or plugin already supplies the fields. Update the existing configuration. Multiple images can be intentional, but a conflict between an old plugin setting and a new manual image makes the result difficult to predict. Keep the main image and its dimensions together.
The declarations should be present in the published HTML source. Do not make the preview depend on a visitor clicking something or on browser-only code. If your website separately generates settings for an X card, check that image too: fixing Open Graph does not remove an old reference from a separate setting.
Test the published link before sharing
The easiest test is to paste the published page address into a new post or message draft. Wait for the preview. Does it show the right image and title? Is the text readable? Use the service where you intend to share the link; you do not need to send or publish the draft. If the picture is missing or wrong, continue with the checks below.
Next, open the published page using your browser's View Page Source feature and search for og:image. The name and location of that command vary by browser. Compare the address with the file you just checked, and review the title and page URL. Alternatively, ask your administrator to confirm that the public source contains the new image address. An editor's draft URL is not a public preview test.
For LinkedIn, use the Post Inspector. Facebook preview metadata can be examined with the Sharing Debugger. These tools may require sign-in. Then check a new post or message draft in the destination where you intend to use the link.
Record the page URL, image URL and service tested. If the link works in one place but fails in another, those details narrow the problem more effectively than repeatedly changing the artwork. LinkedIn's cache guidance says Post Inspector refreshes apply to new posts; existing post previews remain unchanged.
Why is the preview image missing, wrong or outdated?
Separate three possible causes: the page declares the wrong picture, the service cannot fetch the image file or it is showing a previously stored preview. Correct the cause you find. Higher image quality will not fix a broken URL, and refreshing your browser does not clear another service's cache.
| Symptom | What to investigate | Next step |
|---|---|---|
| No image appears | Metadata or image accessibility | Check the page source and open the image URL |
| The wrong image appears | Page setting, default or competing declarations | Find all image references in the published source |
| An old image appears | Website or sharing-service cache | Verify the new source and request a fresh service inspection |
| It works for you but not the service | Firewall, login requirement or blocked fetcher | Ask the administrator to inspect the request and response |
| Text or faces are cut off | Card crop and composition | Move important content inward and test a new draft |
If the image URL returns HTML, a successful status code alone does not establish that the file works. A redirect or routing fallback can return the homepage in place of a missing image. Your administrator can check the response body and image content type using the browser's network panel or server logs.
A cache is a previously saved copy of a page or image. It can make loading faster but may retain an old version. A content delivery network (CDN) distributes website files from different servers and can also keep such copies. If your website uses a cache or CDN, update the page or image it is serving from an old copy. Then check the public source and file again. Only after they match the new version should you ask the sharing service to fetch the page again. Clearing your own browser cache does not perform those other updates.
When replacing the picture, you can publish it with a new, clear filename such as product-photos-social-v2.jpg and update the page's reference. This distinguishes the new file from the old one. It does not by itself force the service to reread the page metadata or update every previous message.
Do not solve the problem by changing the article's permanent URL or disabling website protection altogether. First establish which address the service requests and what is being blocked. An administrator can then correct access to the specific public page or image within the website's existing security policy.
Example: a clear link preview for a product-photo guide
Imagine an article for online store owners. Its cover is a square photograph of a mug, and the full title is “How to prepare product photos for different devices.” An automatic landscape crop cuts off the handle and leaves too little room for the heading.
- Make a separate landscape composition. Start with a 1200 × 630 canvas, keep the whole mug visible and leave space around it.
- Shorten the image text. Try “Better product photos.” Keep the full article title on the page and in its preview-title setting.
- Export and inspect. Compare JPG and PNG. Check the text and product edges in a small preview alongside file sizes.
- Configure the page image. Select the prepared file in the article's social settings. Save and publish the change.
- Test the page link. Check the public file, page metadata and a new destination preview before sharing.
The result can suit this article without being the best Instagram post or full-width website hero. Keep the original design so you can make later versions without repeatedly editing the finished JPG.
How do social preview images relate to SEO?
The image helps a person understand a shared link. Do not promise better search rankings merely from adding og:image. A search-result image, a visible page image and a social link image are different placements. Configuring one does not control all the others.
Use a descriptive filename and a title that reflects the page. Write the image description for a person rather than filling it with keywords. Google's SEO Starter Guide discusses useful content and understandable images. Our alt text and filenames guide helps with descriptions of pictures visible on a page.
Reducing the social image's file size does not automatically speed up the article's visible main picture. If the website uses another file for that image, optimize its loading separately. Prepare the preview for its own job and assess website performance using the images the page actually loads.
Frequently asked questions about social preview images
Is 1200 × 630 a required Open Graph image size?
No. It is this guide's practical starting size. Open Graph describes how to declare the image URL and dimensions; the receiving service determines its display behavior and limits.
Can the article cover also be the social image?
Yes, if its composition suits the preview and the website declares the right file. A separate version helps when the cover is portrait or square, or when its lettering becomes unreadable in a small card.
Does every page need a different image?
Not necessarily. A general default is a useful fallback. A dedicated picture is most useful for shared pages whose subject is not clear from the website logo, including guides, products and events.
Why does the new image not appear in an old post?
The service may preserve the preview created when the post was published. Check a new post draft and the destination's own update guidance. Replacing a website image does not guarantee that a previously sent message or published card will change.
Does a Share button add the image to the link preview?
No. A button can make sending the link easier, but it does not replace page metadata. When you share a URL, the receiving service decides whether to fetch and show a link card. Sharing an image file separately is a different action.
Prepare the image, configure the page and test the link
Start with a clear landscape design. Check a small preview, save a suitable copy and select it in the page's social image settings. Finally, verify the published link in the service where you intend to share it.
Resize your social imageChoose a useful crop → ChatGPT
 Grok
 Google
 Perplexity
 Claude