Website images
How to Export Photos for a Photography Portfolio
Choose dimensions, formats, colour settings and compression for portfolio photos. Compare detailed images and check the published gallery on desktop and mobile.
A photography portfolio needs to load comfortably while showing why the work deserves attention. Fine fabric, leaves, smooth skies and subtle skin tones may matter more here than in a small illustration on a service page. An export that looks acceptable as a thumbnail can fall apart in a large gallery view.
The useful goal is a set of files that preserves the details your visitors need at the sizes they will see. This guide explains how to choose and test those exports, including what to check when a website platform processes them again.
Plan for the gallery, not just the thumbnail
List the places each photo appears: a grid, a project page, a lightbox or a full-width opening image. The same photo might be cropped to a square in the grid and shown uncropped when opened. A thumbnail-sized export cannot supply extra detail for the larger view.
Check the website's image-upload guidance before making presets. Some platforms generate several display sizes from one source; others show the uploaded file directly. Adobe Portfolio, for example, stores the uploaded full-resolution image and generates smaller renditions. That makes the uploaded source and the file a visitor loads two separate things to investigate.
Determine whether the platform also exposes an original-size download. Do not upload a print master simply because the gallery normally displays a smaller version. A web export should be a file you are comfortable making available through the site's features.
Find the size of the view visitors actually open
- Start in the site builder. Check its gallery or image-upload guidance and the chosen layout's settings. Look for a maximum display width or height. A maximum upload size is a different limit.
- Open a published test gallery. Use the widest browser window you intend to support. Open the photo as a visitor would, including the lightbox if there is one. Repeat with a portrait, which may be limited by the window's height.
- Measure only if the platform gives no useful dimensions. In a desktop browser, right-click the displayed image and choose Inspect. The element highlight or layout box can show its rendered width and height in CSS pixels. Measure the image itself, not the surrounding gallery. Opening the source file in a separate tab shows a different thing: the file's pixel dimensions.
If you cannot establish the display size confidently, use the platform's current recommendation as your initial export size and test the opened gallery before making a collection-wide preset. The goal is a reliable starting point, not a guess based on your camera's resolution.
| Use | What to plan |
|---|---|
| A grid that opens a larger image | Prepare enough detail for the opened view. Use a separate thumbnail crop if the platform supports one. |
| A photo in a fixed-width article column | Base the width on that column and the display density you want to support. |
| A wide image that fills a browser window | Test the widest intended view and the effect of cropping on narrower screens. |
| A portrait inside a height-limited lightbox | Check both width and height. A long-edge rule alone may create a different result than expected. |
| Files delivered to a client for printing | Use a separate delivery workflow and specification. Do not treat a portfolio export as a print master. |
Choose pixel dimensions from the layout
Start with the largest displayed dimensions, then decide how much extra pixel detail is worthwhile. An image shown 1,200 CSS pixels wide can use a 2,400-pixel source for 2× detail, provided the website actually serves it at that size. This is a planning example, not a rule that every portfolio photo should be 2,400 pixels wide.
A 6,000 × 4,000 original reduced proportionally to 2,400 pixels wide becomes 2,400 × 1,600. At a 1,200 × 800 CSS-pixel display size, it supplies two image pixels in each direction per CSS pixel. A portrait of 4,000 × 6,000 exported with a 2,400-pixel long edge instead becomes 1,600 × 2,400. The same long-edge preset therefore does not produce the same width.
Doubling both dimensions gives four times as many pixels: 1,200 × 800 is 960,000 pixels, while 2,400 × 1,600 is 3,840,000. The file size will not necessarily quadruple, but decoding and transferring larger images has a cost. Compare a smaller and a 2× candidate in the actual gallery. Keep the extra pixels when the visible improvement justifies them, and let the site serve smaller versions to smaller views.
Use Resize Image with the aspect ratio locked when you need smaller copies of an existing web export. If the layout needs a different composition, choose that crop first. Do not stretch a portrait to fit a landscape space.
On a responsive site, small screens should not have to load the largest file for every thumbnail. A site builder may handle this for you; a custom website may need responsive image markup. Our responsive images guide explains how display size and source selection work together.
Pixel dimensions matter more than changing a PPI label for ordinary screen display. A 2,400-pixel-wide file remains 2,400 pixels wide if you change only its resolution metadata. For print sizing, the relationship is different; see DPI, PPI and pixels.
Choose the format and colour treatment deliberately
Start with the format your platform expects
JPG is a practical starting point for conventional photographs. PNG can make sense for transparency or graphics, but is often unnecessarily large for a photograph. WebP and AVIF can also be useful when the upload platform supports them or when you control how the website serves images. MDN's format reference describes their characteristics and compatibility.
Do not convert a whole collection to a new format before checking the publishing workflow. A platform may reject it or re-encode it into another format. Compare the image served by the finished gallery, not just the file you uploaded.
Use a colour-managed export
For a conventional portfolio in standard dynamic range (SDR), sRGB is a practical baseline to test. Export through a colour-managed photo editor and include the profile where the editor offers that option. Converting the colours into sRGB is different from merely assigning an sRGB label to values prepared for another colour space. Adobe's colour FAQ provides background on Lightroom's colour handling.
Wide-gamut colour and high dynamic range (HDR) need a compatible export and publishing workflow. Use them deliberately if the platform supports them; an editing preview alone does not establish what visitors will see.
Check a published photograph with recognisable colour references, such as skin or a neutral surface, against the exported file on the same device. Different screens can still look different. If the published file changes unexpectedly on that device, investigate the platform's processing and profiles before changing the creative edit. Our image colour guide covers those checks.
Find useful compression settings with a small test set
Do not choose one percentage and assume it has the same effect in every exporter. A quality number describes that encoder's controls; it is not a percentage of the photograph's artistic or technical quality.
Choose several images that expose different weaknesses. A smooth sky reveals banding. Hair, grass and fabric reveal lost texture. Dark areas can show blocks or smeared noise. Architecture reveals damage around fine, high-contrast edges. Include the kinds of work you actually publish.
- Use one edited source for each comparison. Export at the same dimensions and colour settings so that compression is the variable you are testing.
- Create two or three quality candidates. For example, if your editor offers a 0–100 JPG scale, you might compare 75, 85 and 95. These are test points, not recommended settings for every photograph or application.
- Use two viewing checks. First judge the photo at the size visitors will see. Then inspect at 100% or 1:1 pixel view to identify lost texture, blocks or halos. A 100% view is not the same as “fit to window”, nor does it necessarily mean enlarging the image. Adobe describes Lightroom's 1:1 view as its actual-pixel view.
- Compare file sizes after judging appearance. Keep a smaller candidate only if it preserves the details that matter. A substantial quality penalty for a tiny saving is rarely useful.
- Publish a test and repeat the comparison. Platform processing can change the result. Check the grid, opened image and mobile view before exporting the whole set.
There is no universal kilobyte target for a portfolio photograph. A detailed woodland image can require more data than a simple studio composition at the same dimensions. Use the smallest file that passes your own viewing test, then evaluate the loading experience of the page as a whole.
Measured example: one photo, three JPG exports
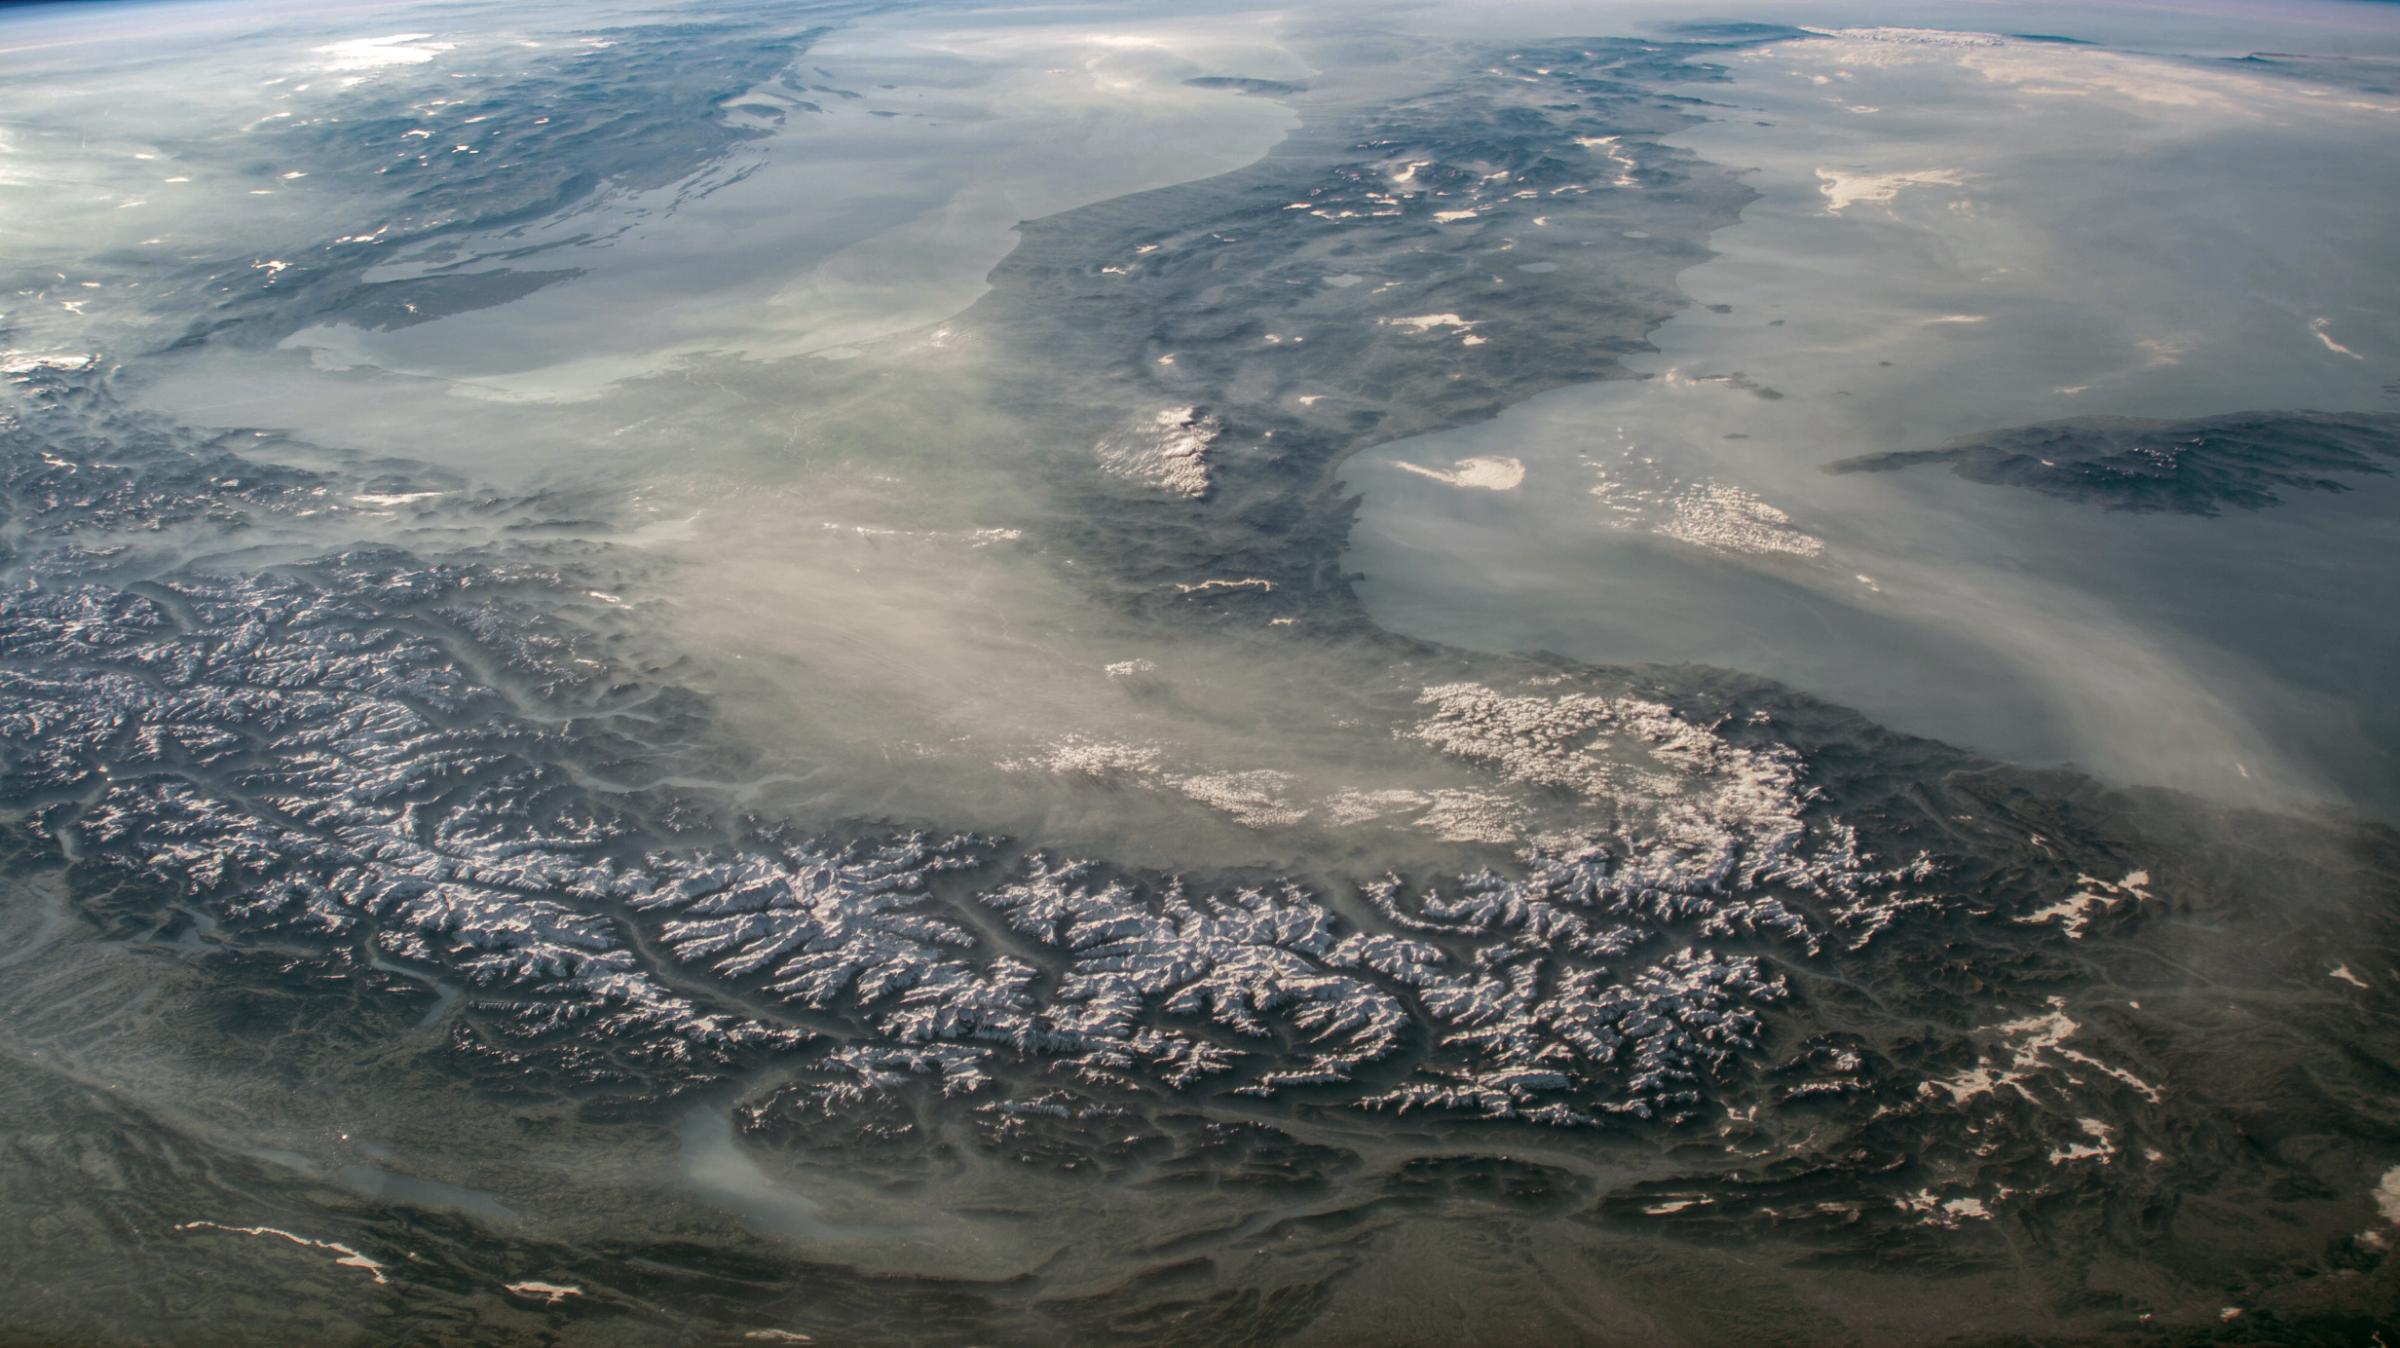
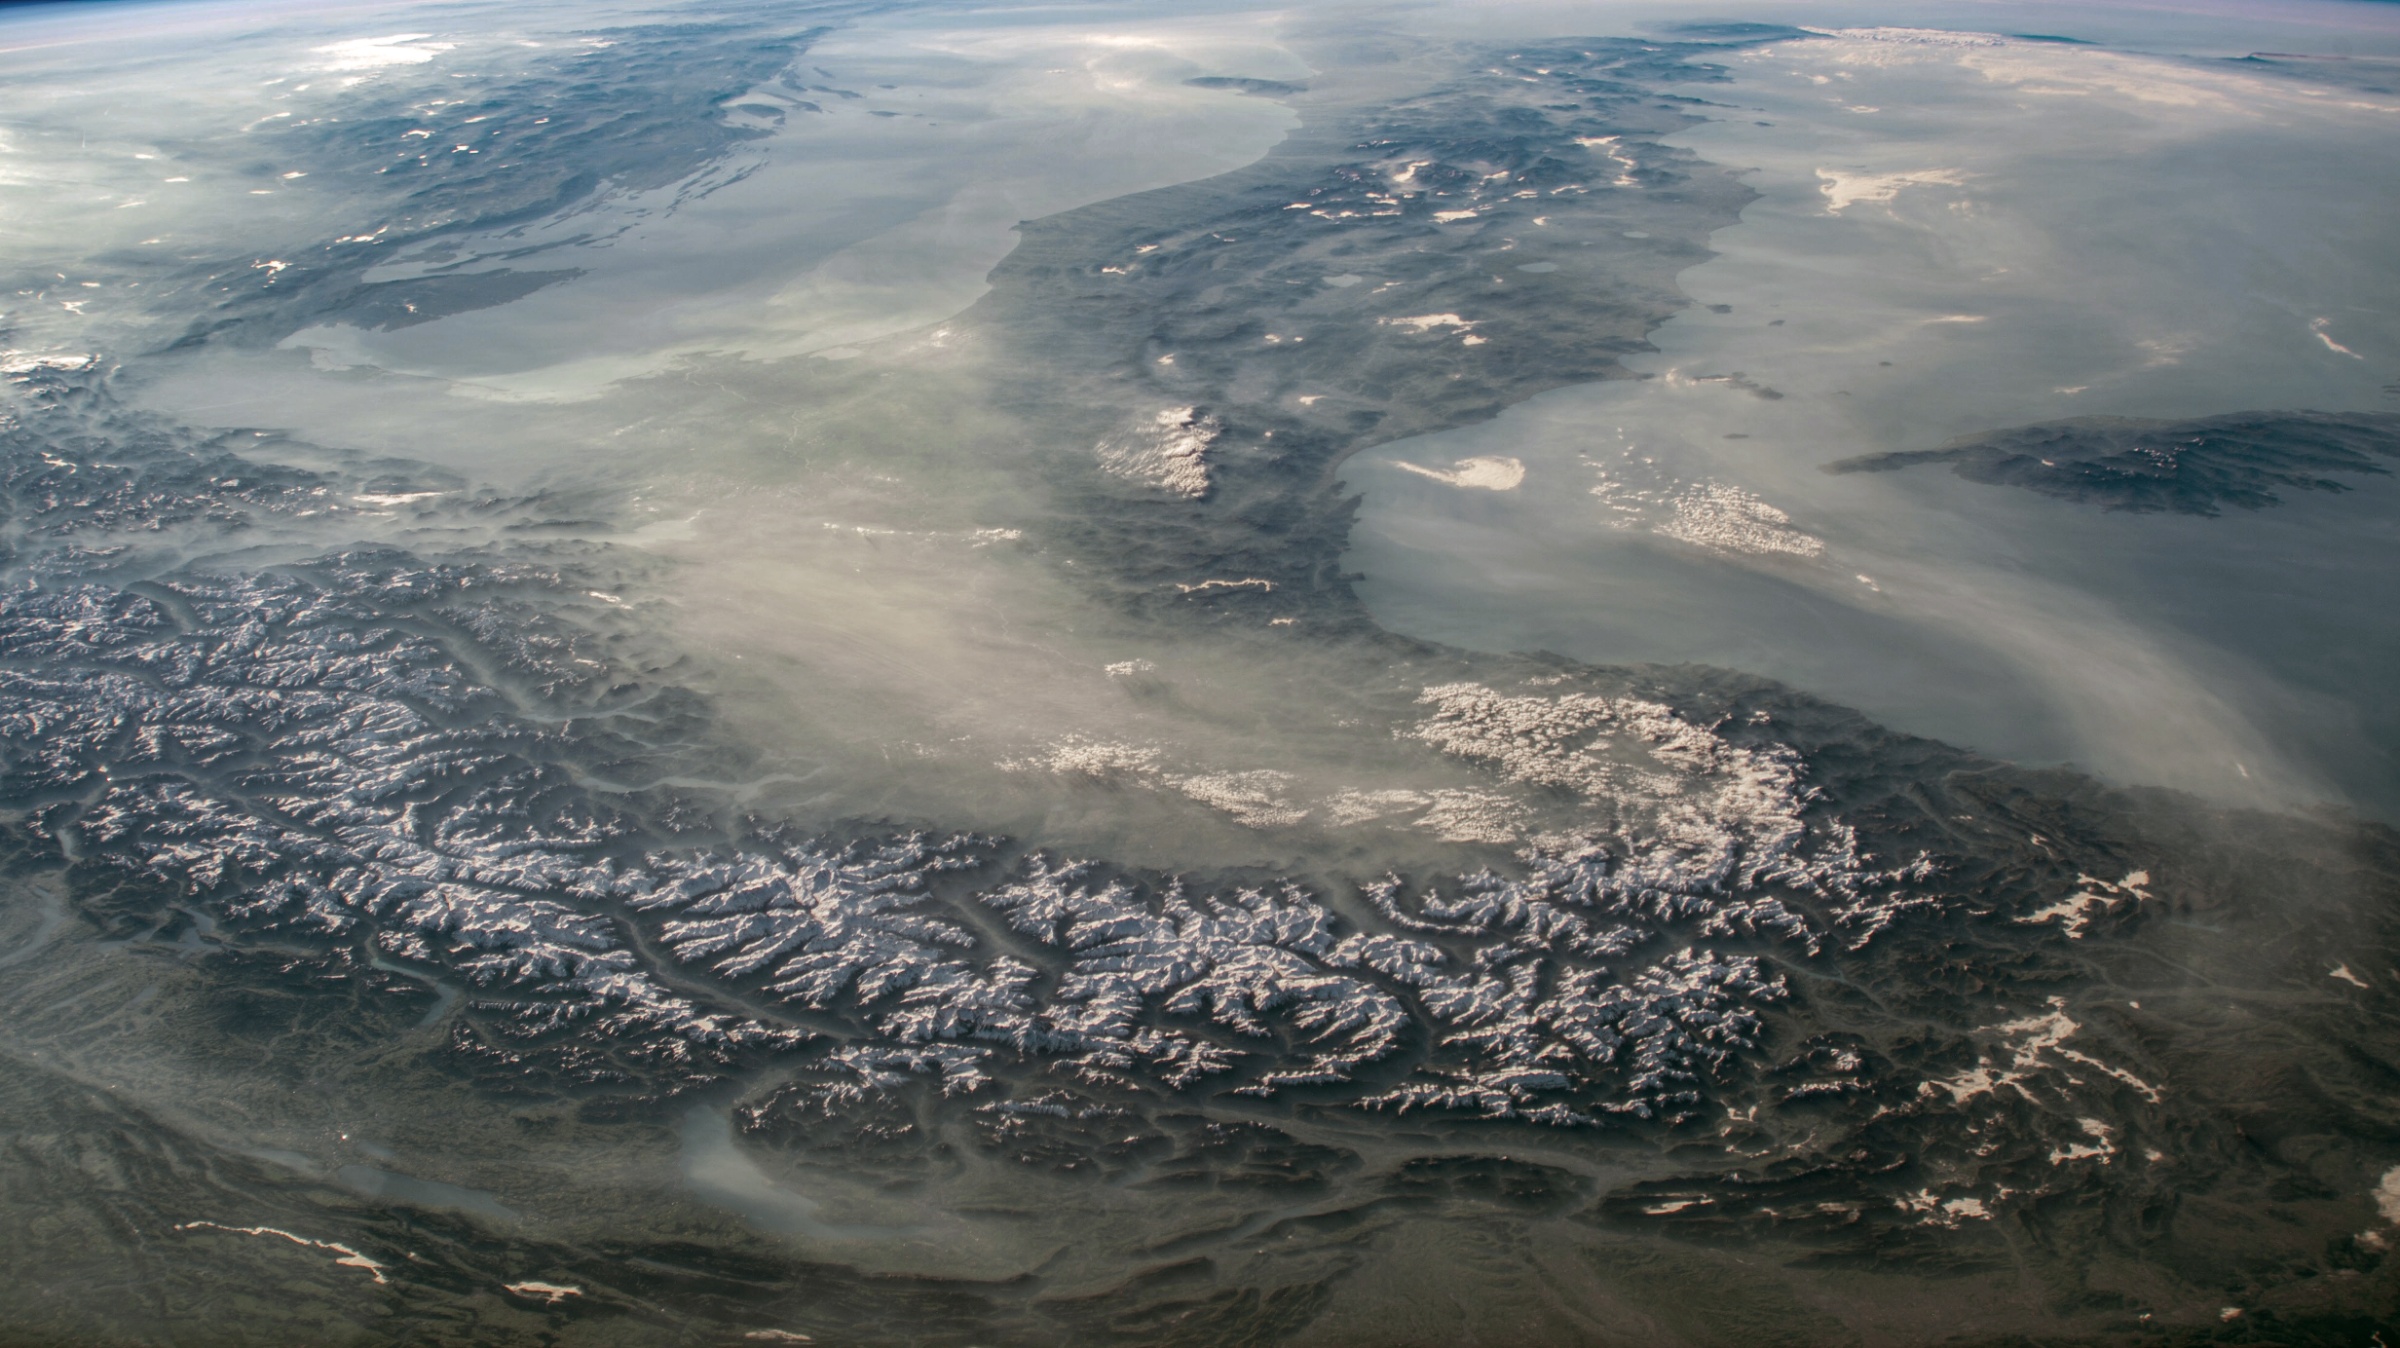
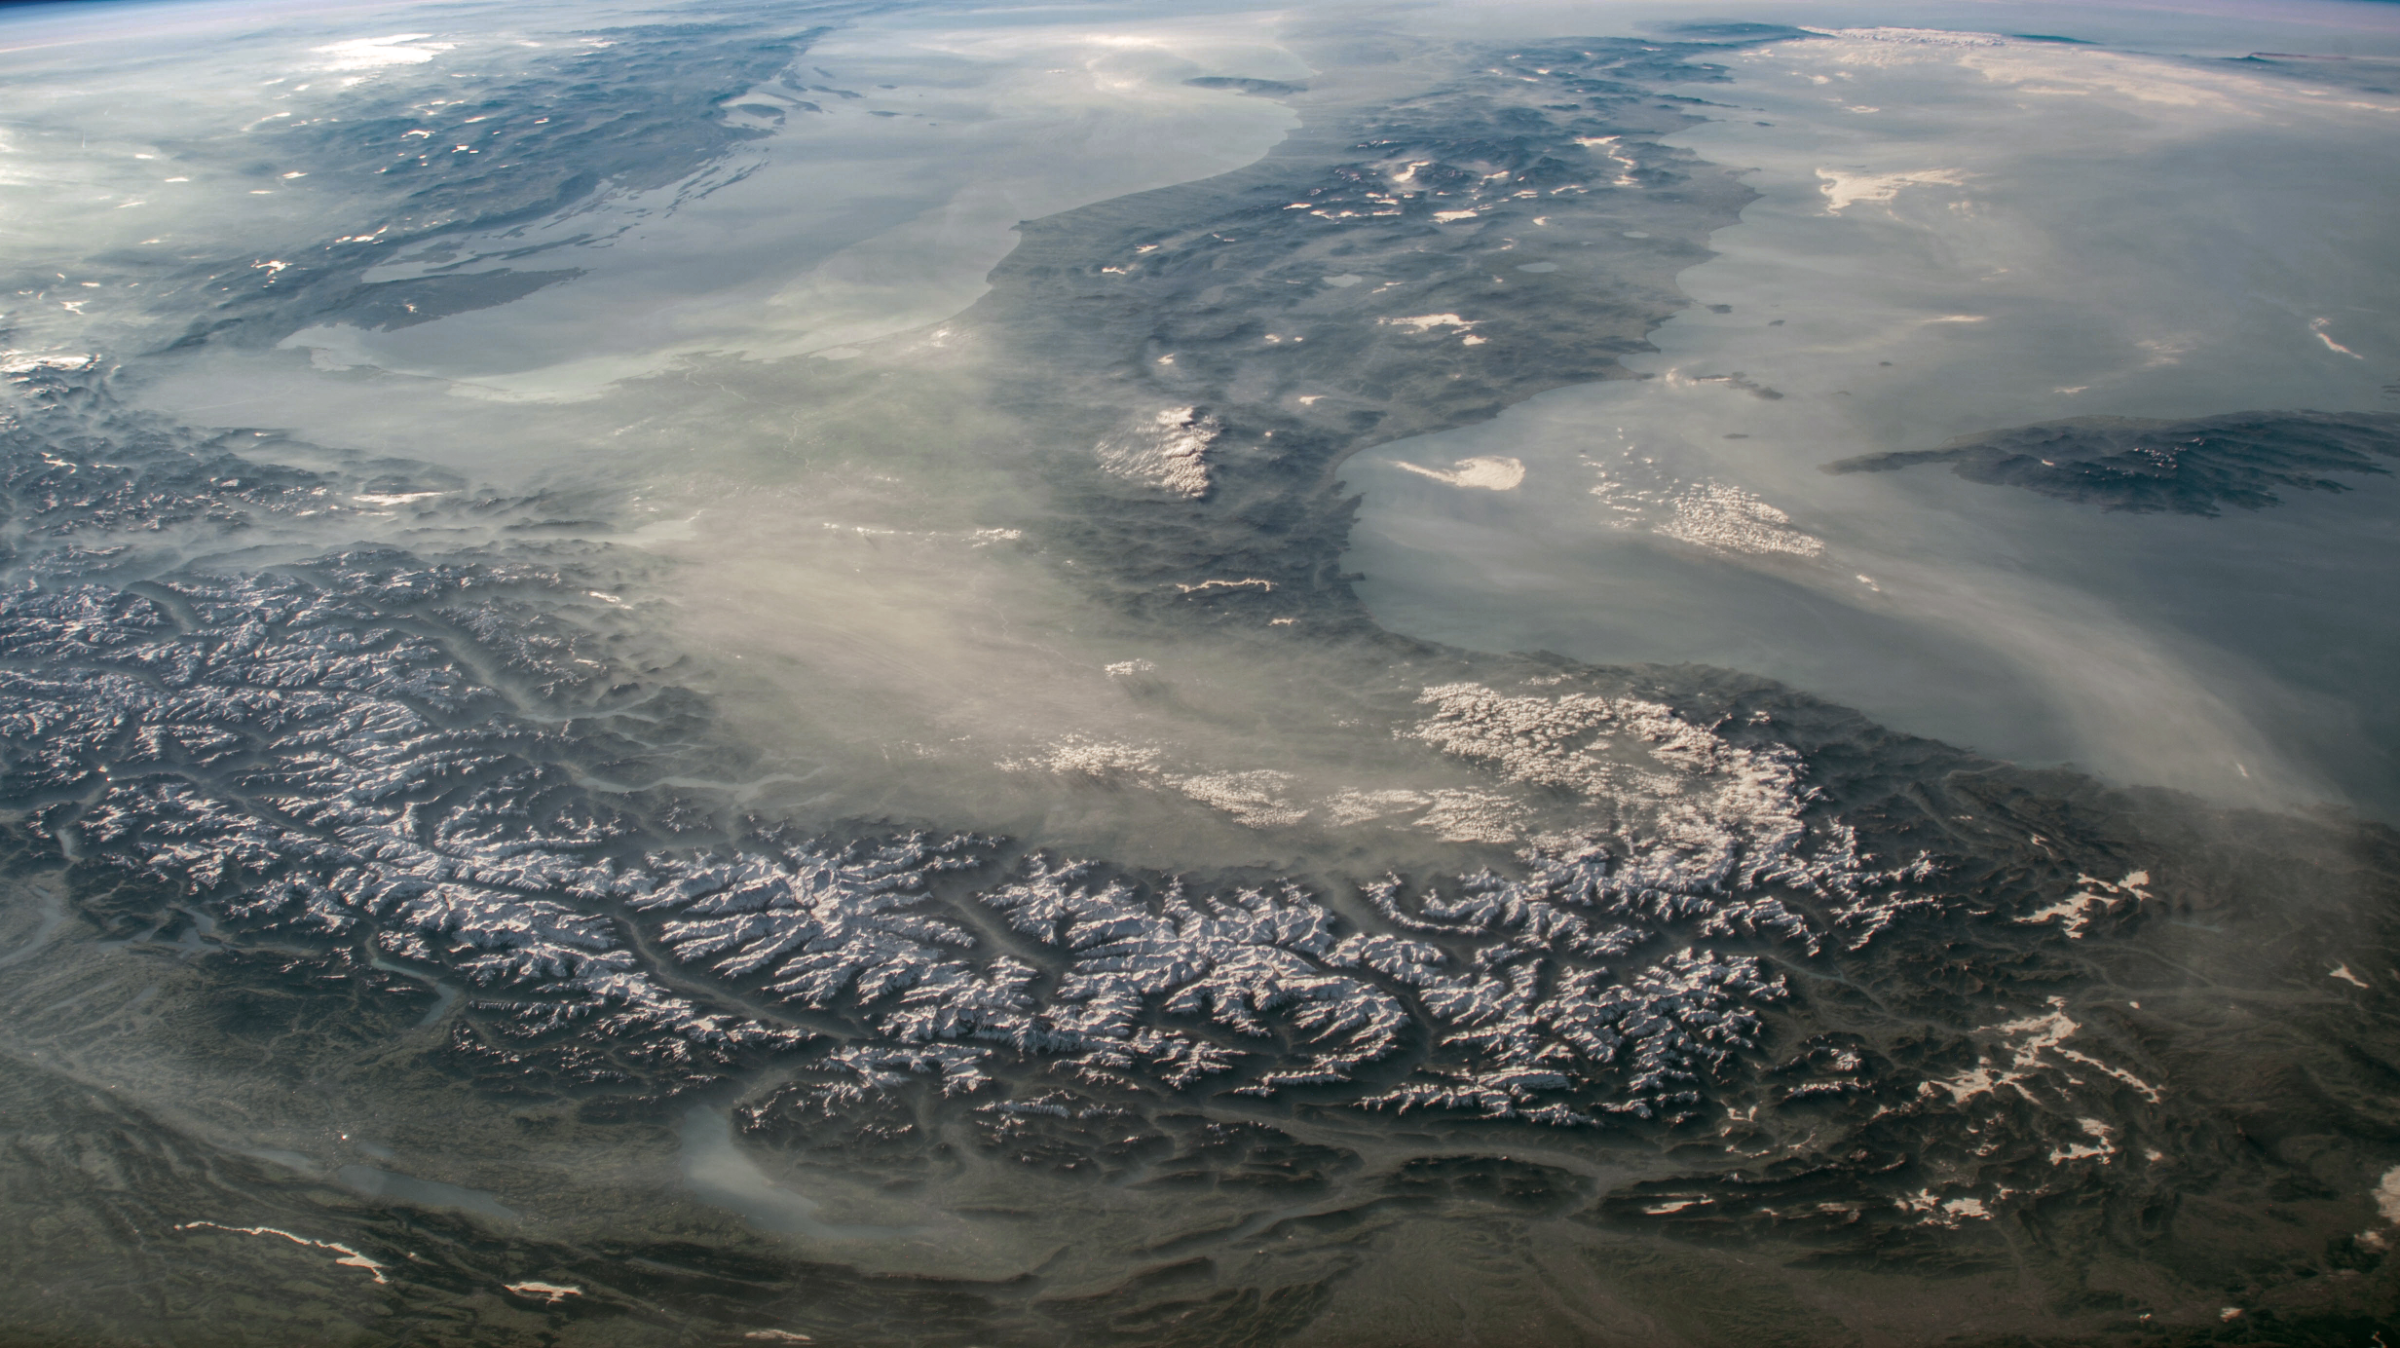
We tested a photograph of the Alps and Mediterranean from NASA's Earth Observatory. Credit: NASA/JSC, ISS Crew Earth Observations Facility, image ISS073-E-3320. The downloaded source was already a JPG. We resized it once to 2,400 × 1,348 and saved a PNG working copy so each candidate started from exactly the same prepared pixels. The PNG does not restore details lost before this test.
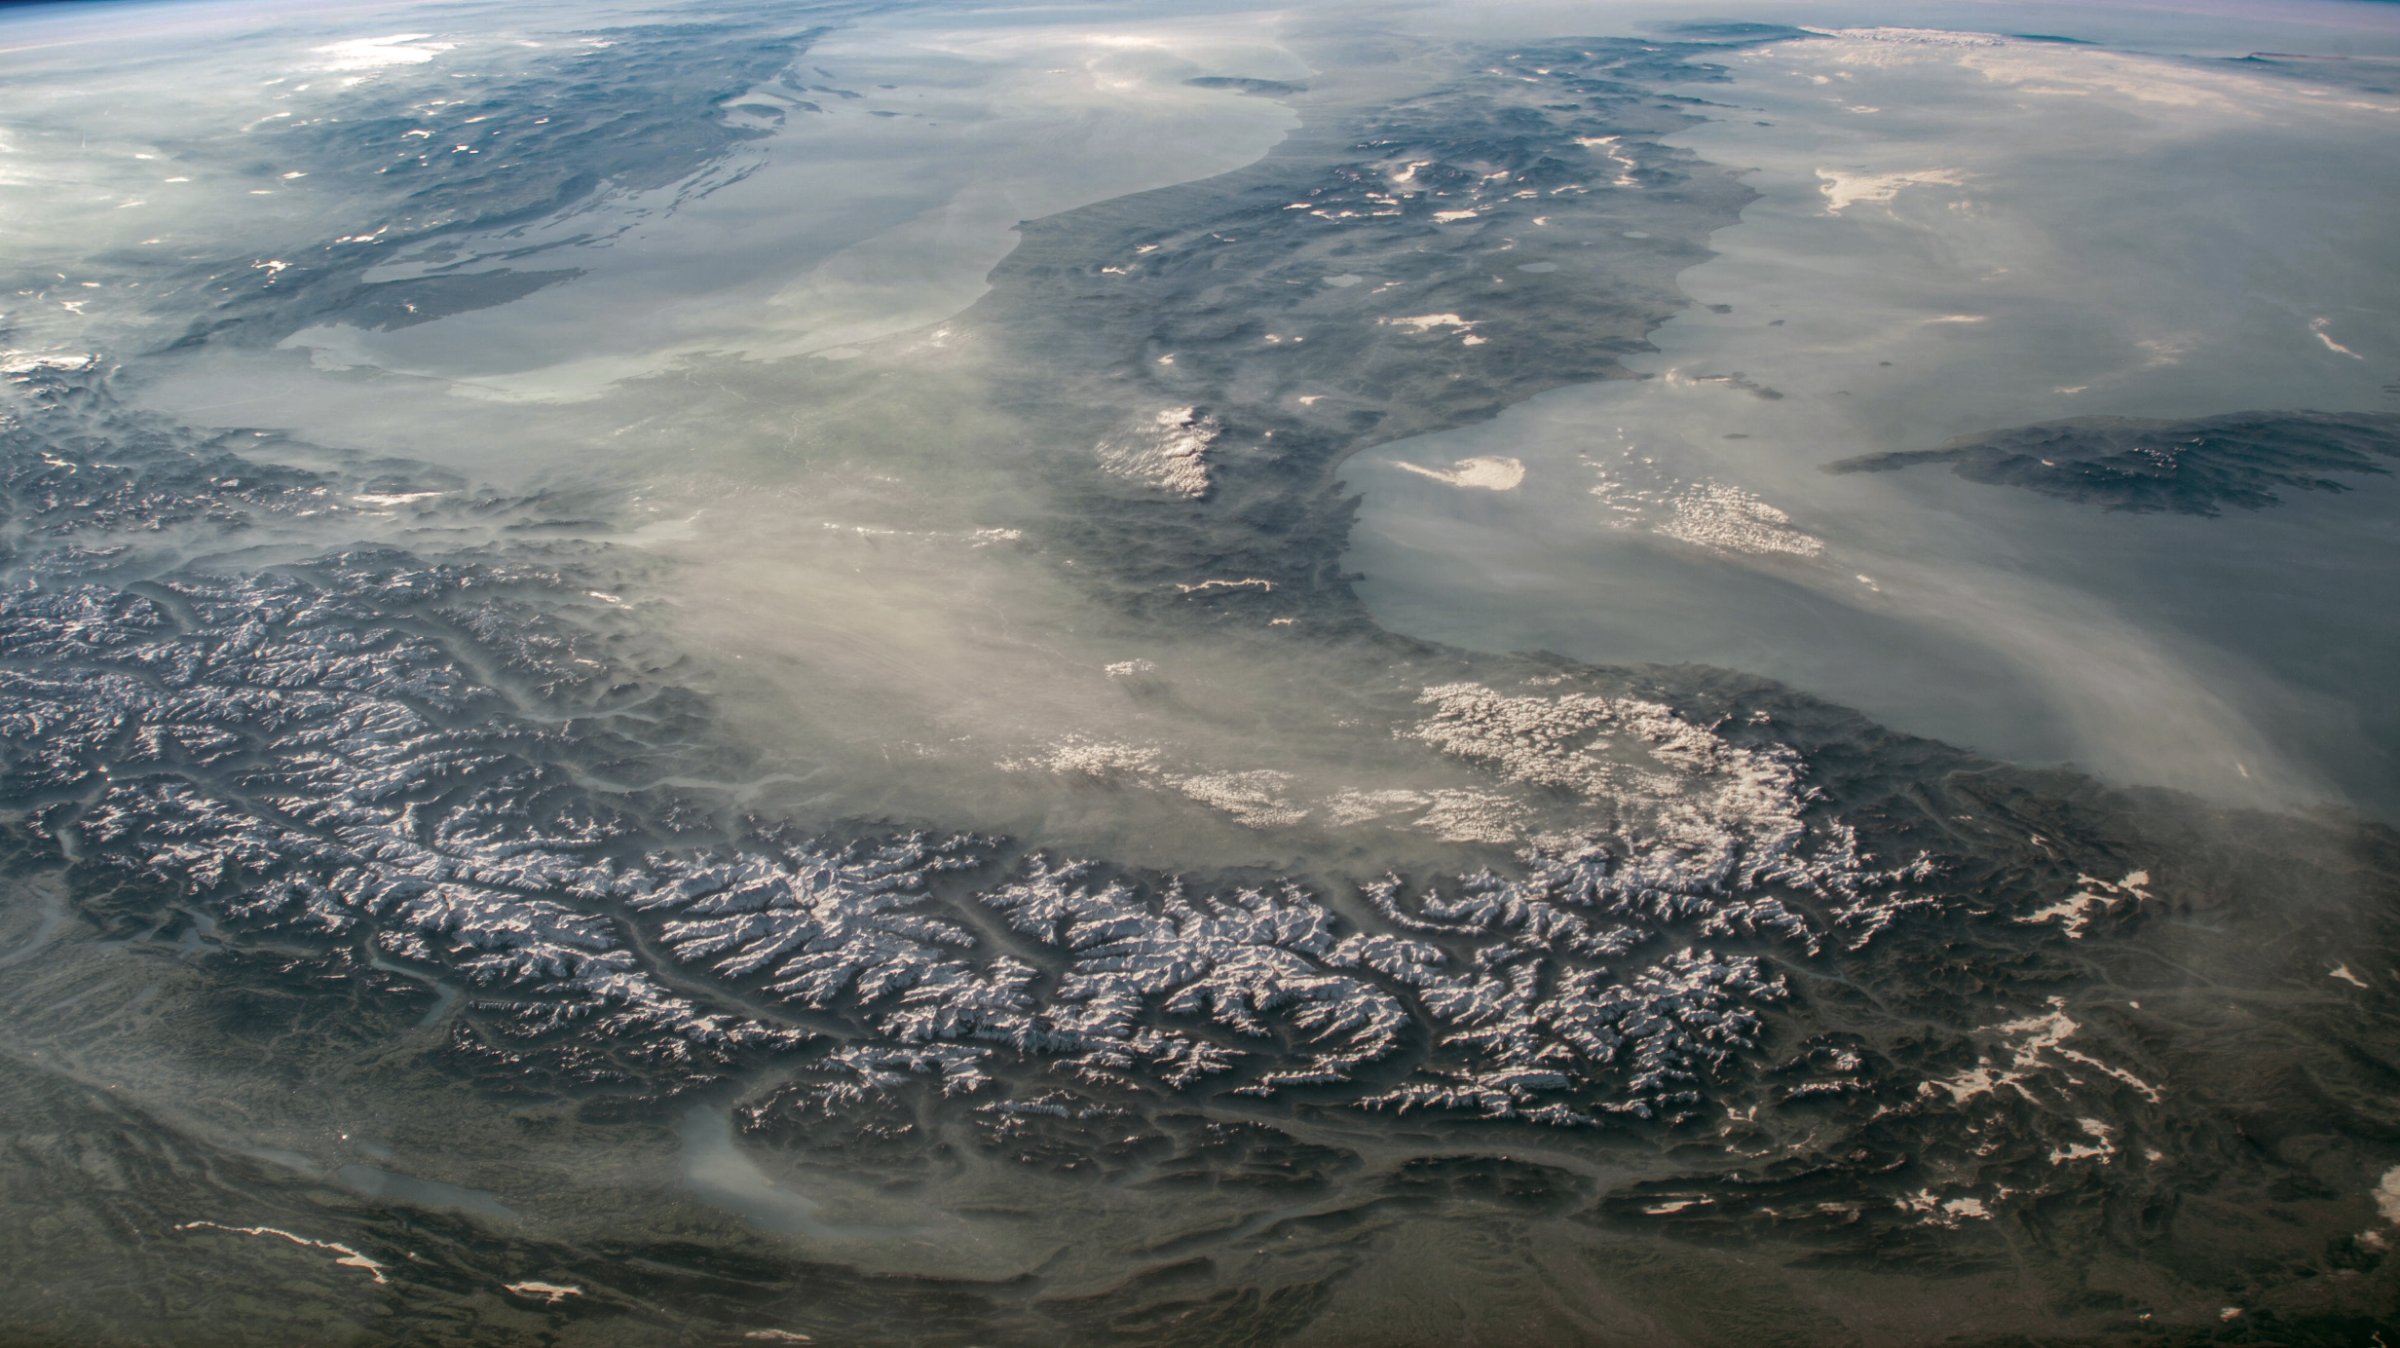
On 17 October 2026, we converted the same PNG through Pixilo's PNG to JPG tool at settings 75, 85 and 95 in Microsoft Edge 155.0.4283.45. Dimensions stayed unchanged. These numbers describe this browser encoder, not equivalent Lightroom settings or guaranteed results for other photographs.
| Setting | Actual bytes | File |
|---|---|---|
| 75 | 347,191 | Download JPG |
| 85 | 479,959 | Download JPG |
| 95 | 905,332 | Download JPG |
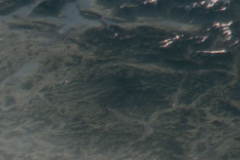
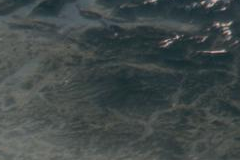
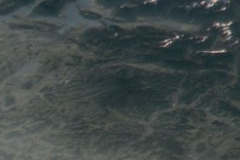

Each detail file is the same 240 × 160 pixel area, without an extra resize. The page may scale those previews to fit your screen. Open the downloaded full-size files at 100% for a pixel-level comparison. Look at the fine ridges and texture: the lower setting saves bytes but can smooth those details. The 95 file is almost twice the size of 85; that alone does not establish whether its improvement matters in your gallery.
You can also download the PNG working copy (6,464,084 bytes) to reproduce the comparison. One aerial photograph does not establish the right setting for portraits, artwork or every landscape. Use the same method on your own representative work.
Example: make a Lightroom Classic export preset
Suppose your largest uncropped gallery view is 1,200 × 800 CSS pixels and your edited original is 6,000 × 4,000. You want to compare a 2,400 × 1,600 JPG with a smaller version. In Lightroom Classic, select the photo and open File → Export. Adobe's export documentation explains these panels; names and options can vary by version.
- File Settings: choose JPEG and, for this SDR example, sRGB. Compare quality candidates within Lightroom rather than copying a number from the browser test above.
- Image Sizing: enable Resize to Fit and choose Width & Height. Enter a 2,400 × 1,600 pixel box for this landscape photo. This fits the photo within the box without stretching; it does not force a portrait into those dimensions. Keep Don't Enlarge enabled for a preset that may be reused on smaller sources.
- Output Sharpening: compare sharpening off with Sharpen For: Screen, Amount: Standard. Inspect fine edges and texture at the final viewing size. Keep it off or use a lower amount if it creates halos or harsh edges.
- Metadata: retain the descriptive or copyright fields you need and check the options for removing location or personal information.
- Export Location: save to a separate web-export folder. Use distinct names for the candidates so that you upload the one you actually inspected.
Upload a candidate, inspect the opened gallery and check it on a phone. Save a preset only after that test. A separate portrait or thumbnail preset may need a different bounding box; recheck the plan if the layout changes.
Use Pixilo where another preparation step helps
If your photo editor can produce the required dimensions, format and quality in one export, start there. Pixilo is useful when you already have a rendered photo that needs smaller dimensions, a different crop or a compression comparison.
The image compressor can create a smaller file, and Resize Image can reduce excess pixels. The resizer accepts JPG, PNG and WebP up to 25 MB per file. Export a smaller working copy from your photo editor if the source exceeds that limit. RAW editing, colour-profile conversion and output sharpening belong in an editor that supports those tasks.
Avoid a chain of repeated JPG exports. If several changes are needed, making them before one final export is usually easier to control. Always compare from the same prepared source rather than compressing the previous download again.
Review metadata, filenames and watermarks
Review GPS coordinates and personal information separately from compression; our metadata guide explains the checks. If you add a visible mark with the watermark tool, check its placement in both the grid and opened view. Keep it from distracting from the work. A watermark does not prevent copying.
Find where the quality changed
- Check the edited source. If the detail is missing there, changing web export settings cannot recreate it.
- Check the exported file locally. If it loses texture or adds halos compared with the source, revisit dimensions, compression and sharpening separately.
- Check the file the gallery serves. If the local export is good but the page looks poor, inspect the platform's selected image version, cropping and displayed size. An undersized thumbnail stretched into a lightbox needs a different fix from an overcompressed export.
Change one stage at a time. A gallery can also load slowly because it requests too many large files at once. Test a fresh page load and the first opened image as well as navigating between already loaded photographs.
Review the published gallery
- Thumbnail crops and opened images show the intended composition.
- Important texture remains visible, and skies or dark areas have no distracting compression damage.
- The served image is not an undersized thumbnail enlarged into a large view.
- Colours are reasonable when comparing export and published image on the same device.
- Mobile pages load promptly without forcing every thumbnail to fetch the largest file.
- Public files and download links contain only the versions and metadata you intend to share.
Frequently asked questions
Should I always use the highest JPG quality?
No. It can create a much larger file without a useful difference at the intended viewing size. Test several exports on demanding images and choose based on both the visible result and the size saving.
Should every photo have identical file dimensions?
Not necessarily. Consistent presentation does not require stretching every image into one shape. Use the gallery layout to decide which crops need consistency and which photographs should keep their original proportions.
Can a web export also be my print-delivery file?
Do not assume so. A print or client-delivery file may need different dimensions, sharpening, colour handling and metadata. Prepare it from the editing original according to the delivery requirements.
Test a smaller portfolio copy
Start with one demanding photograph, choose dimensions for its largest view and compare the published result before processing the collection.
Resize a portfolio photoCompare image compression → ChatGPT
 Grok
 Google
 Perplexity
 Claude