Website images
AI Images or Real Photos for Your Website?
Choose AI-generated images, real photos or a mix for your website. Learn when each works, what to check in AI edits and how to explain generated scenes.
What does the image need to show?
An AI-generated image can show a scene that was never photographed. A real photo starts with something captured by a camera, but it can still be staged, edited or out of date. Images can also combine photography with generated elements. A realistic appearance does not tell you how an image was made.
Ask: “What would a visitor think this picture shows?” Beside a product name, they may expect the item being sold. In a portfolio, they may expect a completed project. In an article about an abstract idea, they may simply need an illustration. If the picture appears to show your product, team or work, it needs to represent them accurately.
| Page purpose | A suitable choice | What matters |
|---|---|---|
| Show a product or completed job | A photo of the actual item or work. | Features, finish and results match what you offer. |
| Introduce staff or help visitors find you | Current photos of the real people and location. | Visitors can recognise whom they will meet and where to go. |
| Illustrate an idea in an article | A suitable generated illustration or photograph. | The image helps readers understand the topic. |
| Present a proposed design | A clearly labelled concept image, which may use AI. | Make clear what is planned, and check that the proposed features are possible. |
A stock photo is also a real photograph, but it does not necessarily show your company. Our stock photos versus your own photos guide covers that separate choice.
When an AI-generated image can help
AI can be useful for illustrating an idea rather than a specific person, place or product. An IT company might use stylised files and cloud shapes to introduce an article about backups. A design studio might compare possible colour schemes for a proposed room.
The IT company could keep real team photos on its About page and use generated illustrations for its articles. Asking for a limited palette, simple shapes and space for a headline gives the illustrations a clear direction. Compare a draft with the site's existing photos: do the colours and level of detail look like they belong on the same site? Adjust the illustration rather than heavily editing accurate business photos to match it.
Allow time for generating alternatives and correcting details. Compare that work with finding a suitable existing photo or commissioning an illustration; AI is not automatically the cheapest option.
If the image is a diagram that teaches a process, check every label, connection and step. Keep website headings and buttons as page text so they remain readable and easy to update.
Check the details and the page layout
Review the image at full size and in its final place on the page:
- Inspect the subject. Look for distorted objects or activities that do not make sense. Check important product parts, tools and materials against reliable references.
- Read words and symbols. Check labels, signs and packaging for incorrect text, accidental logos or markings that suggest a certification the product does not have.
- Try the final layout. Place the image beside the actual headline and caption on desktop and mobile. Check that the main subject stays visible and any text over the image remains easy to read.
Fix or replace images with important errors before publishing. Google's guidance on generative AI content also emphasises accuracy, relevance and human review.
Check what AI edits change in a real photo
AI editing tools can change part of an existing photo. For example, Adobe's generative fill documentation describes adding and replacing objects. Compare the edited image with the original rather than assuming that only the intended area has changed.
For a product, inspect its shape, colour, texture, markings and included accessories. A generated background should not alter these details, make the product look larger or show a use it was not designed for.
For a completed project, adjusting exposure can make an existing detail easier to see. Adding a window or replacing worn surfaces changes the work you are showing. Keep those changes out of photos meant to document the actual result.
Example: a furniture maker's product page
A small workshop needs a website image for a wooden chair it sells. It is considering three options:
- A photo of the actual chair. The background is plain, but the joints, finish and proportions match the product. Improve the lighting or presentation while keeping those details accurate.
- A generated room with a similar chair. The scene is attractive, but the chair has thicker legs and different joints. It does not show customers the chair they would receive.
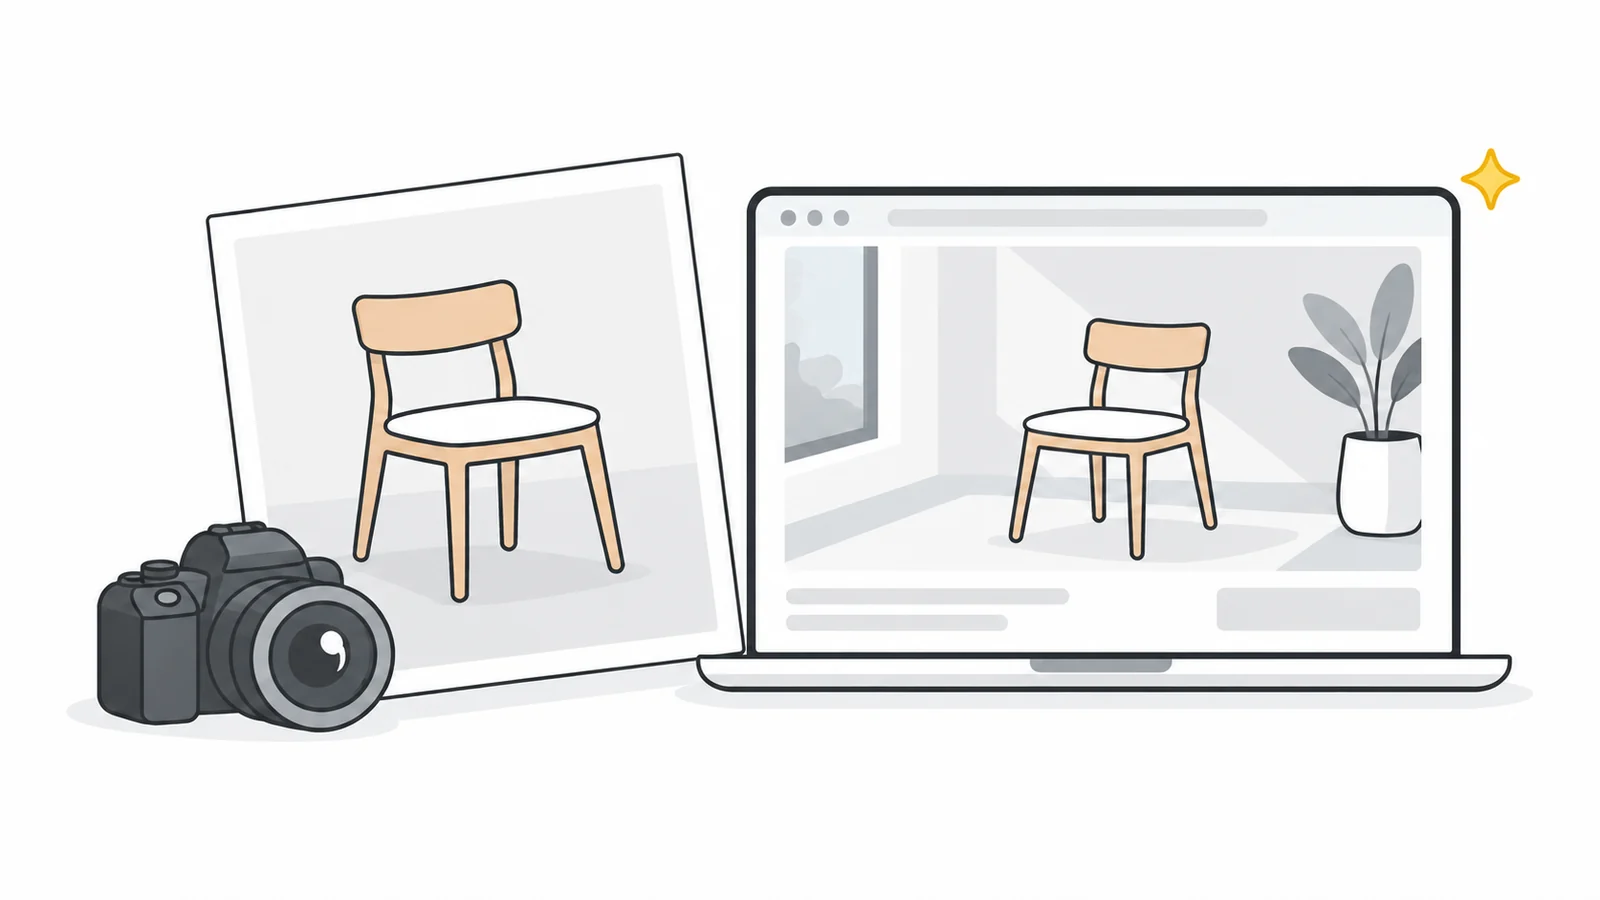
- The actual chair photo with a generated room around it. This may work as a styled illustration if the chair remains accurate. Check that the surroundings do not give a false sense of scale or suggest an actual customer installation. A caption such as “Actual product photo with an AI-generated setting” explains how the image was made.
Use the styled image alongside clear product views and measurements, rather than as their replacement.
Use a caption when the image needs an explanation
Add a nearby caption if visitors could mistake a generated scene for your actual business, product or completed work. “AI-generated illustration” explains the source; “Concept image of a proposed layout” also tells the reader what the scene represents. If a generated background or other substantial edit changes the scene, say what was changed.
A caption helps explain a suitable illustration. It does not make a different product an accurate picture of the one you sell. Legal disclosure rules may also apply: see the European Commission's guidance for the scope of the EU rules on deepfakes.
Check usage terms and save the original
Check the generator's current terms for your plan and intended commercial use. Confirm that you may upload and use any reference photos, and check whether recognisable people or brands need further permission.
Save the original, reference image sources and the terms you relied on. A short note of the service, creation date, prompt and significant edits helps you keep track when preparing new versions.
Extra checks: copyright and image metadata
Copyright: permission from a service does not necessarily give you exclusive copyright. The U.S. Copyright Office's 2025 report explains that human-created expression can be protected, while prompts alone were not enough to establish authorship with the technology it assessed. This is U.S. guidance; the applicable rules depend on where you use the image.
Image history: some files carry Content Credentials, which record information about their origin and edits. The C2PA explainer notes that this history does not prove factual accuracy. Cropping or recompressing a file can remove it, so keep the original.
Images for Google Shopping: if you submit AI-generated product images to Google Merchant Center, its policy requires metadata identifying their origin and says to preserve embedded digital-source tags. These are details stored inside the file, not a visible caption. Use an editor that preserves the required tags, then check the exported file's IPTC DigitalSourceType field with a metadata viewer before submission.
A final check before publishing
- The image helps visitors understand the page.
- Any products, people or work presented as yours are shown accurately.
- Captions explain generated scenes and edits where needed.
- Usage terms and any required labels or file metadata have been checked.
- The original and a note of its source are saved.
- The image and caption work in the desktop and mobile layout.
Our guide to choosing website images covers composition and the roles of images in different page sections. For publication, also choose suitable image dimensions and write alt text that describes the image's purpose.
Prepare the image you have chosen
Crop a copy to suit its place on the page, then set the dimensions you need.
Keep the original: Pixilo's crop and resize tools create new files without copying the source file's metadata. If your destination requires AI-source tags, prepare that file with an editor that preserves them.
Crop your imageSet the image dimensions → ChatGPT
 Grok
 Google
 Perplexity
 Claude