Website images
How to Choose the Right Images for Your Website
Choose images that make each page clearer and more credible, from hero and service images to team photos and blog covers. Check crops on desktop and mobile.
Start with the job the image needs to do
Before choosing a photo, ask, “What should a visitor understand or feel in this part of the page?”
A homepage image might introduce your business. A service image can show what you do or what the result looks like. A team photo can help visitors recognize the people they will meet. Choose an image that supports that purpose.
Write a one-sentence brief before searching: “This image should show a small bathroom we renovated and leave room for the heading on the left.” A specific brief makes it easier to reject attractive photos that do not fit the page.
When comparing options, ask three questions: What does this image tell the visitor? Is that information useful here? Does the image still communicate it in the space available? If it adds no useful information or atmosphere, the section may work better with text alone.
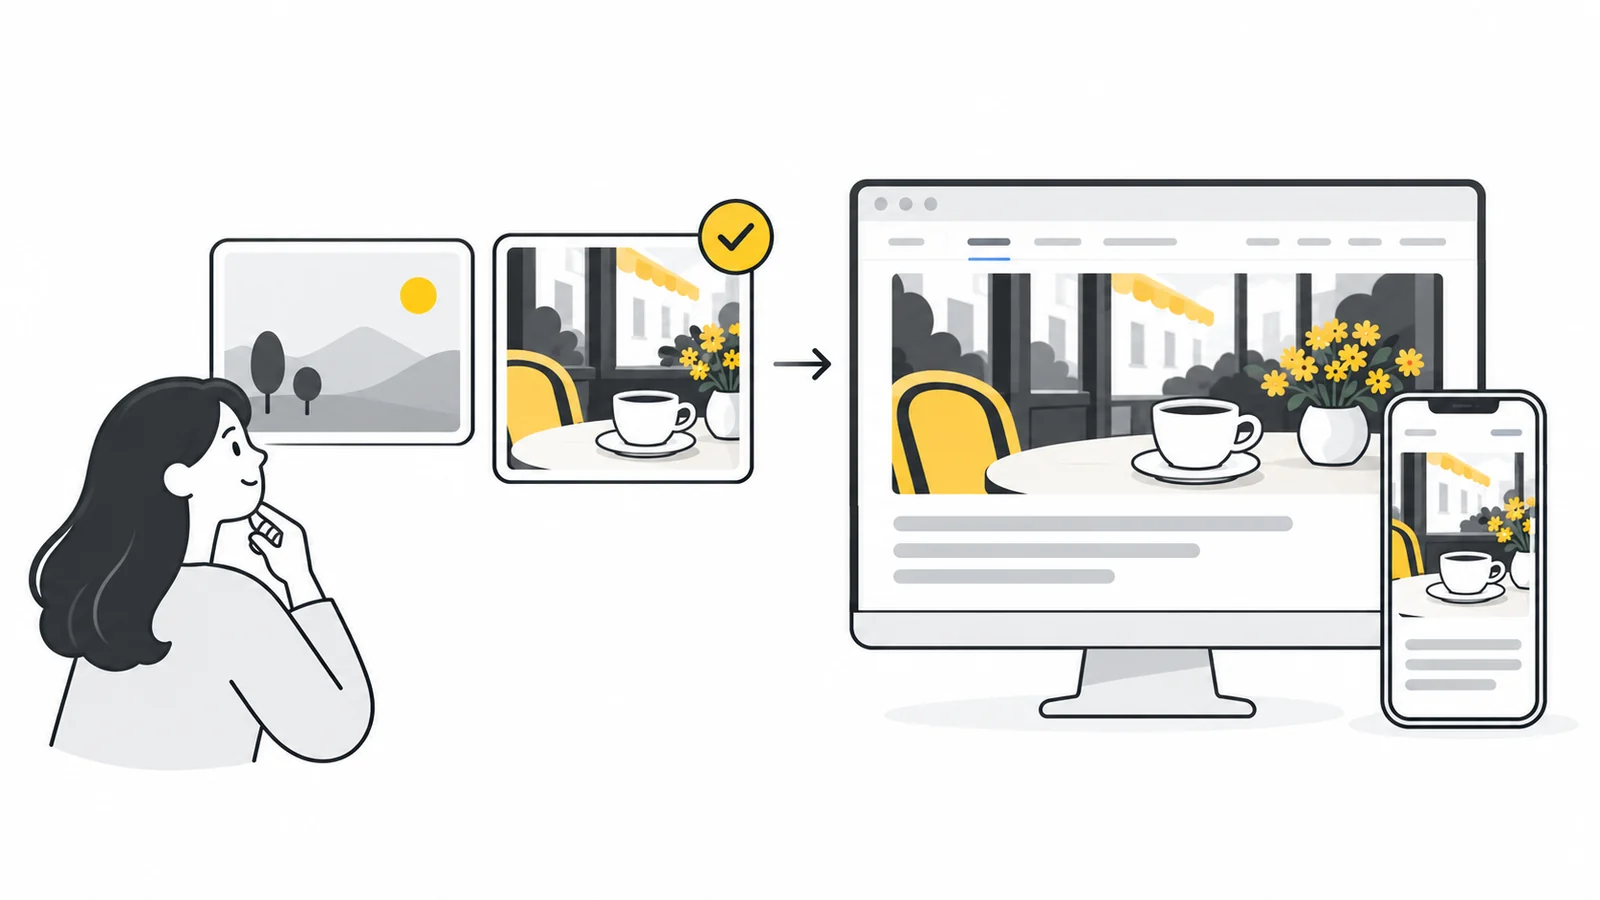
Choose a hero image that fits your business
The hero is the first large section many visitors see. Its image should work with the headline, not compete with it.
For example, a renovation company could show a finished room or a craftsperson at work. A physiotherapy clinic might use a natural photo of a consultation or exercise. A local café could show its space or a recognisable dish.
Leave enough uncluttered space for the headline and buttons. If the image is so dramatic that visitors focus on it instead of understanding the offer, choose a simpler one.
Judge the image inside the actual page layout. A photo that looks excellent on its own may have a busy background exactly where the headline needs to sit. Keep the headline and button as page text rather than making them part of the picture, so they can adapt to the layout.
Example: compare three images for the same homepage
Imagine a renovation business whose homepage headline is “Bathroom renovations for compact homes.” It is choosing between three photographs:
- A polished stock photo of a large luxury bathroom. The lighting is attractive, but the room does not represent the compact spaces the business wants to show. It may set the wrong expectation about the work.
- A photo of a bathroom renovated by the business, with a tight crop and visible clutter. The subject fits, but the presentation makes the layout hard to understand. Try a different frame or another photograph of the same project.
- A clear photograph of a completed compact bathroom. The storage, shower and available space are easy to see. If it also leaves room for the headline, it is the strongest match for this particular page.
If the third photo loses the shower when cropped for a phone, prepare a different mobile crop or move the text beside it. The decision depends on the subject, the message and the final layout together.
Show the service or its result
Service images are most useful when they help visitors picture the work. A plumber might show a completed installation or a technician at a customer's home. A photographer could show a real example of their work. These images tell visitors more than a generic photo of someone working at a laptop.
Choose the view that answers the customer's likely question. A finished-room photo shows the result; a close-up can show a join or finish; a photo of someone working can explain part of the process. These views serve different purposes, so choose according to what the section promises to explain.
For a project example, add a brief caption identifying the work and the detail worth noticing. “Built-in storage beneath a sloping ceiling” tells the reader more than “Another happy customer.” Describe only what the project actually demonstrates, and keep claims about quality or results specific.
Use team photos that feel real
A team photo can make a small business feel more approachable when it shows the people customers will actually meet. A familiar workplace, natural expressions and relaxed poses usually feel more convincing than a heavily staged group shot.
If you use individual portraits, keep the framing and backgrounds similar. Use current photos and make sure they represent the service customers can expect.
A clear name and role beside each portrait make the photo useful: visitors can connect a face to the person who will handle their enquiry or appointment. A simple, well-lit portrait can be sufficient; an elaborate shoot is not required. Ask the people pictured before publishing their photos, and avoid showing customers or private details unintentionally in the background.
Choose blog images that match the article
A blog image should help readers recognize the subject, not simply fill space. For an article about choosing paint colours, a room with a clear colour example may work better than a generic image of a person holding a brush.
A simple diagram, real example or photo of your work can be more relevant than stock photography. Match the type of image to the explanation: a comparison article may need two examples side by side, while a tutorial may need a screenshot of the exact step. A decorative cover can introduce the topic, but it cannot replace examples needed to understand the instructions.
Check the image crop on desktop and mobile
A wide image can look very different on a phone. The browser may crop its sides, so a person, product or important detail near the edge could disappear.
Preview the image at the size it will appear on the page. Check that the main subject stays visible on both desktop and mobile. If text sits over the image, leave a quieter area behind it so the words remain easy to read. If there is no good space for text, place the text beside the image instead.
- Place the image in the real section. Include the final headline, button and surrounding text rather than checking the photo by itself.
- Check the page in wide and narrow layouts. Look for cropped faces, missing product details and text crossing a busy part of the photo.
- Adjust the crop or subject position. If your editor offers a focal-point setting, move it towards the important detail and preview again.
- Check the page on a phone. Make sure the image's meaning and any essential labels are still clear at their displayed size.
If one crop cannot keep the subject clear at both sizes, your website may need different image crops for different screen sizes. MDN's responsive images guide explains this approach, called art direction, for the person building your page.
Use stock images selectively
Stock photography can be useful when you do not have a suitable photo of your own. Before choosing one, ask:
- Does it clearly relate to this business or service?
- Does it look natural and believable?
- Could the same photo appear on almost any competitor's website?
If the image feels generic, look for a more specific option or use a real photo of your work, products, space or team. Real photos can help visitors get a clear idea of what to expect.
A stock image can illustrate a general topic or set a mood. It is less suitable when the image is meant to show your actual team, premises or completed work. Do not present it as evidence of a project you carried out. A relevant stock image can still be a better choice than a photo of your own that is too dark, distracting or unclear to do its job.
Keep the website's images cohesive
Images can come from different sources and still look like they belong together. Look for a shared quality, such as natural lighting, a similar colour palette or a consistent photographic style.
You do not need to apply the same treatment to every photo. Aim for a page that feels coherent while letting each image suit its section.
Start with two or three simple guidelines: similar framing for team portraits, a consistent crop for blog covers and natural lighting for project photos. Review the images together on the page. Replace the one that feels out of place before applying a heavy filter to the whole collection.
Quick checklist before publishing
- You can explain what the image contributes to its section.
- It accurately represents the business, topic or example it is used to show.
- The main subject stays visible in the actual desktop and mobile layouts.
- Text and buttons remain readable, and essential information is available as page text.
- Its lighting, framing or colour fits the surrounding images.
- You have checked permission to use the image, including any credit required by its source.
Prepare your chosen images for the website
Once you have chosen the images, use our guides to choose suitable website image sizes, resize without stretching and write useful alt text and filenames.
Also consider how the image's information will reach someone who cannot see it. Meaningful images need an appropriate text alternative; purely decorative images generally need empty alt text. The W3C images tutorial explains how the image's purpose affects that choice.
Give your chosen image the right crop
Keep the important subject in view and crop a copy to suit its place on the page. Then check the result in your website's desktop and mobile layouts.
Crop your imageSet the final dimensions → ChatGPT
 Grok
 Google
 Perplexity
 Claude